We’ve all had the experience of letting painful blisters ruin an otherwise good hike. When I first started hiking, my hiking boots that were way to loose in the heel pocket, and without fail, I’d come home with some gnarly raw blisters on the back of my feet. It made me question whether I even liked hiking.
When I was preparing for the John Muir Trail, I knew I had to do something to prevent these blisters from forming. Otherwise, I probably wouldn’t make it the 22 days on the trail. I also wanted to make sure I had all of the proper supplies in case I did get any blisters, that way they wouldn’t get worse.
The key to blister prevention is having proper fitting hiking boots – not too big or too small. But beyond that, there are a few other things you need to do to prevent blisters from forming on the trail.
In this post, I share the tips I’ve learned about how to prevent hiking blisters and what to do if you get one while you’re out there.
How do blisters form?
A blister is formed from damaged skin that is a result of rubbing and friction. They can also sometimes be caused by heat, cold, or in rare conditions, exposure to harmful chemicals.
When you are hiking or backpacking, the most common way to get a blister is from your sock or shoe rubbing up against the skin of your feet for an extended period of time. The shoe may either be too loose or too tight and it’s likely that sweaty or wet feet are the main cause of getting blisters on a hike. Whatever the reason, one thing is for sure, these suckers hurt!
Hiking Blister Prevention 101
To keep those feet happy and blister-free on the trail, there are 5 basic foot care tips and tricks to keep in mind before, during, and after a hike.
1. Wear shoes or boots that fit correctly
Invest the time and effort needed for finding shoes that fit correctly. Having a comfortable pair of hiking boots or shoes is essential for a fun hike and to reduce the possibility of blisters.
When trying on shoes, make sure to try them on with a pair of wool hiking socks (which tend to be a just slightly thicker than regular socks) so you can see how they truly fit. It’s common for hiking boots to be 1/2 a size larger than everyday shoes since your feet swell when you hike. Your toes should have a little bit of wiggle room and not crammed in the toe box, and your heel should feel secure and not lift up out of the boot or shoe as you walk.
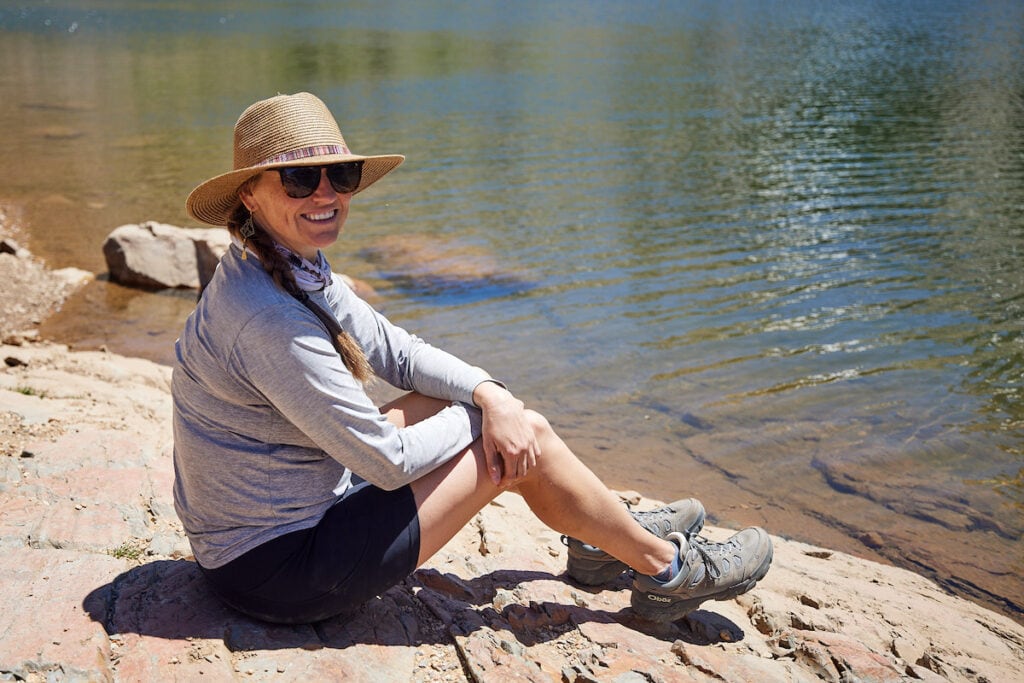
Different brands of shoes fit each person differently based on your foot shape. I have a wide forefront and a narrow heel, and Oboz hiking boots fit me perfectly. If you have a wider foot, you might try Keen or Merrell.

2. Wear Wool Hiking Socks
While hiking, your feet are likely to get sweaty and rub against the inside of your shoes so it’s important to wear wool hiking socks that don’t shift inside your boots. Wool hiking socks allow your feet to breathe and stay dry by wicking away moisture, thereby preventing friction that forms blisters.
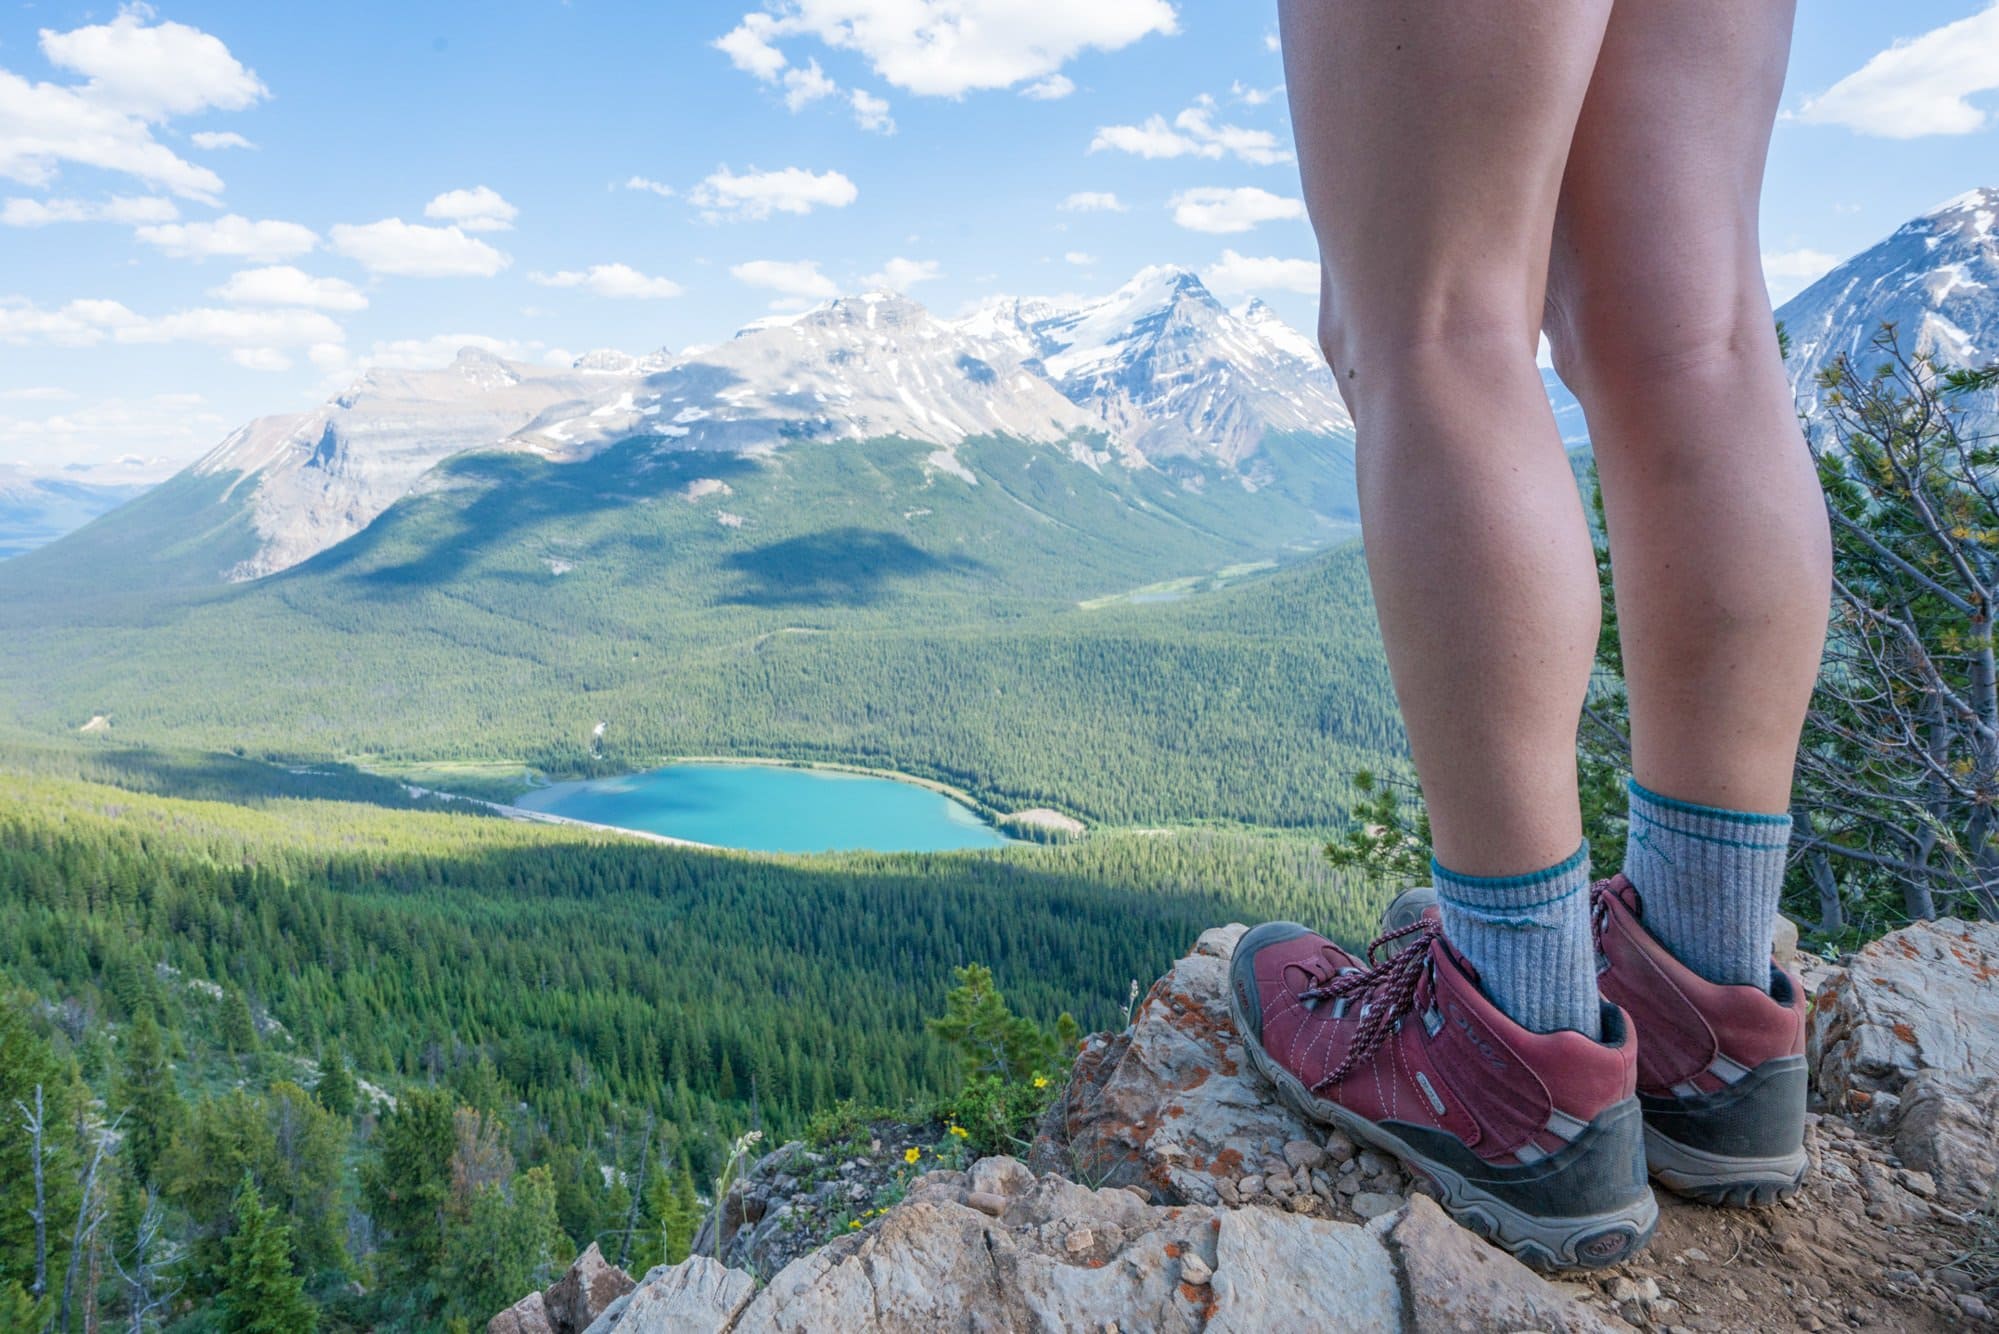
Darn Tough is my favorite brand for hiking socks. I find that they breathe and stay in place much better than Smartwool and other brands I’ve tried. I personally suggest going for a light or mid-weight thickness depending on how much room you have in your hiking boots. Thicker socks provide a bit more cushion, but can also be hotter resulting in more sweat.
Whatever you do, don’t wear cotton socks when you are hiking. They don’t allow moisture to escape and will also shift as you walk, which is another major cause of blisters.
3. Break in your Boots Before You Head Out
Breaking in your hiking boots is key to blister prevention, although nowadays a majority of hiking boots (like my go-to Oboz Sypes) don’t require a break in period at all.
On the other hand, stiffer, heavier backpacking boots designed to provide extra support when carrying a heavy load, may require a break in period. These can cause blisters and foot pain at first, so take a few walks and short hikes in them to soften the material before you hit the trail for any longer hikes. You can even wear them around your house or when you’re outside doing yard work.
4. Keep your Feet Dry
Most people’s feet sweat when they are hiking. As I mentioned, a quality pair of wool socks will be more breathable than other materials and will keep your feet feeling relatively dry. If you are an extra sweaty person, you can try foot powder to absorb moisture, and you can take your shoes off during your snack breaks to allow your feet to breathe.
If you have to hike through a river or it’s raining out, whether you have waterproof or non-waterproof boots can make a big difference in how dry your feet stay too. If your boots are waterproof, try to avoid walking through water deeper than the cuff of your boot. If water spills in the top, waterproof boots will not dry out. In this situation, pull over, take off your boots, and pour out any water so it’s not sloshing around.

If you’re wearing non-waterproof boots or shoes, you’ll want to avoid walking through puddles as water will soak in through the sides. The good thing about non-waterproof boots is that they will dry out more quickly, however.
If you’re hiking multiple days in a row, do your best to dry out your boots at night. You can place them near to the campfire. Just don’t put them too close or they might melt (which I know from experience).
Another great tip from long-distance thru-hikers is to change your socks 1-2 times per day on a multi-day hike and attach the damp pair to the outside of your bag to ensure you always have a dry pair.
Giving your feet a little extra attention never hurts. Trim your toenails so they aren’t jamming into the front of your boots, give yourself a foot massage and keep your boots free of rocks and debris. You can also apply an anti-blister balm before putting on your socks and shoes.
Off trail, soak your feet in warm water and Epsom salts to speed up the healing process. Or dip your feet in a creek (& make sure to let your feet thoroughly dry afterwards) to relax and soothe tired toes. The better you take care of your feet, socks and boots, the better time you’ll have outdoors.
How to treat a hiking blister on the trail
Be Prepared With A Blister First Aid Kit
A blister kit will help you treat hiking blisters on the go — while prevention comes first, it’s always a good idea to be prepared in case a blister does happen. Make your own hiking blister-care kit that you can stash in your first aid kit and treat any hot spots as soon as you feel them forming.
Here’s what to put in your hiking blister kit:
Treating hotspots & blisters
A hotspot is the precursor of a blister and a warning sign that things are probably about to get worse. Many of us have felt that twinge of discomfort, heat, and irritation out on the trail and often keep pushing on. However, ignoring the hotspot and pushing through is the fastest way to get a full-blown painful blister so it’s better to stop and address it right away.
As soon as I start to feel a hot spot forming, I stop, take off my socks and shoes and see what’s going on. Generally I’ll treat it the same way I would if a blister was already formed. This can prevent it from getting worse.
My method for treating blisters goes like this:
- If the skin is broken, clean it with alcohol wipes
- Use Spenco 2nd Skin blister pads (linked above) to cover the hot spot or blister – this creates a protective and durable layer of “skin” in between your foot and shoe.
- Cover it with Spenco adhesive knit (also linked above)- this holds the 2nd skin in place
I personally prefer the Spenco products over moleskin. I find moleskin doesn’t always stick and will end up shifting inside my boot.
At night, I remove the bandages and uncover the area to let the blister breathe while I sleep. Remember, the best way to deal with a blister is not to get a blister, so early detection of hotspots is key!
Should you really pop your blisters?
The short answer is no. You should not pop your blister unless necessary. The irritated and damaged skin causes a cushion of fluid to fill the area to protect the more delicate skin beneath it, so popping your blister will expose the layer of raw and red thin skin underneath (ouch!). Not popping your hiking blister is the best way to prevent an even worse injury or infection.
However, sometimes blisters become too big or they will even pop on their own – particularly if you’re on a multi-day backpacking trip. In that case, you might need to pop it to avoid further pain and skin damage. Here is how to properly pop a blister:
- Sterilize a safety pin using an alcohol wipe from your first aid kit
- Use that to gently pop the blister
- Wipe the area with another alcohol wipe
- Apply Neosporin
- Follow the blister treatment steps above – apply 2nd skin and cover with tape.
Do not peel the skin of the blister off of your foot. That dead skin helps protect the raw skin underneath.

Save this post to Pinterest
Do you have any tried and true methods for how to prevent blisters? Or have you had a blister ruin a hike? Leave your best blister tips in the comments below.
Related


