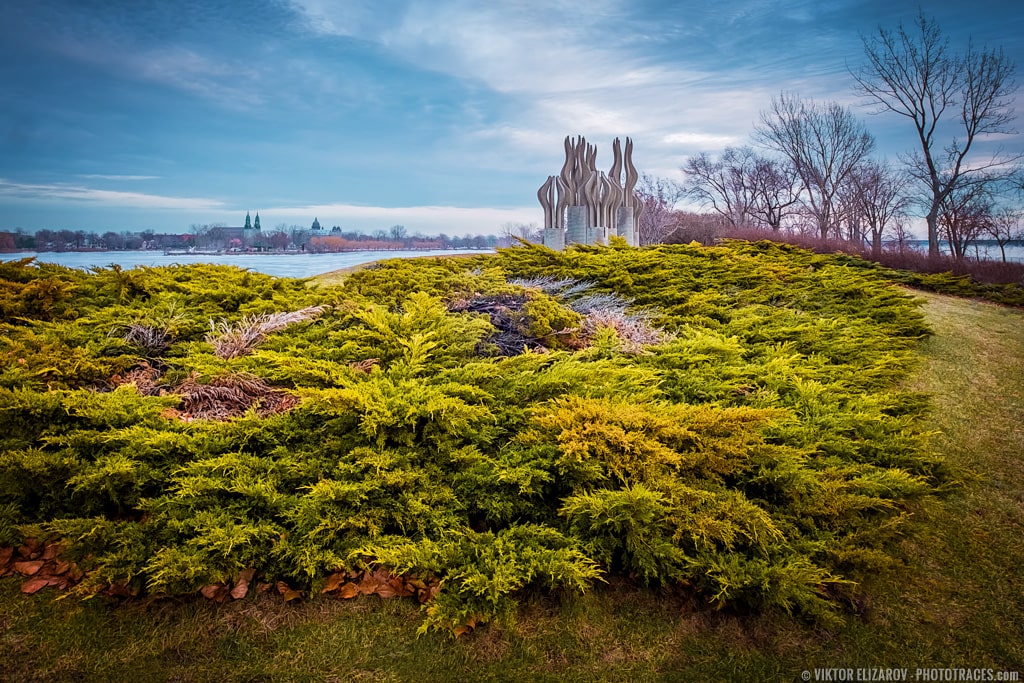
When you look at the featured photo, the scene looks colorful and vibrant. But it was not like that in reality; I cheated.
It was December in Montreal and, by that time, all the leaves were gone, and everything looked dull and depressing without any snow.
The only spot of color in the entire park was the evergreen plant close to the sculpture. To inject colors into my composition, I used the widest focal length I had (10mm) and made the green area the focal point of the entire composition. The wide-angle lens exaggerated the size of the vegetation and made it much bigger than it was in reality.
For the midground point of interest, I used the sculpture, and for the background, I used the church on the other side of the river.
Take a look at the article “The Concept of Foreground, Midground, and Background in Landscape Photography” where I explain how to use this composition technique.

Shooting
I was shooting on a tripod. In order to make sure that every element of the composition was in focus, I used the aperture value of f/11. The combination of 10mm focal length and f/11 aperture produced the hyperfocal distance of 0,51m.
Editing & Processing
It was a single RAW processing workflow.
Lightroom (80%)
My first goal was to make sure all the horizontal lines of the composition were horizontal and all vertical lines were vertical. I use the Guided Upright Tool of the Transform Panel to achieve it.
Next, I used the Crop Overy tool to make composition much tighter. I kept the original aspect ratio.
I used the Natural preset from my Landscape Preset Collection as the base for Lightroom Rapid Editing. Then I used TOOLKIT to boost the Contrast and the Clarity.
The Lightroom Preset Editing Formula: Natural (1, 9, 21, 25, 32)
Photoshop (20%)
In Photoshop, I cleaned up the image by removing a bunch of leaves in the foreground with the help of the Stamp Tool. At the very end, I reduced the digital noise.
Total time: 12min

