

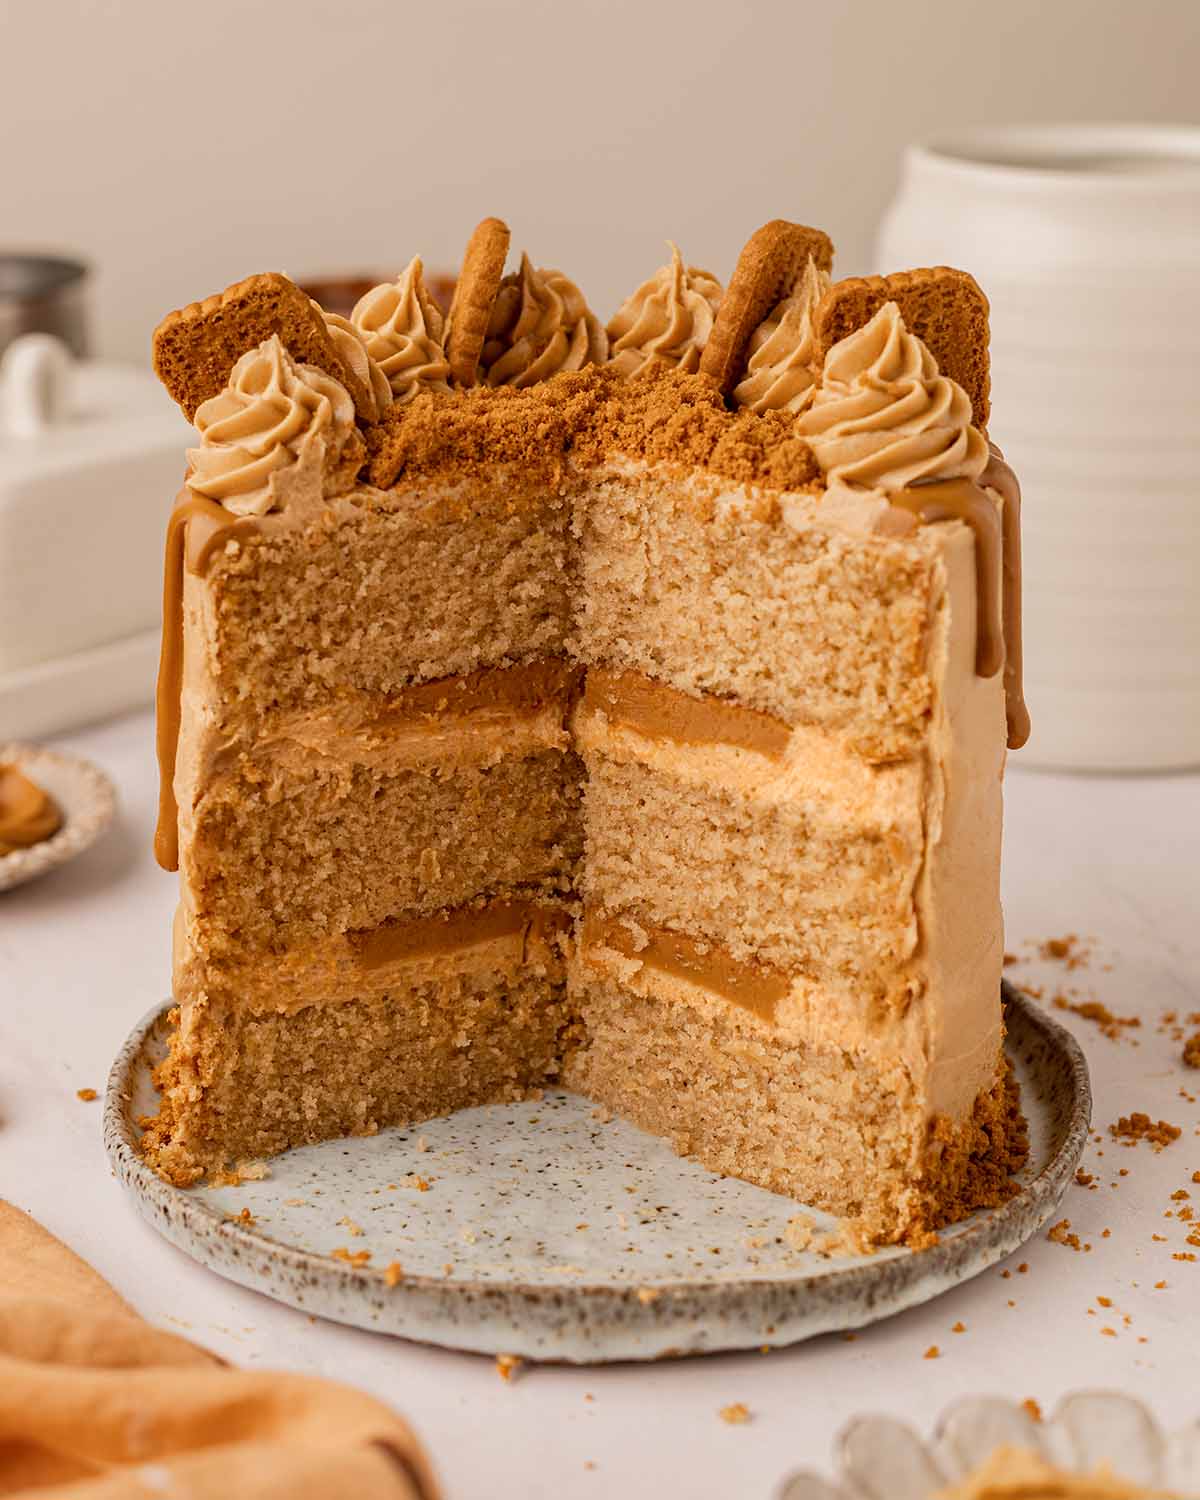
Indulgent vegan Biscoff cake made with layers of fluffy Biscoff sponge cakes, and a rich Biscoff buttercream! This epic dessert has lots of Biscoff flavor (we’re using more than 1 jar) and is perfect for any time of the year.

Key ingredients you’ll need

Notes about the ingredients
Smooth Biscoff spread or speculoos cookie butter. I used Lotus Biscoff spread but other cookie butter brands should work similarly.
Dairy-free milk. I prefer using soy milk in baked goods, as it creates a more tender crumb. However, any dairy-free milk will work (for example oat milk or almond milk).
Ground cinnamon to enhance the Biscoff flavor in the cake.
Baking powder and soda. Biscoff spread weighs down a cake so we’re using double raising agents to make sure the cake is fluffy!
Apple cider vinegar (not pictured) reacts with dairy-free milk to create vegan buttermilk and makes the cake more tender.
Making the cake batter
The vegan Biscoff cake is easy to make as you just stir the wet ingredients, add the dry ingredients and mix until combined. The batter should be quite runny. Similar to peanut butter, Biscoff spread is actually quite drying when you bake it, so the recipe needs extra wet ingredients to balance it out.
For the fluffiest Biscoff cake, I recommend:
- Measuring your flour accurately, using the spoon and level method (if using cups) or by using a kitchen scale. Adding too much flour to any cake recipe will make it dry and dense.
- Avoid overmixing your cake batter. Some lumps in your cake batter are fine, as long as they aren’t lumps of dry flour. Overmixing your cake batter will make it denser and it will rise less.

Baking the Biscoff cake
I used 3 x 6-inch (15cm) cake tins to bake this cake, as I wanted more layers of Biscoff between each layer. However, the cake will work well in:
- 2 x 8-inch (20cm) cake tins. Bake the cakes for around 30-35 minutes.
- 9 x 13-inch sheet pan. Bake the cake for around 35-40 minutes.
If you own cake strips, I recommend using them to bake this cake. They minimize any doming and will make the exterior of the cake softer!
If your cakes have domes, allow the cakes to cool and trim them off with a serrated knife. When the cake is really fresh, the exterior of the cake is sometimes ‘crusty’ (even though the inside of the cake is super soft). If your knife can’t ‘grip’ onto the cake, brush the cake with plain water, cover the cakes and come back a little later. If you keep the cakes in an airtight container (rather than exposed), the exterior will soften.

Decorating the cake
This cake is lovely with a creamy Biscoff buttercream frosting, extra Biscoff cookie butter and whole/crushed Biscoff cookies.
If you want to add Biscoff spread in between the cake layers, make sure you create a ‘dam of frosting’ otherwise the Biscoff will ooze out of the sides of the cake (Image 8 below).
You can also decorate your cake with:
And for the ultimate dessert, serve a slice of this cake with my no-churn biscoff ice cream!


More vegan layer cakes
Follow Rainbow Nourishments on Instagram, Facebook, TikTok and Pinterest, and subscribe via email to receive all of our latest recipes!
Vegan Biscoff Cake
Indulgent vegan Biscoff cake made with layers of fluffy Biscoff sponge cakes, and a rich Biscoff buttercream! This epic dessert has lots of Biscoff flavor (we’re using more than 1 jar) and is perfect for any time of the year.
Servings: 16
Prevent your screen from going dark
Instructions
Make the Biscoff cake:
-
Preheat your oven to 180°C (320°F). Line 3 x 6-inch (15 cm) round cake pans with parchment paper.
-
Add all the wet ingredients to a large mixing bowl and mix until well combined. Try to make sure the Biscoff is fully dissolved. Add all the dry ingredients and mix until just combined.
-
Evenly divide the cake batter into your 3 prepared pans. Bake for 35-40 minutes or you can insert a toothpick in the center of each cake and it comes out clean. Allow the cakes to cool in the tins for 20 minutes then place them on a wire rack.
-
When the cakes are cool, keep them in an airtight container to prevent the exterior from drying out.
Make the Biscoff frosting:
-
Add the 1 cup (240g) of Biscoff spread and vegan butter to a large bowl (if using a hand mixer) or a stand mixer with the whisk or paddle attachment. Beat on high speed for 3-5 minutes until the mixture is light and fluffy.
-
Add the powdered sugar and vanilla to the bowl. Beat on low for 30 seconds or until the sugar is fully incorporated. Increase to high speed and beat the frosting for another 5 to 10 minutes or until it’s light and fluffy.
-
Taste test the frosting. For a sweeter or firmer frosting, add more sugar. For a softer frosting, add 1-2 tablespoons of dairy-free milk. Beat the frosting until it’s light and fluffy.
Assemble and decorate the cake:
-
If the cakes have domes, use a serrated knife to trim them off (note 2).
-
Place one cake layer on a serving plate and spread around ⅓ cup of Biscoff frosting on top. If you’d like Biscoff filling between your layers, use a piping bag with a large round nozzle to pipe a ‘dam’ of frosting (see Image 8 in the blog post). Melt around ¼ cup (60g) of biscoff spread until it’s runny and lukewarm, but not hot. Pour the spread in the middle of the ‘dam’.
-
Place another cake layer on the frosting making sure it is level. Repeat until you’ve used all 3 cake layers.
-
Spread the remaining Biscoff buttercream on the tops and sides of the cake, as desired. If your cake is crumbly, you can crumb coat your cake if desired (I didn’t need to). Chill the cake in the fridge or freezer for 10 minutes.
-
Using a piping bag, pipe the remaining melted Biscoff spread on the sides of the cake to make a drip. Top with any remaining buttercream, whole and crushed Biscoff cookies. The cookies will soften after a few hours when placed on the cake, so if you’re serving this cake later, place the Biscoff cookies on the cake just before serving.
-
Store any leftovers in an airtight container at room temperature for 2-3 days, in the fridge for up 4-5 days or in the freezer for up to 1 month. Allow the cake to come to room temperature before eating.
Notes
- If your flour has lumps in it, sift it before adding to the wet ingredients.
Also, make sure you measure your flour accurately, otherwise your cake will be dry and dense. For the best results, use the gram measurements. If using measuring cups, spoon and level your flour by fluffing up the flour in its container, use a spoon to add flour to your measuring cup, and level it off with a knife. Using your measuring cup to scoop flour out of the container will pack too much flour into your cup and batter. - Sometimes the top of this cake can be a little crispy, whereas the sides are soft and the inside is very spongey. If your knife can’t ‘grip’ onto the cake, brush the top of the cakes with water, and cover them with an airtight container or plastic wrap. This will soften the tops of the cakes. Alternatively, just trim the cake a little further down.
This post may contain affiliate links. As an Amazon Associate, I may earn a small commission from qualifying purchases at no additional cost to you.