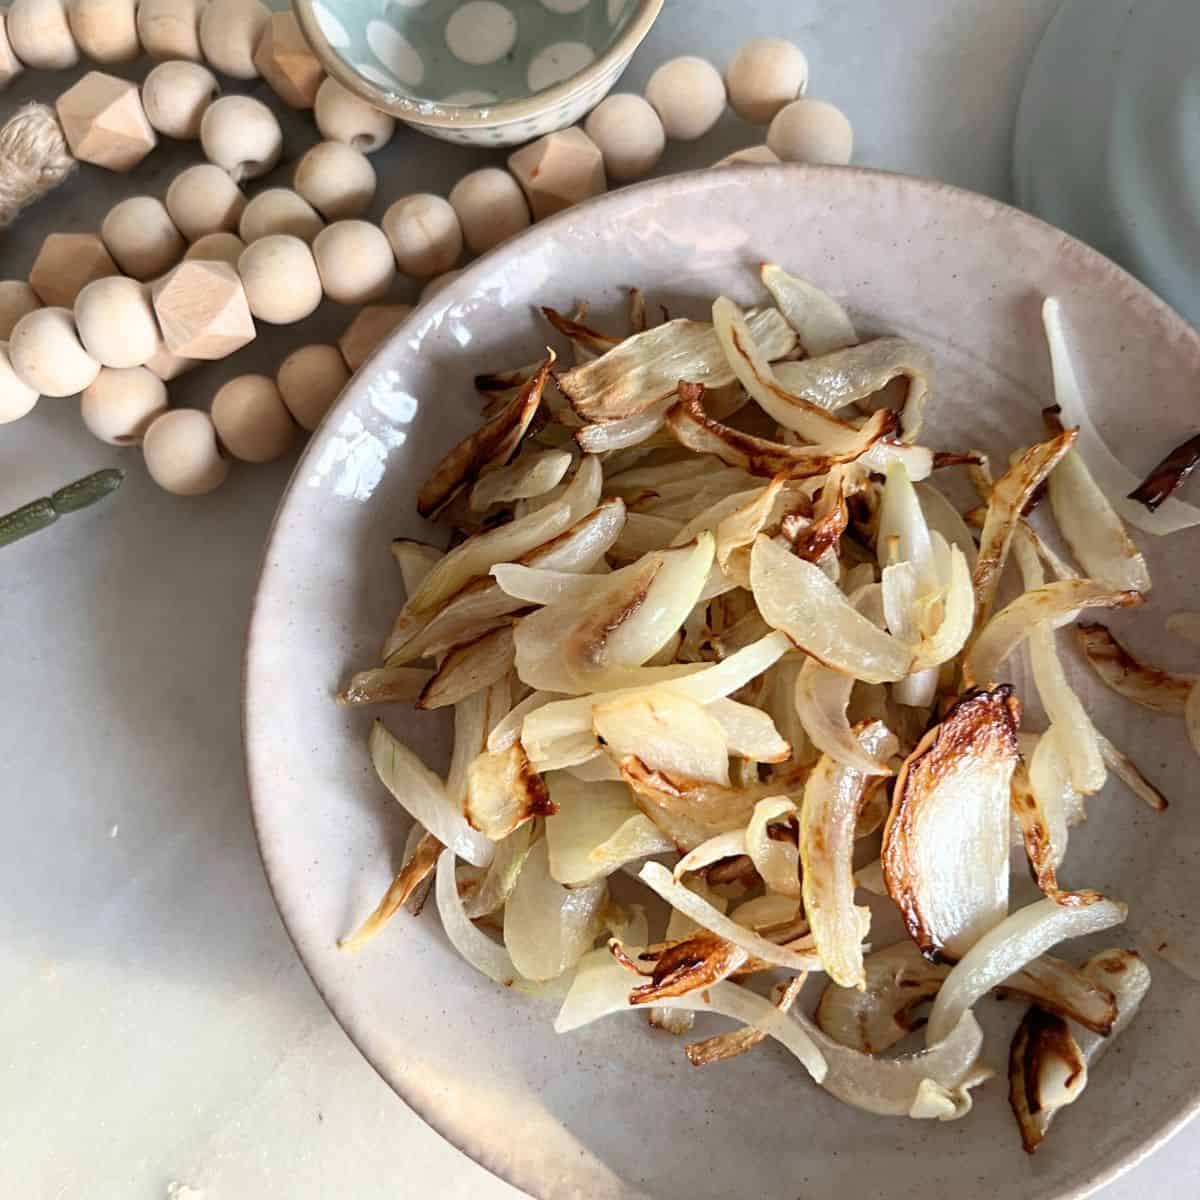
Blackstone Caramelized onions are a culinary treasure that can elevate a wide range of dishes, from burgers and sandwiches to soups and pasta. Their rich, sweet flavor and silky texture make them a versatile ingredient in any kitchen.

However, achieving the perfect caramelized onions requires patience and a bit of technique. In this blog post, we’ll explore the step-by-step process to make caramelized onions that are irresistibly delicious.
Jump to:
Ingredients Needed for Onions on Blackstone
- 4 large yellow or sweet onions
- 2 tablespoons of olive oil or butter (or a combination of both)
- A pinch of salt
- Optional: a teaspoon of sugar, a splash of balsamic vinegar, or a few fresh thyme sprigs for added flavor
Equipment:
- A large, heavy-bottomed skillet or sauté pan, or outdoor griddle
- A sharp knife or mandoline slicer
- A wooden spoon or spatula
Step-by-Step Instructions for Onions on Blackstone
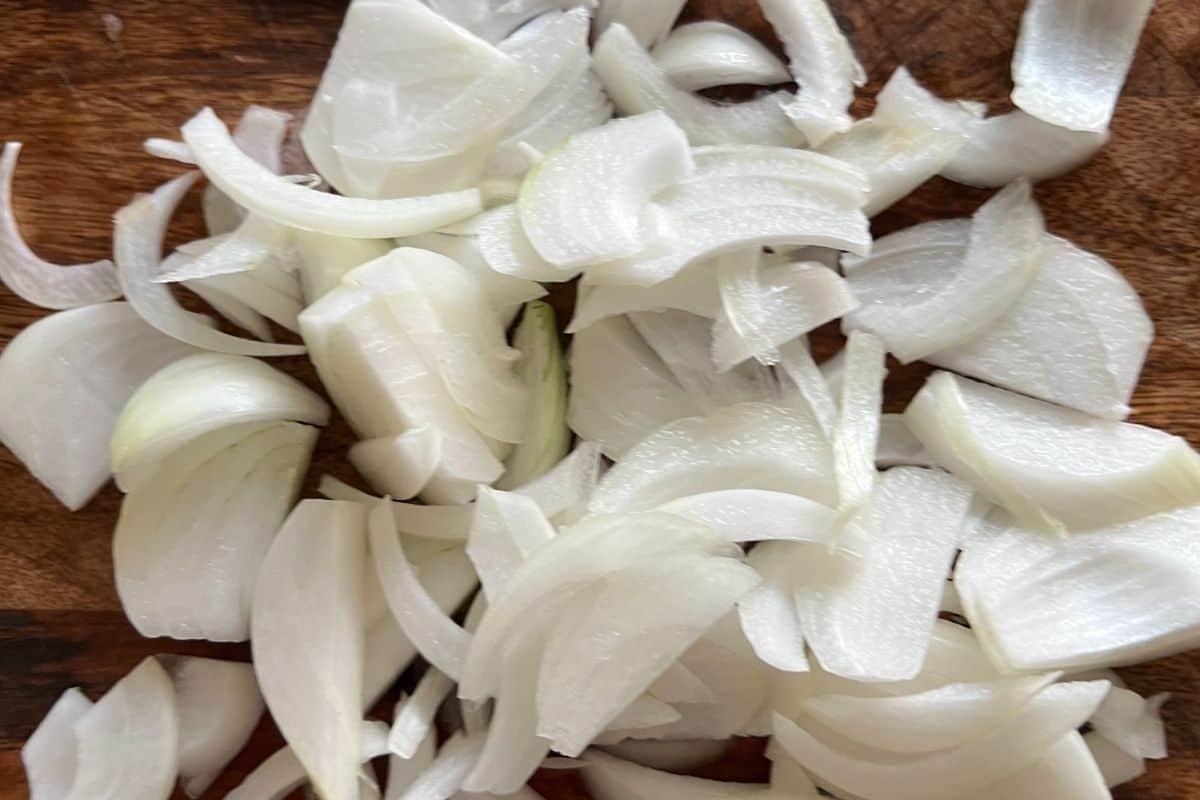
Step 1 Prepare the Onions: Start by peeling the onions. Cut off the root and stem ends, then slice the onions in half from root to tip. Lay each half flat on your cutting board and slice thinly.

Step 2 Heat an outdoor Griddle: Set your griddle over medium heat and add the olive oil or butter.
Step 3 Add the Onions: Once the oil or butter is hot, add the sliced onions to the pan. Stir them to coat evenly with the fat. Sprinkle a pinch of salt over the onions.
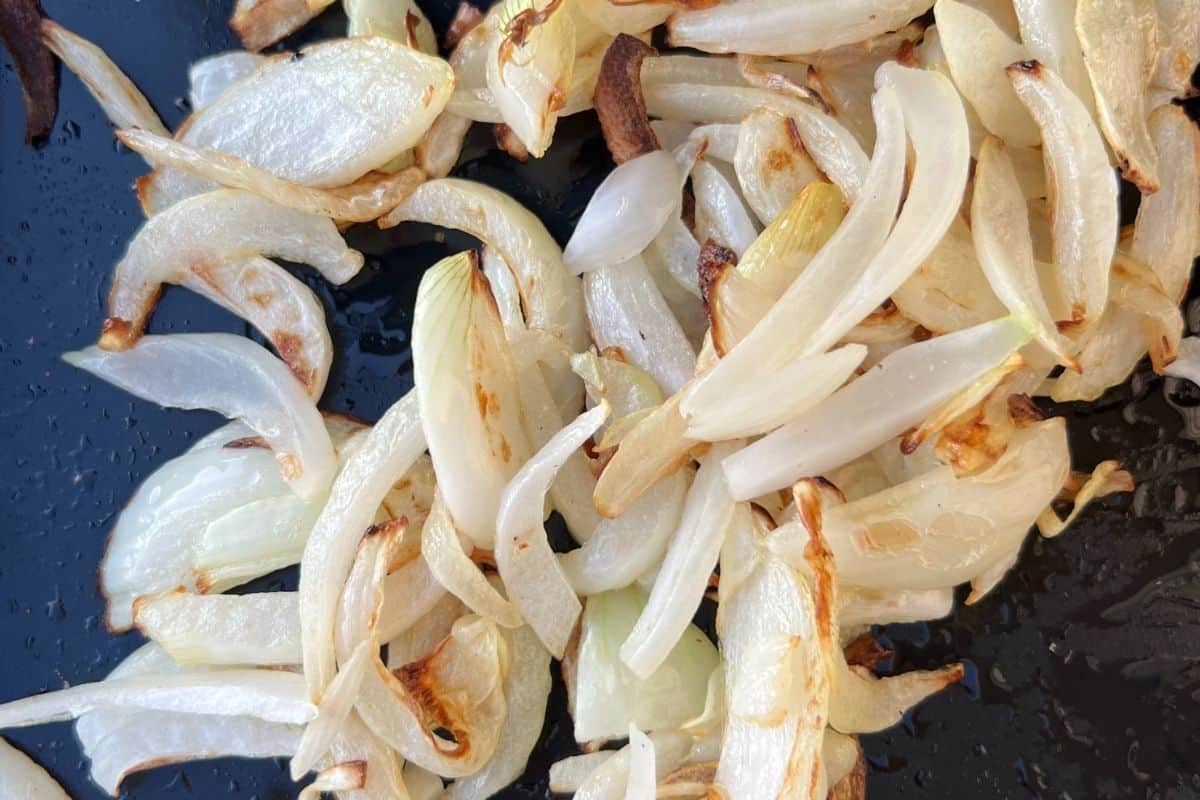
Step 4 Cook Low and Slow: The key to perfect caramelized onions is patience. Lower the heat to medium-low or even low, depending on your stove. Stir the onions every few minutes to ensure they cook evenly and don’t stick to the pan. The entire process can take anywhere from 30 to 60 minutes.

Monitor and Adjust: As the onions cook, they’ll release moisture and gradually turn from white to golden brown.
Recipe Tips and Tricks
- If you notice the onions are sticking too much or browning too quickly, you can add a splash of water or broth to deglaze the pan and prevent burning. This will also help lift any caramelized bits from the bottom of the pan, adding to the overall flavor.
- If you prefer a sweeter flavor, you can add a teaspoon of sugar about halfway through the cooking process to your onions.
- The salt will help draw out the moisture from the onions, which is essential for the caramelization process.
- The onions are done when they have a rich, deep brown color and a jam-like consistency. Taste and adjust seasoning if necessary. If you added thyme, you can remove the sprigs before serving
- The onions need to cook slowly to develop their deep, rich flavor without burning.
- If you don’t have an outdoor griddle use a Heavy-Bottomed Pan. A pan with a thick base helps distribute heat evenly, preventing hot spots that can cause burning.
- Stir Regularly: While you don’t need to babysit the onions constantly, regular stirring ensures even cooking and prevents sticking.
Uses for Blackstone Onions
Caramelized onions are incredibly versatile. Here are a few ideas to inspire you:
- Burgers and Sandwiches: Add caramelized onions to burgers, grilled cheese sandwiches, or paninis for a burst of flavor.
- Pizza and Flatbreads: Spread caramelized onions over pizza dough or flatbread, along with your favorite toppings.
- Soups and Stews: Stir caramelized onions into soups and stews for added depth and sweetness.
- Pasta and Risotto: Mix caramelized onions into pasta dishes or risotto for a savory-sweet element.
- Toppings: Use them as a topping for baked potatoes, steaks, or even scrambled eggs.
In conclusion, mastering the art of caramelizing onions is a rewarding endeavor that pays off in countless delicious ways. With patience and the right technique, you can transform simple onions into a gourmet ingredient that enhances a wide variety of dishes. Happy cooking!
Blackstones are awesome!
Make your outdoor adventures a delicious affair with Blackstone griddle. This portable griddle has everything you need to whip up a smorgasbord of eggs, crunchy hash browns, crispy bacon and fluffy pancakes all at the same time.
Portable convenience: Whether you are cooking in your backyard or out in nature, make sure to take this lightweight, versatile flat top griddle with you. Thanks to the compact size, you can carry it for barbecue get-together, tailgating, fishing, pool parties, and more.
Cook for one, cook for all: 339 Sq. Inch cooking surface and 24,000 BTUs of heat mean all your cooking challenges will be met quickly. The large space of our outdoor griddle is perfect for cooking eggs, hash browns, bacon, French toast and other things yum!
How do I store leftovers?
Always store leftovers in clean, food-grade containers. The type of container doesn’t really matter. Use zip lock, glass, plastic, whatever! Make sure to store any leftovers in an airtight container.
If you tried this Blackstone Onions or any other recipe on my website, please leave a 🌟 star rating and let me know how you go in the 📝 comments below. I love hearing from you! Follow along on Tiktok @jennarecipediaries
Want to Save This Recipe?
Enter your email & I’ll send it to your inbox. Plus, get great new recipes from me every week!
By submitting this form, you consent to receive emails from Recipes Diaries.

Blackstone Onions
Prep Time: 5 min
Cook Time: 20-25min
Total Time: 30 min
Yield: 4
Category: Easy
Method: Blackstone
Cuisine: American
Description
Blackstone Caramelized onions are a culinary treasure that can elevate a wide range of dishes, from burgers and sandwiches to soups and pasta.
4 large yellow or sweet onions
2 tablespoons of olive oil or butter (or a combination of both
Optional: a teaspoon of sugar, a splash of balsamic vinegar, or a few fresh thyme sprigs for added flavor
Instructions
Step 1 Prepare the Onions: Start by peeling the onions. Cut off the root and stem ends, then slice the onions in half from root to tip. Lay each half flat on your cutting board and slice thinly.
Step 2 Heat an outdoor Griddle: Set your griddle over medium heat and add the olive oil or butter.
Step 3 Add the Onions: Once the oil or butter is hot, add the sliced onions to the pan. Stir them to coat evenly with the fat. Sprinkle a pinch of salt over the onions.
Step 4 Cook Low and Slow: The key to perfect caramelized onions is patience. Lower the heat to medium-low or even low, depending on your stove. Stir the onions every few minutes to ensure they cook evenly and don’t stick to the pan. The entire process can take anywhere from 30 to 60 minutes.
Monitor and Adjust: As the onions cook, they’ll release moisture and gradually turn from white to golden brown.
Notes
See notes above for what you can use caramelized onions for!

