RV Trailer Brakes tend to get neglected until there is a catastrophic failure that could have been avoided.
Just like the brakes on your truck, RV Trailer Brakes need to be replaced at regular intervals to be sure they will work when you need them too. Going down hill with an extra ton or five behind you is not the time to realize you should have replaced them.
The first thing you need to do is figure out what RV Trailer brakes you have, so that you can order the replacements.
What RV Trailer Brakes Do I Need?
You need two key pieces of information to get the right brakes for your Fifth Wheel or Travel Trailer.
First you need to know what size axles you have. Somewhere on your axle should be an information tag that shows what weight axles you have. Ours are Dexter 7,000 Pound Axles.
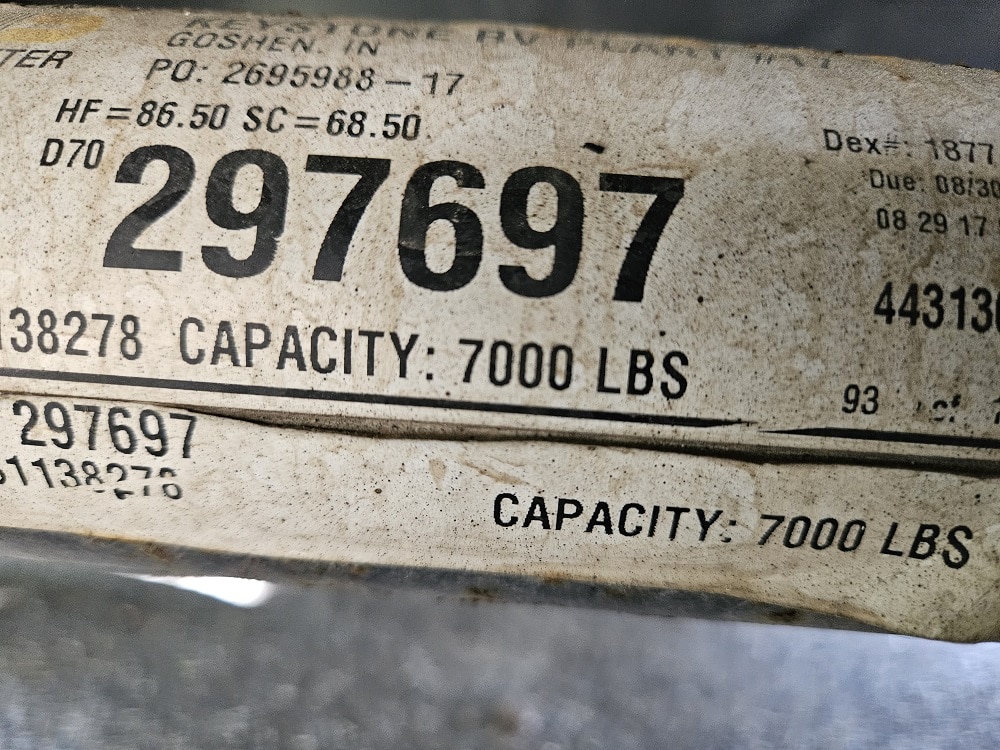
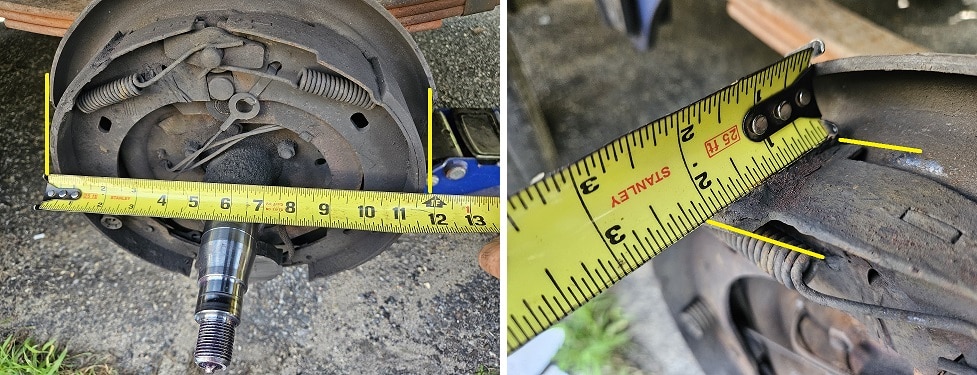
The next piece of information you need is the size of your brake assembly. Different size axles and rims will have different size assemblies. Our axles have 12 inch x 2 in brake assemblies.
Ordering Replacement RV Trailer Brakes
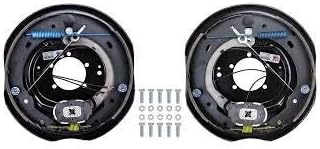
Just like everything else, there are different types of trailer brake assembles. There are manual adjustment brakes, and self adjusting. We chose to use the Dexter 12×2 Nev-R-Adjust Self Adjusting Trailer Brakes.
These self adjusting brakes mean that I don’t have to remember to fine tune them every season before we hit the road. The brake assemblies will adjust themselves to maintain the right amount of spacing between themselves and the brake drum.
On your Fifth Wheel or Travel Trailer, your brake drum is all part of your Hub Assembly. Replacing your brake drum and bearings is just as important as replacing your RV Trailer Brakes. If your bearings give out your wheels can snap right off your axle.
The brake drums are subject to a condition called glazing. This is when the hub absorbs so much heat that applying the brakes acts more like a polishing wheel than a brake pad. The contact surface of the hub becomes as smooth as glass preventing the brake pads from actually slowing you down.
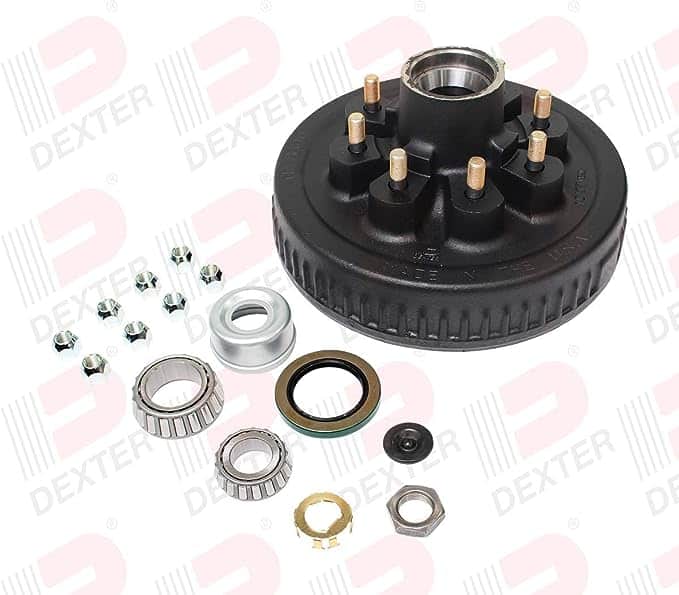
We ordered these Dexter Brake Drum And Axle Bearing kits. They come with the new hub, new inner and outer bearing, grease caps, lock nuts, lock ring. The whole deal.
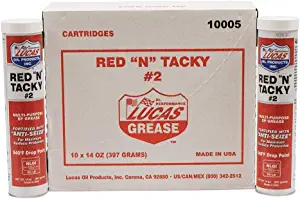
RV Wheel Bearing Grease and a quality Grease Gun are the next things you are going to need. My grease of choice is Lucas Red n Tacky. It has great thermal properties, and after doing a maintenance greasing of my axle bearings last season the trailer towed easier and I even picked up half a mile per gallon on my fuel gauge.
Removing your existing RV Trailer Brakes
Start by removing the Dust Cap. Tap it from the inside out with a hammer and it will eventually pop out of your Hub.
Then remove the cotter pin or lock ring that is holding your spindle nut.
Next remove the nut and washer, and pull the entire Hub Assembly out and off the spindle.
Once the Hub Assembly is off, wipe off any remaining grease with a paper towel.
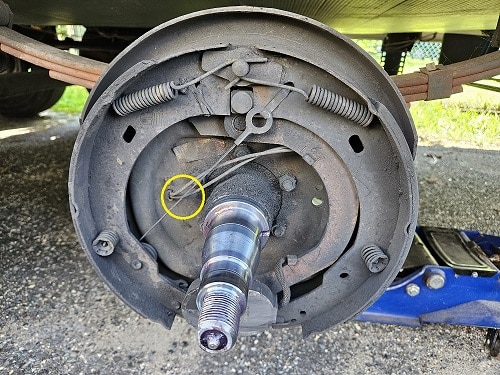
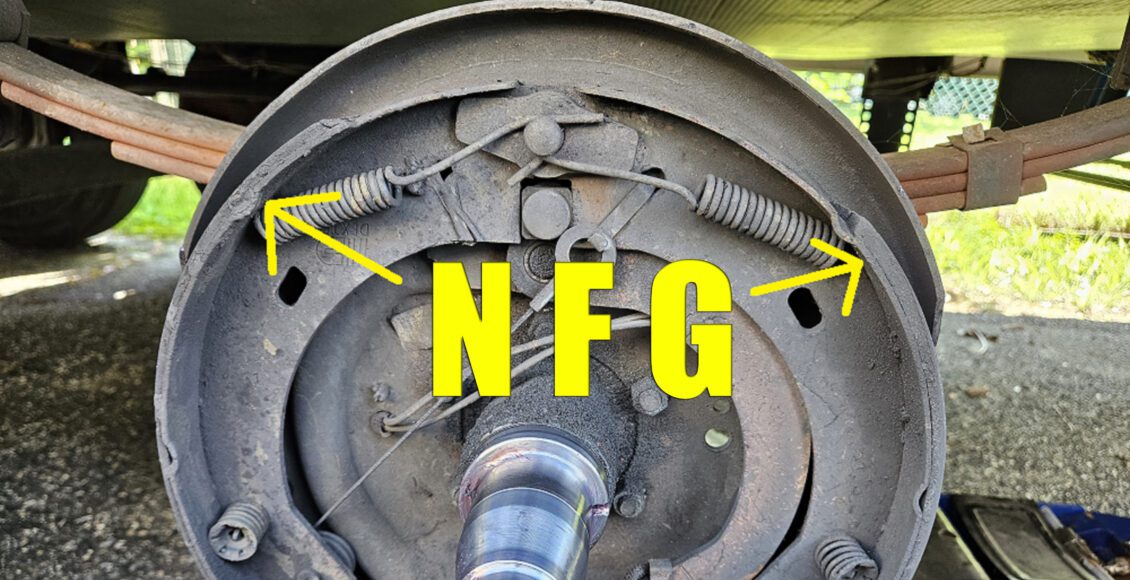
Now take notice of the two wires going through the back of the brake assembly. You are going to cut these two wires, on the trailer side of the wire nuts.
Finally, remove the mounting bolts that hold the brake assembly on.
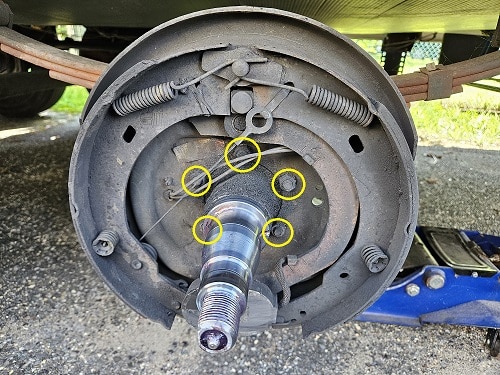
Now all you have to do it pop the new brake assembly on, and install the new lock nuts. On the back side you need to reconnect the two brake wires. I highly recommend using shrink tubing for a water tight connection.
Now slide your drum back onto the spindle, and reinstall the washer, luck nut and lock tab.
The final thing to do it tap the new dust cap on and grease the axle. There IS a right way to grease an axle, and if you want to see how to do it, Check out our youtube video where we do just that.


