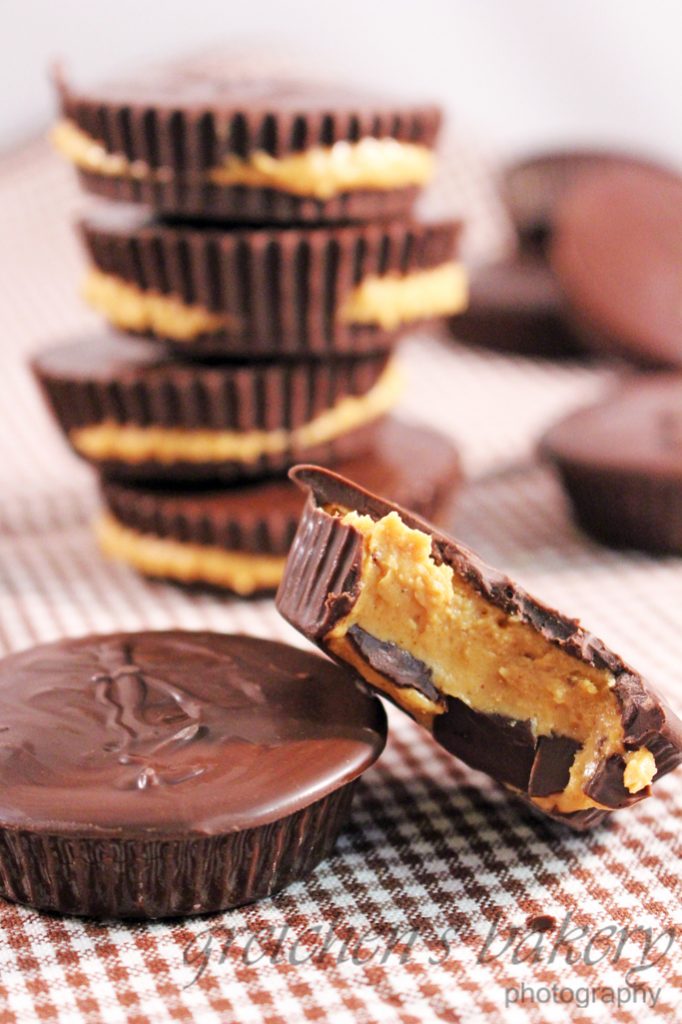
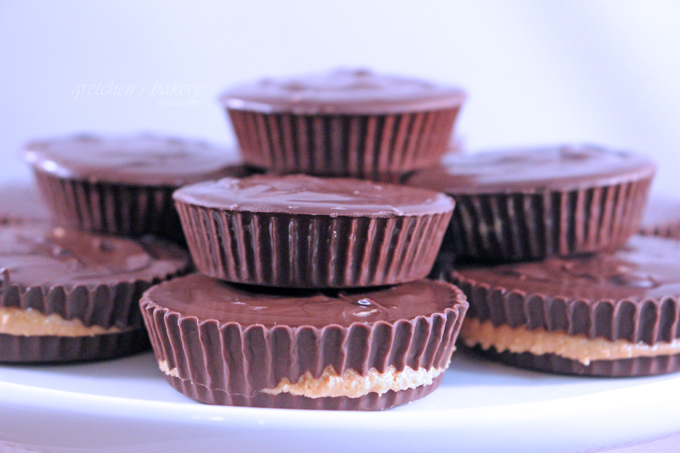
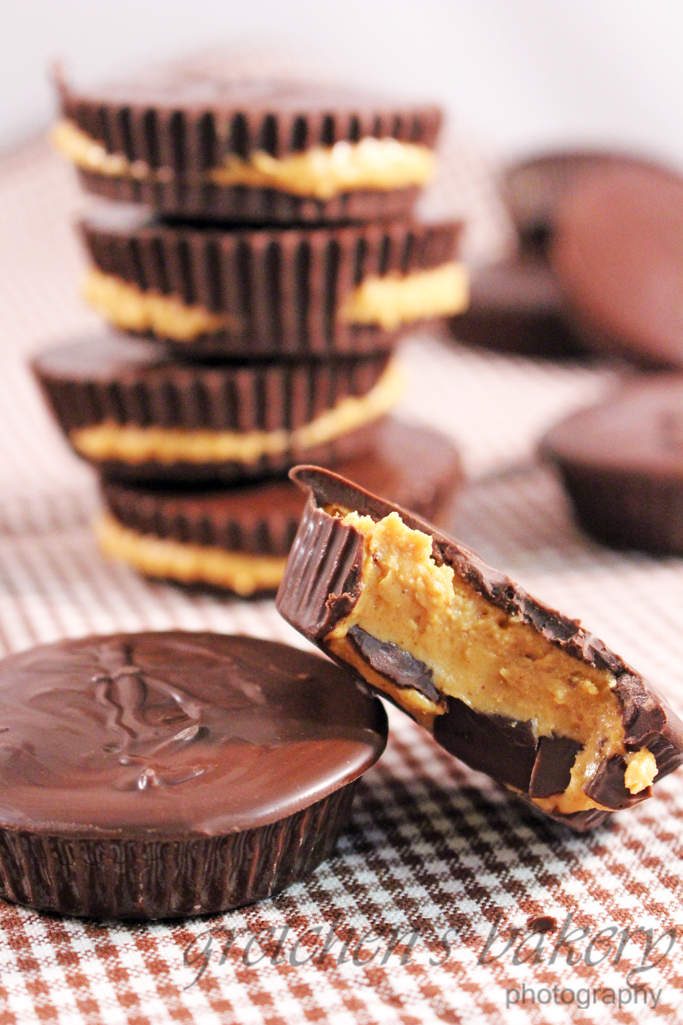
Homemade Vegan Peanut Butter Cups. Why bother. Right? Wrong!
These are so good! You will never buy them again!
Dare I say, they may be better than the real thing?
These little candy’s take no more than an hour to make for a first time
And once you do it again you will get even faster!
These are seriously a fast, fun, delicious treat that can be made on a whim!
This website may contain links as part of the Amazon Affiliate program, which means when you click a link and make a purchase through my website I may earn a small commission at no additional cost to you
Notes for Success:
The graham crackers can be left out, however that addition really makes this recipe exactly like the real thing!
You will have to temper your chocolate though to make sure that it sets or it will stay melt-y at room temperature
OR just use the King David Non Tempering Chocolate Coins!!
Callebaut makes a dairy free chocolate now and it is so good!*not sponsored
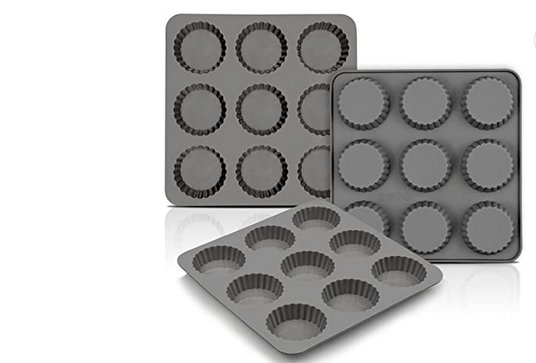
You don’t need the special mold as I show you in the video, but they are quite affordable if you want them to look like the real thing.
Click here for the chocolate candy cup molds
Or just make these easily in paper lined cupcake tins if you don’t want to spring for those molds.
In the video tutorial above I show you both ways to do it, so just take your pick!
CLICK HERE FOR THE YOUTUBE VIDEO TUTORIAL FOR HOW TO MAKE THESE!
Yield: 12 cups
Vegan Peanut Butter Cups
Prep Time
25 minutes
Total Time
25 minutes
Instructions
- Cream the peanut butter with the confectioners sugar, graham crackers and salt.
- Pipe or spread into chocolate the chocolate molds, OR into paper cupcake liners in a cupcake tin if you don’t want to buy the molds.
- Layer with the peanut butter cream and then another layer of chocolate
- Allow to set and then pop them out of the molds!
- Watch the video tutorial for how to do it!


