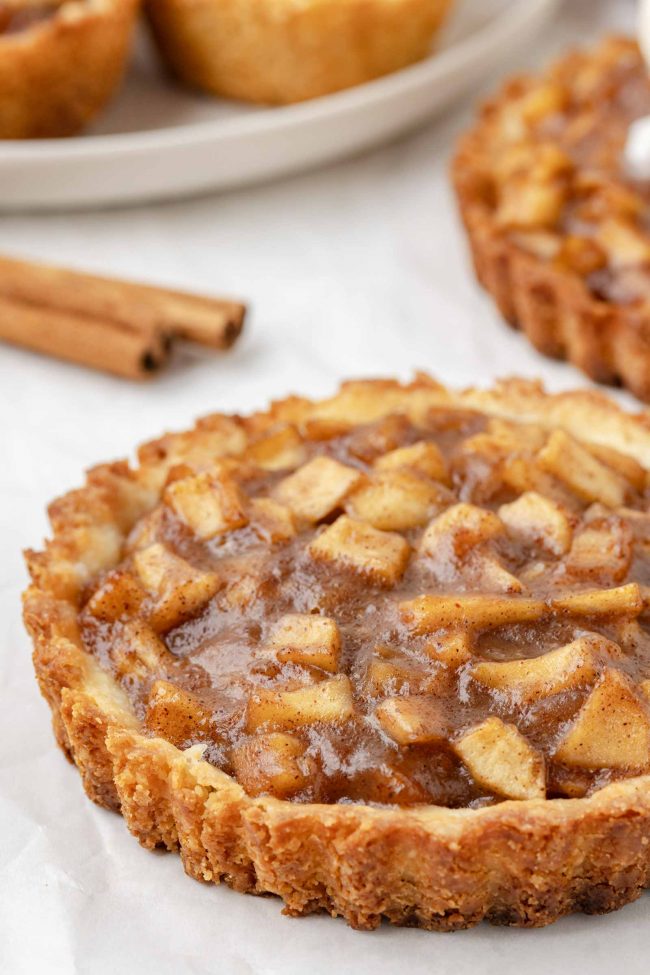
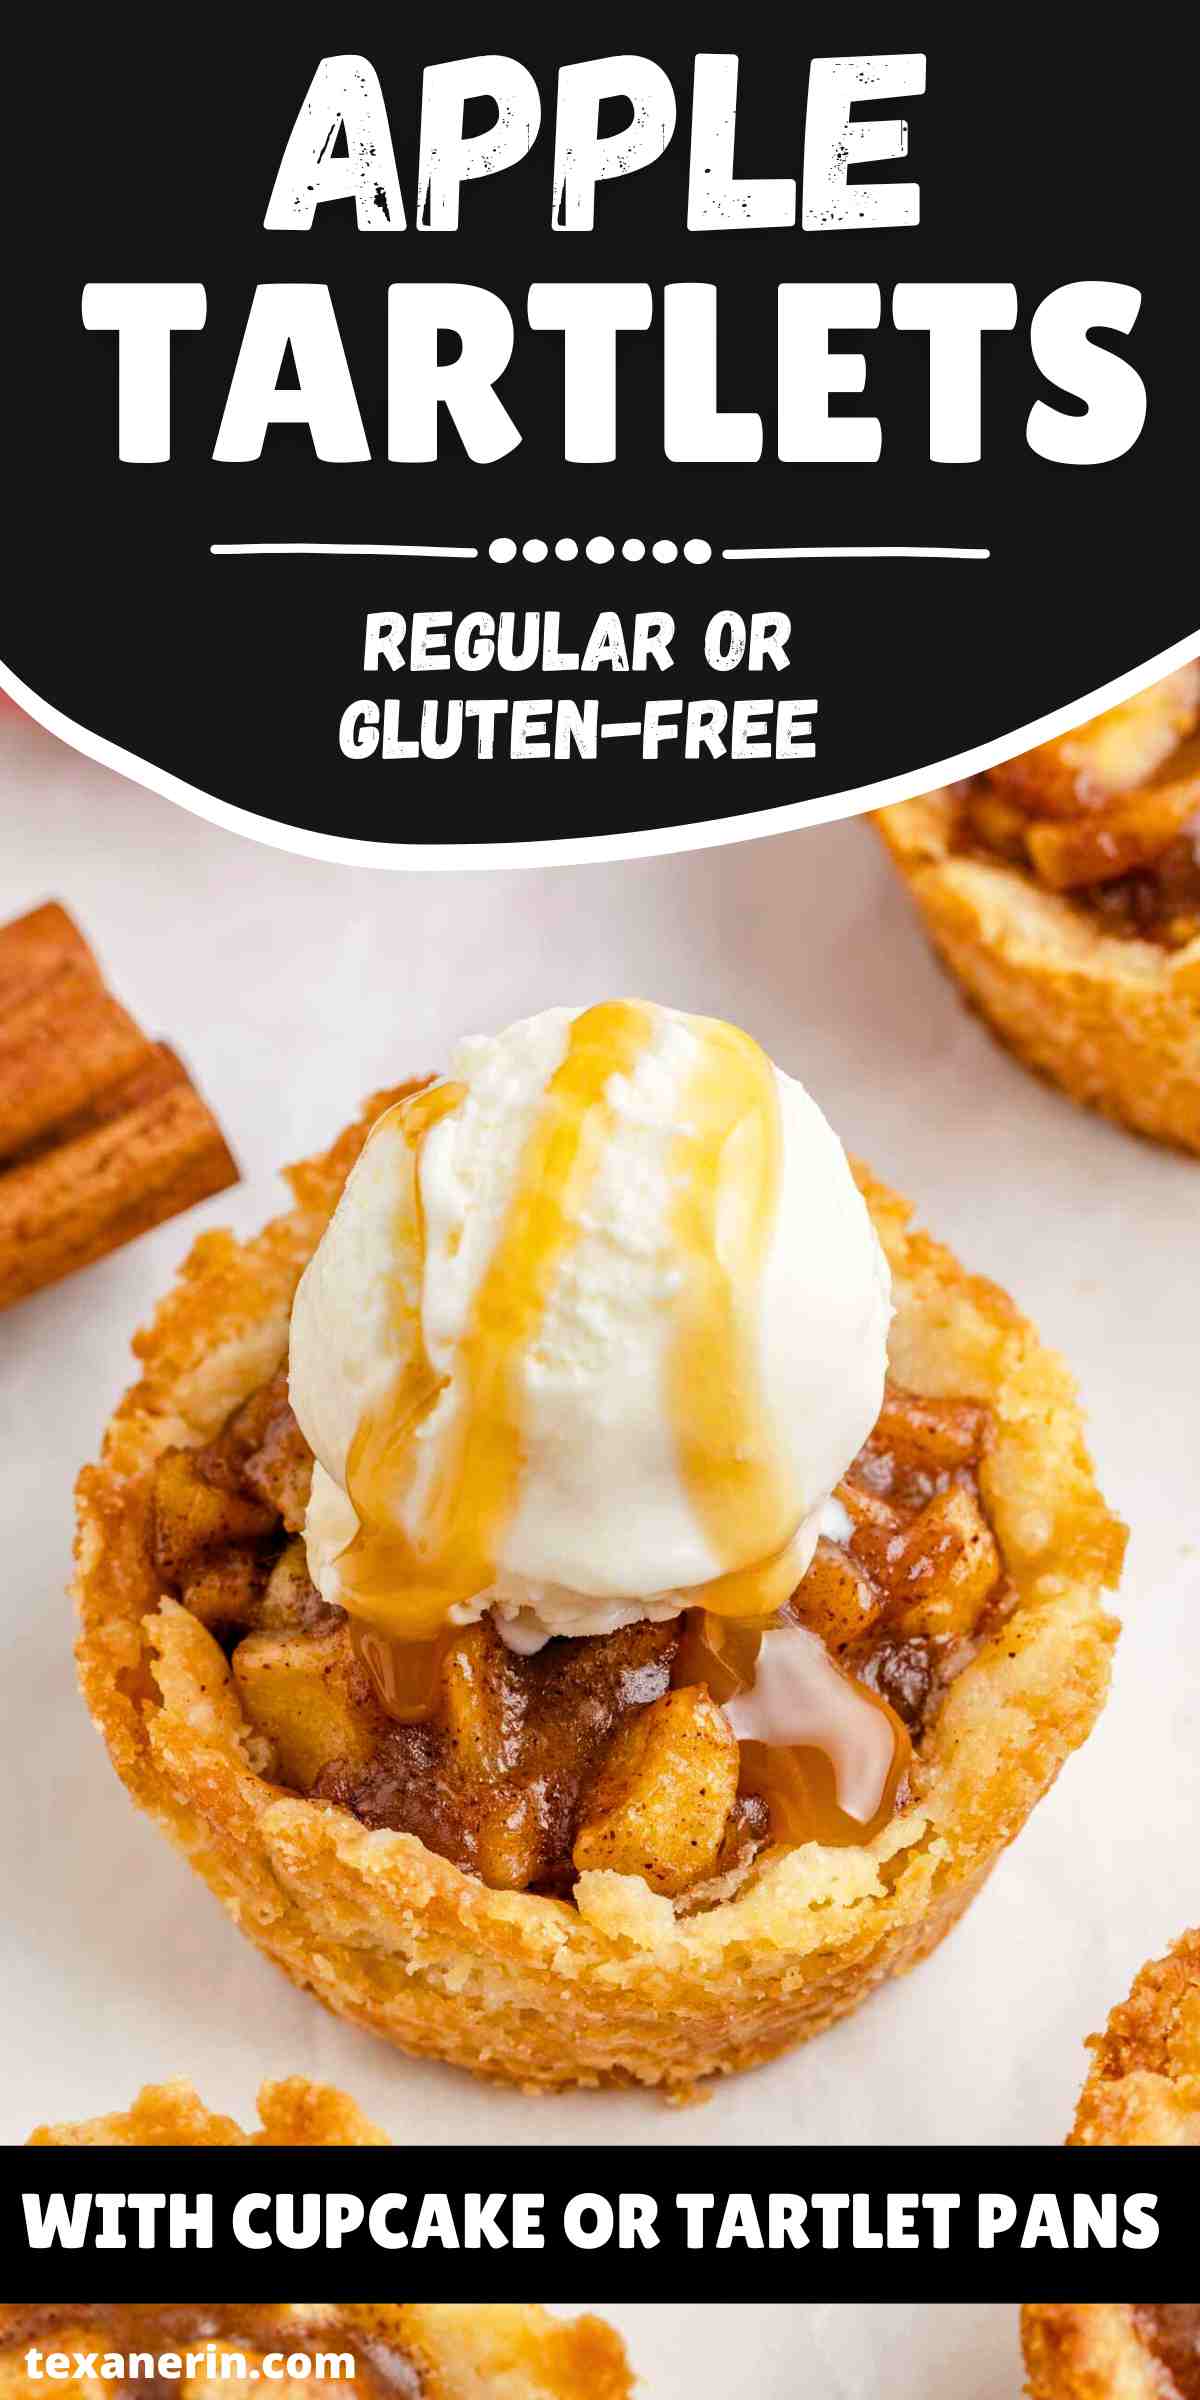
These apple tartlets have a perfectly balanced buttery crust with a warm, cinnamon-laced apple filling that’s too good to resist. They’re easy, yet elegant, and perfect for cozy fall evenings or family gatherings. I’ve included instructions on how to bake them in mini tart pans as well as in a regular cupcake pan. You can use gluten-free or all-purpose flour to make the tart crust.
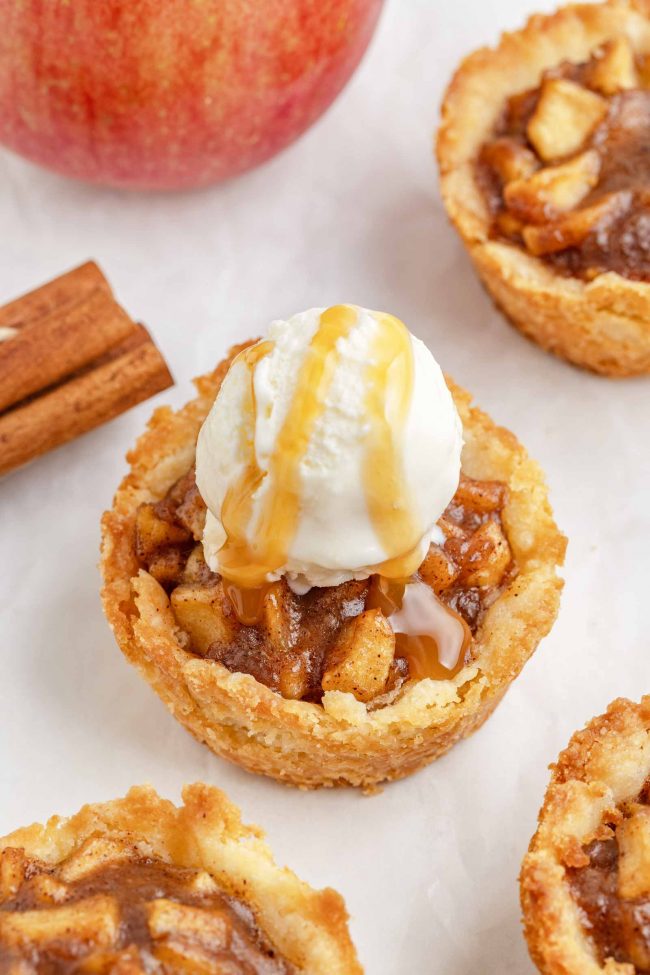
I’ll be sharing a pumpkin version of these tartlets in a few days, making it simple to prepare both flavors by doubling the dough recipe.
Today’s recipe isn’t at all healthy, so if you’re looking for a Thanksgiving dessert that’s a little healthier, check out this Swedish Apple Pie that’s 100% whole grain and oat-based. You can also make it dairy-free with coconut oil, which you can’t do with this recipe.
If you want to use vegan butter in this recipe, then that’s an easy sub.
Ingredients
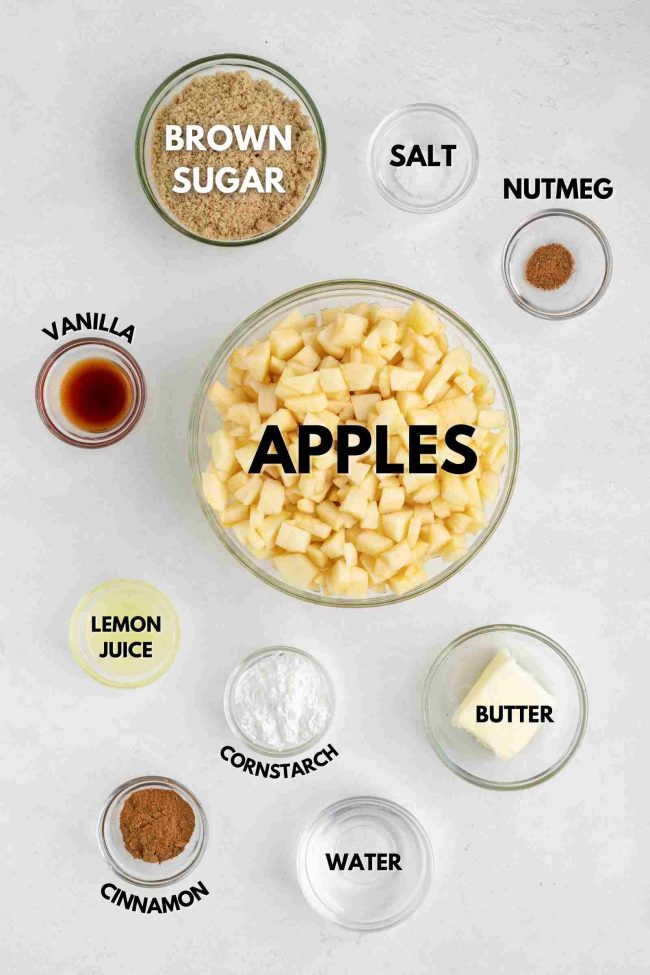
Here’s what you’ll need to make these apple pie tartlets.
You can find the full recipe and measurements at the bottom of the page.
If you don’t have lemon juice, you can use water. The lemon juice adds a bit of brightness. That’s it.
I keep reading that lemon juice is added to apple pies to prevent the filling from turning too brown.
Apples tend to oxidize and turn brown when exposed to air. The citric acid in lemon juice slows this process, keeping the apples looking fresh and vibrant while you prepare the filling.
But what does it matter? The filling is going to be very brown, no matter what you do, at least in my apple recipes, which almost always call for a nice amount of cinnamon.
It’s one of those things where you can use it if you have it (I’m always trying to use up open lemons!), but don’t worry about it if you don’t.
As an Amazon Associate, I earn from qualifying purchases. For more info, see my disclosure.
Can I use something other than the egg yolk?
No, it’s essential to the structure of this recipe. I unfortunately don’t think half a chia or flax egg would work.
Half an “egg” made with Bob’s Red Mill Gluten Free Vegan Egg substitute might work, though. I can’t say for sure without having tried it myself.
But these Mini Apple Pies with Caramel are vegan are also extremely delicious. 🙂 Especially with some Vegan Ice Cream on top!
Like the Swedish apple pie, they’re also oat-based and gluten-free.
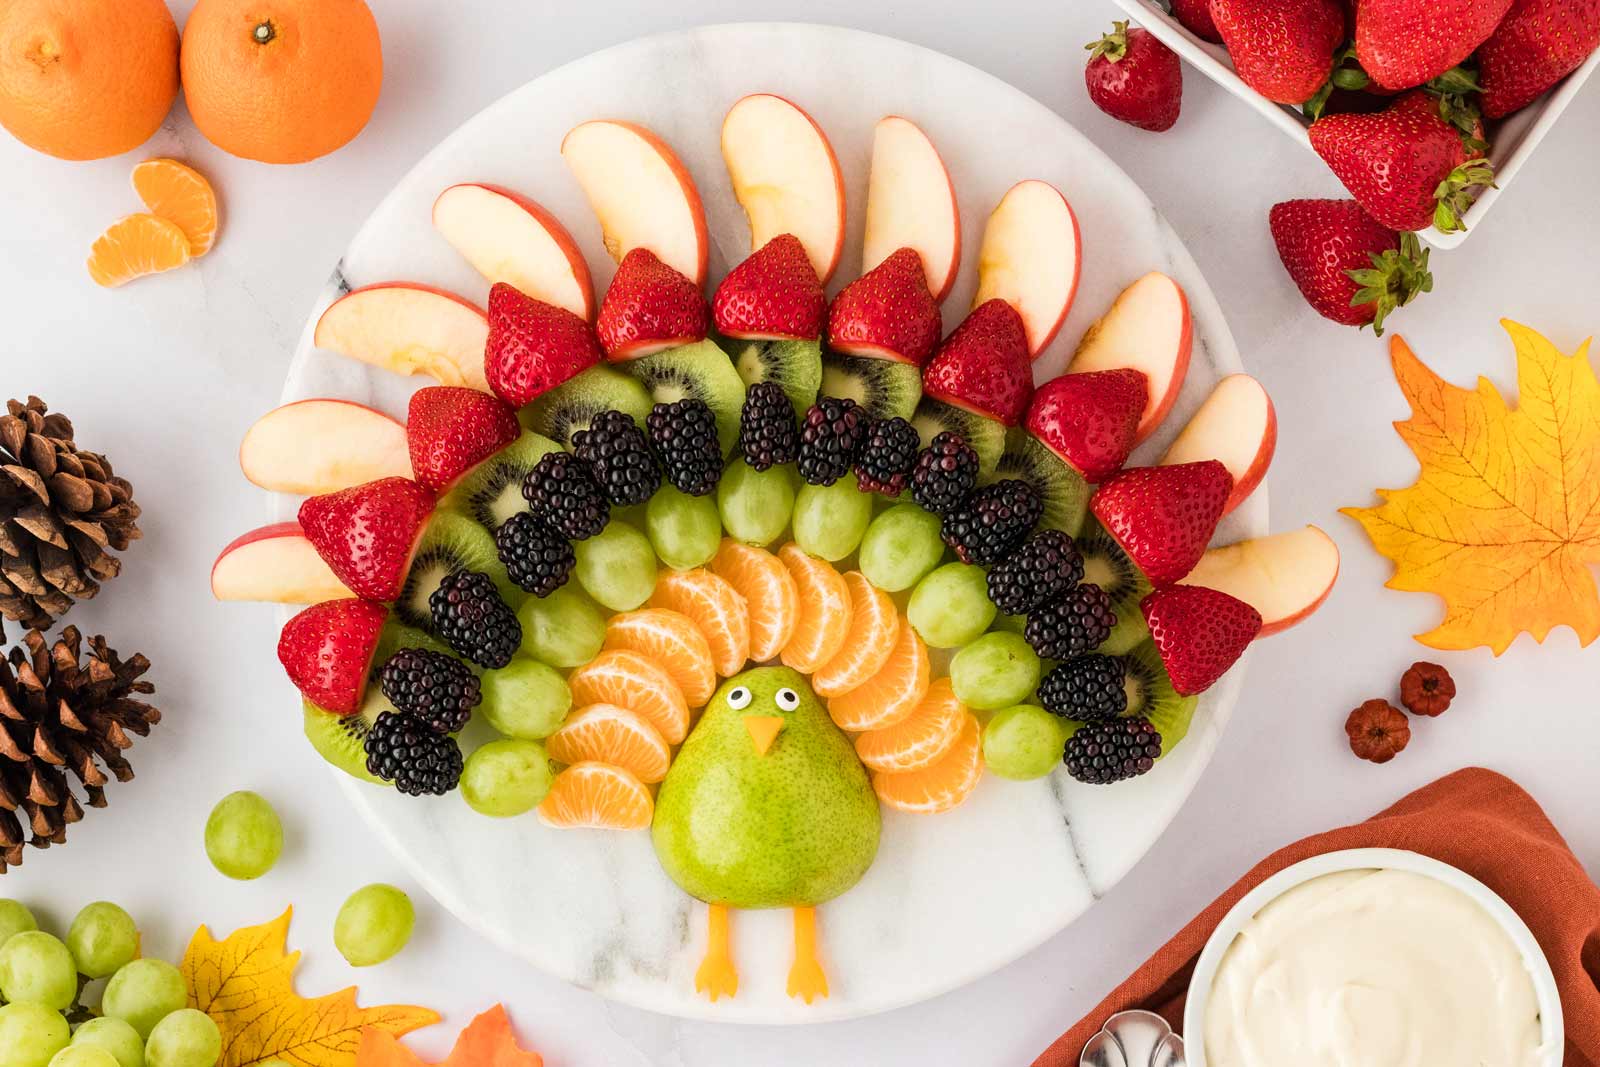
And while I’m at it, I posted this cute Fruit Turkey on Easy Wholesome yesterday. It’s just fruit, so it’s one of those recipes that practically everyone can enjoy!
How to make the tartlet crust and filling
Here’s a glimpse of how to make the crust and filling.
As I said in my Pecan Pie Cookies and Pumpkin Pie Cookies recipes, there’s a reason behind every step.
So if the recipe calls for pre-baking and cooling the crusts, it’s because the recipe didn’t work out well without those steps.
The tarts came out soggy and unappetizing when I skipped those steps.
I have no idea why so many recipes don’t call for these steps. And in those recipes, you can often see that the crusts aren’t fully baked through. Or are just plain uncooked.
It’s the same with the filling. If you don’t cook down the filling first, then the water saturates the crusts and once again, you’ll get soggy crusts.
It would be grand if you could just pat the dough into the pans, mix together the filling ingredients in a bowl, spoon it into the unbaked dough and bake.
However, the result is terrible. And if you’re wondering why I’ve been going on about this topic in my last 3 baked recipes, it’s because some people choose to ignore the recipe instructions, take the shortcut I mentioned above, and then complain their cookies or pies didn’t come out like mine.
It is annoying. 😆 And a waste of time and money for those readers! I beg everyone. Just please follow the instructions. ♥️
The crust
I used the same crust recipe in my Blueberry Tartlets and Peach Tartlets recipe. And I’ll continue to use it in future tart recipes because it’s perfect!
But I can’t take credit for it. After trying an absurd number of tart crust recipes, I finally decided to try this one from King Arthur.
It was fantastic. I just made a few adjustments.
They’re delicious enough to eat unfilled. We did, in fact. And ate a lot of them. 🙈 Undoubtedly the best tart crust I’ve ever had.
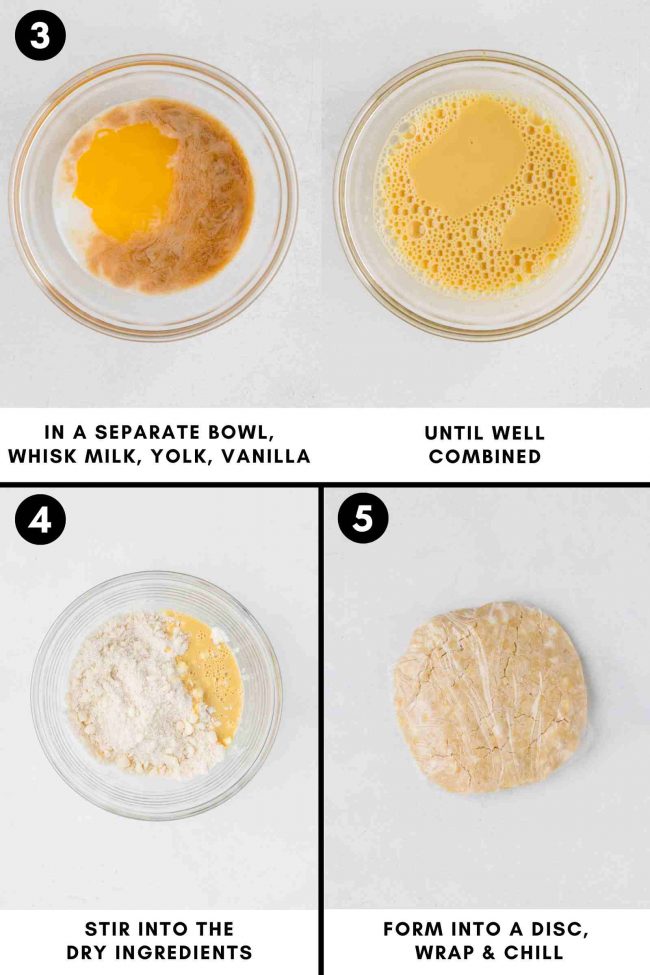
While they say chilling the dough is optional, I found it essential for easier handling. They also suggest using pie weights and docking the crust, but neither is necessary for these tartlets (but it is for a full-sized tart!).
I also tested a gluten-free version.
Most other recipes were too crumbly, bland, or soggy after filling. This one? Absolutely perfect.
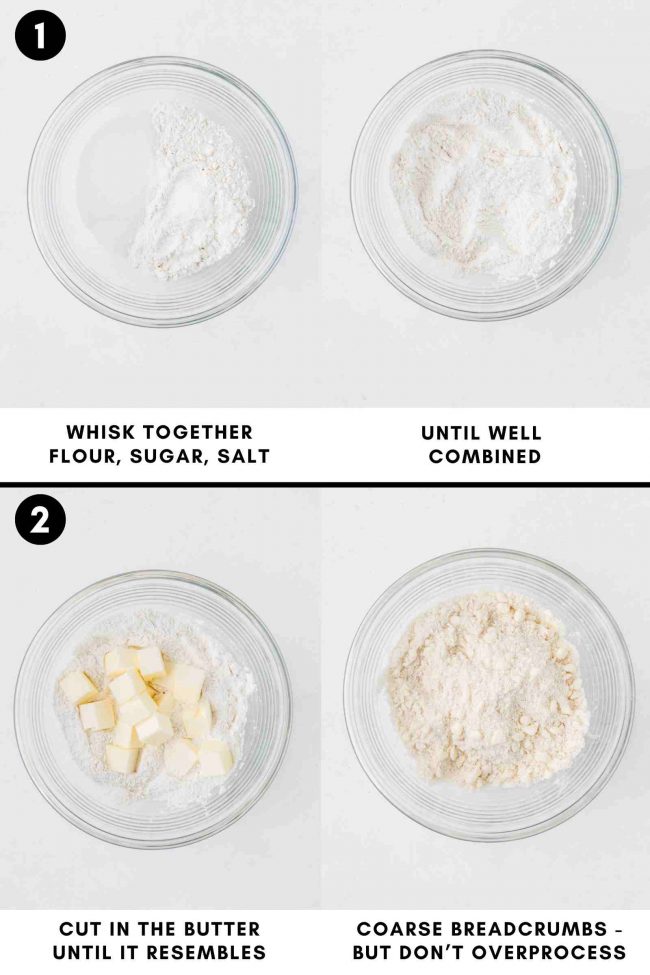
Don’t be tempted to use softened butter because it’s easier to work with!
Cold butter is key to a flaky crust. The cold butter, cut into cubes, doesn’t fully incorporate into the flour, creating air pockets that melt during baking.
The result is a tender, flaky crust.
The filling
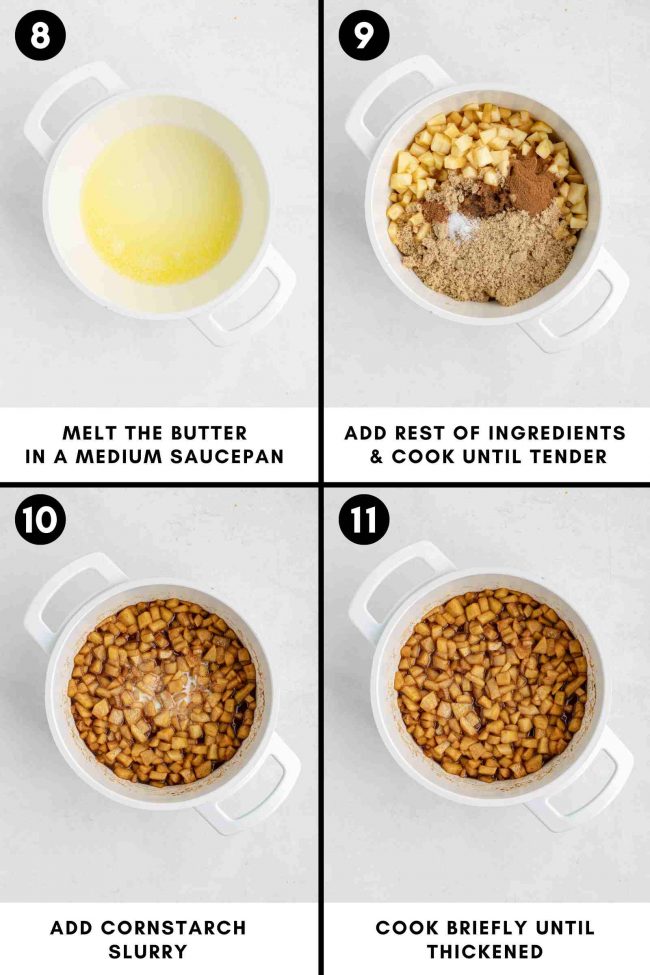
I made the filling a few times, with each trial having a slightly different consistency. And all the baked tartlets came out just fine, so there’s no worry about getting the consistency just right.
I learned the hard way that this filling can thicken quickly. Be sure to remove it from the heat as soon as it starts to thicken.
And let it cool completely before filling your tart shells.
Tartlet pans or cupcake pans
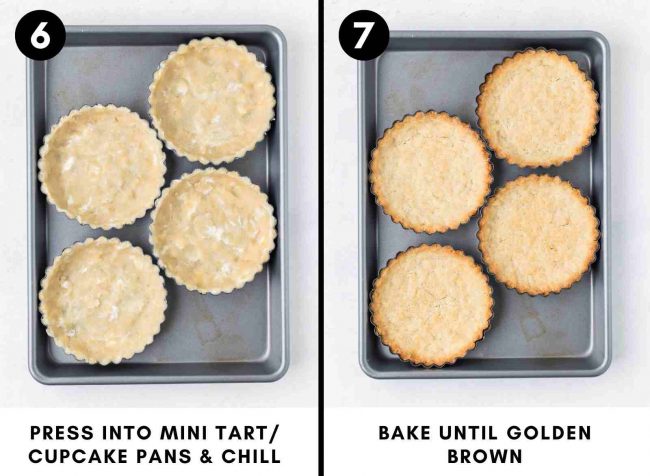
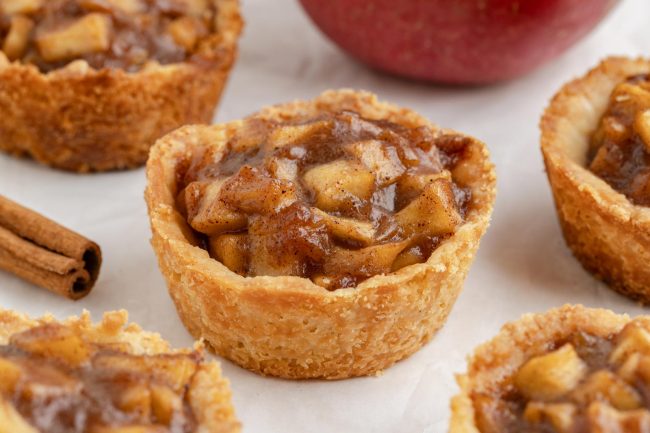
For a classic tartlet shape, use tartlet pans. If you prefer a more rounded shape, cupcake tins are a great alternative.
Tartlet pans
Tartlet pans are the perfect tool for baking mini tarts. Their fluted edges add a special touch, and the removable bottoms make it easy to remove without much effort.
I used these Wilton Perfect Result 4.75″ (12 cm) Tart Pans which come in a 6-pack.
I’ve had this set for a decade, and they’re still in perfect condition. As with other tart pans, you should remove the tart from the pan to cut it. Don’t cut the tartlets in the pans or you’ll scratch up the pans.
If you can’t find that set, make sure to get mini tart pans with removable bottoms so that the tart shells are easy to remove.
Cupcake pans
I think these are the best option for Thanksgiving dessert. There will likely be a few dessert options, and people will probably want to try a few or all of the desserts.
I doubt very many people would want a full-sized tartlet for Thanksgiving. It is a lot.
What you can do is cut them into 4 pieces. I did that, and the pieces were pretty cute.
Removing the tartlets from cupcake pans can be more challenging than from mini tart pans due to the lack of removable bottoms, but it’s still pretty easy as long as you grease the pans well.
Yield
The recipe yields 364 grams of dough.
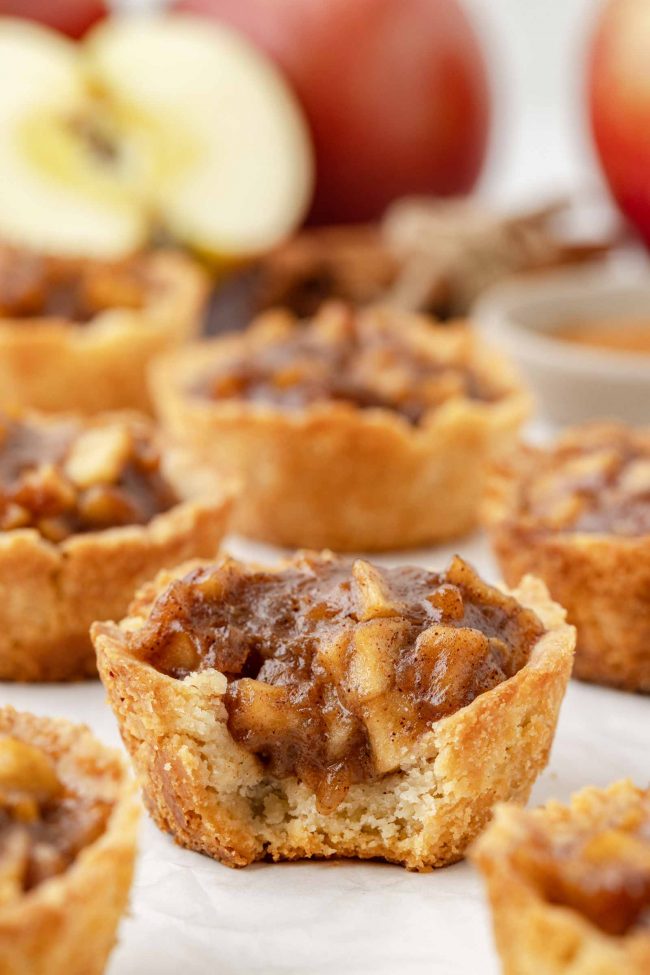
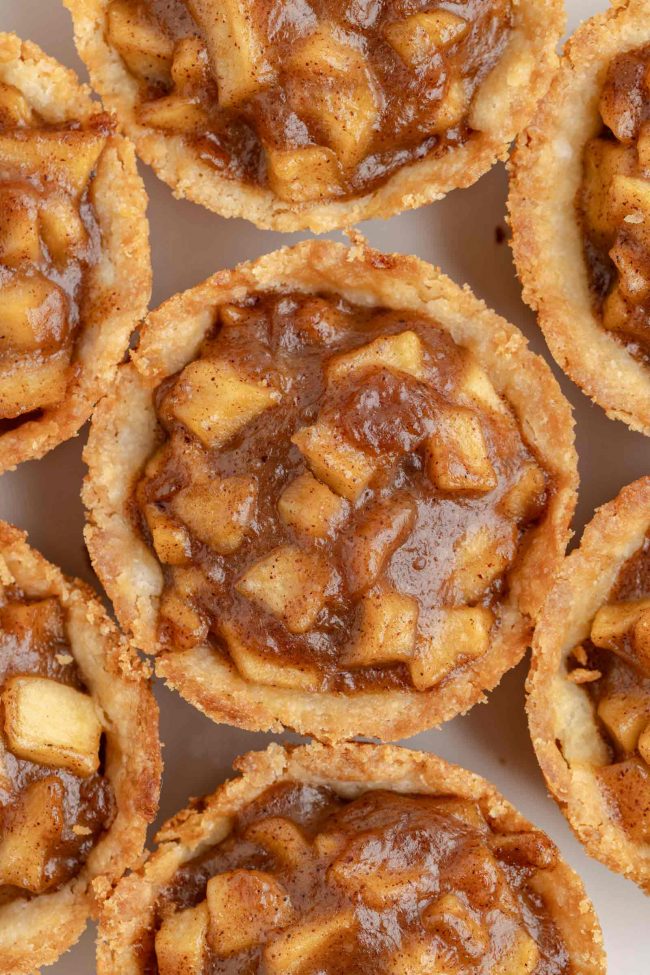
If you use a cupcake pan, you use 40 grams of dough per cavity. That’ll yield 9 cupcake pan tartlets.
If you use the tartlet pans, you need 91 grams of dough (and again, I tested the crusts with more and less dough, and found 90 grams to be the perfect amount). That yields 4 tartlets.
My cooked filling was 472 grams, but that amount will depend on your apples and how long you cook the filling.
You can use around 1/2 cup (around 110 grams) of apple filling for each of the tartlet pan tartlets.
And you’ll need slightly less than 1/4 cup (53 grams) per cupcake pan tartlet.
Just to be clear – with this recipe, you can make either 9 cupcake pan tartlets OR 4 tartlet pan tartlets.
Not both. You’ll have to double the recipe if that’s what you’d like.
Can I make them ahead?
Yes! These apple tartlets are perfect for making in advance.
- The dough – make the dough up to 3 days ahead, or freeze it for up to 3 months. Thaw overnight in the fridge before using.
- Unbaked tart shells – press the dough into the tart pans, cover, and refrigerate for up to 3 days.
- Baked tart shells – store at room temperature in an airtight container for 3 days or refrigerate for up to 5 days. Freeze for up to 3 months if needed.
- Filling – can be refrigerated in an airtight container for up to 3 days.
How to store finished tartlets
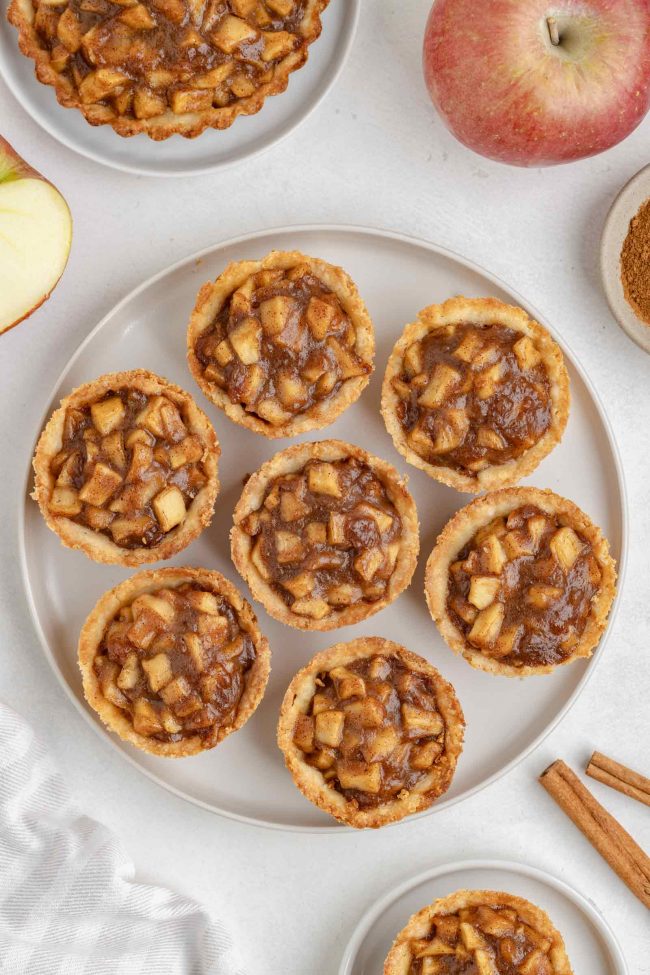
The baked apple tartlets can be refrigerated for up to 3 days, and they don’t get soggy thanks to the sturdy crust recipe.
You can also freeze them, but I would recommend just freezing leftovers that you can’t eat quickly enough. For Thanksgiving dessert, I recommend making them a day or two in advance rather than freezing and defrosting.
How to freeze assembled tartlets
Make sure the filled tartlets have fully cooled. If they’re even slightly warm, condensation can form, which impacts the texture and freshness.
Place the cooled tartlets on a baking sheet, ensuring they don’t touch each other.
Pop the sheet into the freezer for about 1-2 hours, or until the tartlets are solid. This helps them retain their shape and prevents them from sticking together.
Once frozen, wrap each tartlet in plastic wrap and aluminum foil. This extra layer protects them from freezer burn and keeps them fresh.
Place the wrapped tartlets in a freezer-safe bag or airtight container.
Filled tartlets can be stored in the freezer for up to 3 months.
When ready to serve, let them thaw for a few hours or overnight in the fridge.
Topping ideas
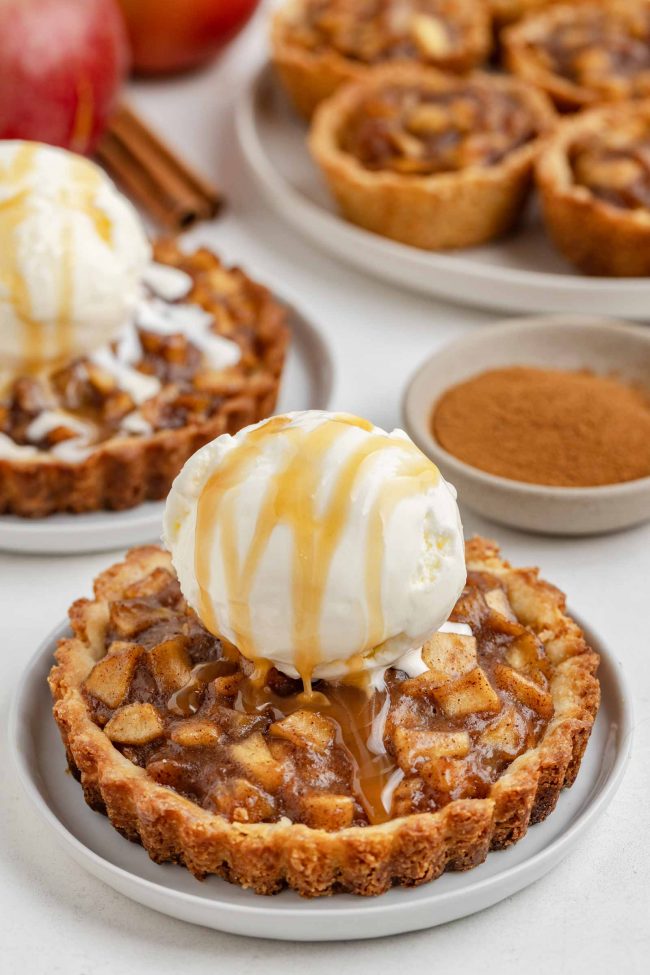
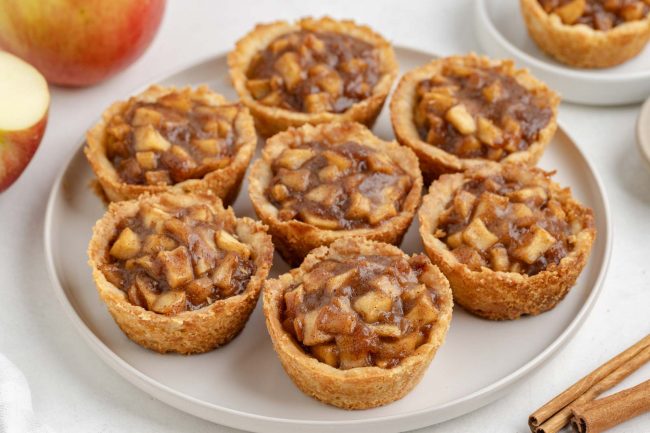
You can drizzle caramel sauce over each tart or add a scoop of French Vanilla Ice Cream on top or the side.
Whipped cream is also an option, but the ice cream really sends these over-the-top.
For a festive touch, a sprinkle of cinnamon or toasted nuts brings extra texture and flavor.
Gluten-free option
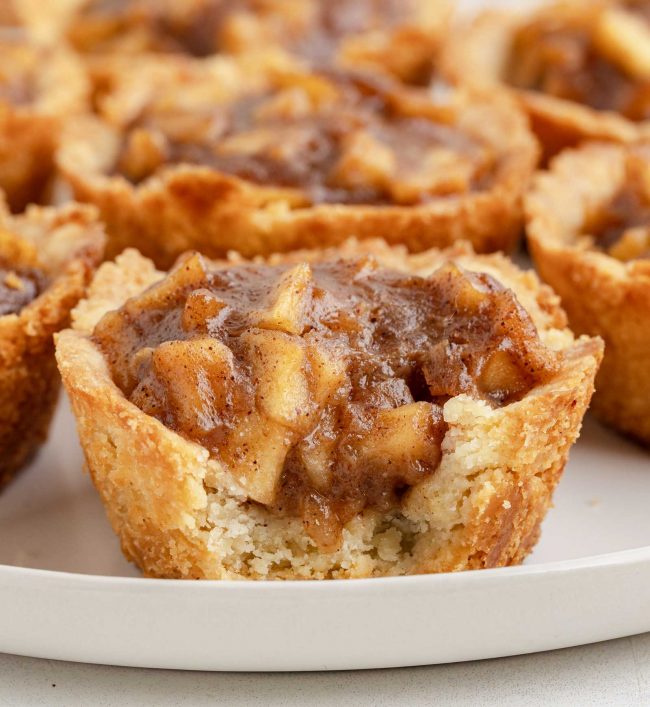
This apple tartlet recipe can be made with all-purpose or gluten-free flour.
For the gluten-free option, I used King Arthur Measure for Measure Gluten-Free Flour. And as usual, nobody knew that they were gluten-free.
The same goes for this Gluten-free Pumpkin Cheesecake and this Apple Crumble Cheesecake!
More apple treats
I hope you’ll enjoy these apple tartlets! If you try them out, I’d love to hear your thoughts below in the comments. Thanks! 🙂
❀
- Prep Time:
- Cook Time:
- Ready in:
- Yield: 9 cupcake pan tarts or 4 tartlets
Ingredients
- 1 1/4 cups (150 grams) all-purpose flour or for gluten-free, use King Arthur Flour Gluten-free Measure for Measure Flour
- 1/4 cup (50 grams) granulated sugar
- 1/2 teaspoon salt
- 1/2 cup (113 grams) unsalted butter, cold, cut into 1/2″ cubes
- 1 large egg yolk
- 1 teaspoon vanilla extract
- 1-2 tablespoons milk
- 3 tablespoons (42 grams) unsalted butter
- 3 cups (375 grams) finely chopped (should be about the size of your pinky nail) apples, from about 3 or 4 medium peeled apples
- 6 tablespoons (75 grams) brown sugar or coconut sugar
- 1 tablespoon lemon juice or water
- 1 1/2 teaspoons cinnamon
- 1 1/2 teaspoons vanilla
- 1/4 teaspoon nutmeg
- 1/8 teaspoon salt
- 1 tablespoon + 1 teaspoon (11 grams) cornstarch
- 2 tablespoons water
- vanilla ice cream + caramel sauce
For the crust:
Filling:
Optional topping:
Directions
- Grease 4 non-stick mini tart pans with removable bottoms OR grease 9 cavities of a non-stick cupcake pan.
- To make the tartlet plan tarts – place 91 grams of the dough in the pan. Press up the sides and evenly over the bottom of the pan. Do the same with the other pans.
- To make cupcake pan tarts, use 40 grams of dough per cavity. Press it evenly up the sides and over the bottom.
- Place the pans in the fridge for at least 45 minutes, freeze for 15 minutes, or cover and refrigerate for up to 3 days. If you’re chilling them for 45 minutes, you can go ahead and start with the filling recipe below. When you’re done with the filling, come back up here.
- Towards the end of the chill time, preheat the oven to 375 °F (190 °C) and place a baking sheet large enough to fit the pans in the lower third of your oven.
- After 45 minutes of chilling or 15 minutes or freezing, place the tartlets directly onto the hot baking sheet and bake.
- Bake the cupcake pan tarts for 15-17 minutes or until golden around the edges, and the center bottom doesn’t look wet. That part won’t get browned. It’s fine if it cracks and puffs up a little. The tartlet pan tarts should be baked for 18-22 minutes, rotating halfway through if you notice them browning too quickly in certain areas until the sides are nicely browned and the bottom has browned a bit.
- Remove the baking sheet and tartlets from the oven and place them on a wire rack to cool for at least 30 minutes or overnight.
- Melt the butter in a medium/large saucepan over medium-high heat.
- Add the chopped apples, brown sugar, lemon juice, cinnamon, vanilla, nutmeg and salt and stir until everything is well combined.
- Lower the heat to medium and cook the apple mixture for about 7 minutes or until the apples are tender.
- In a small bowl, mix the cornstarch with the water to create a slurry.
- Add the slurry to the apple mixture and stir well. Continue cooking at medium for another 1-3 minutes or until the mixture thickens. If it thickens immediately, take it off the heat immediately.
- Set aside to cool. It should be room temp or cold before adding it to the cooled tart shells.
- About 20 minutes before you’re ready to bake to assembled tarts, preheat the oven to 350 °F (175 °C). Place the baking sheets back in the oven in the same position as for the crusts.
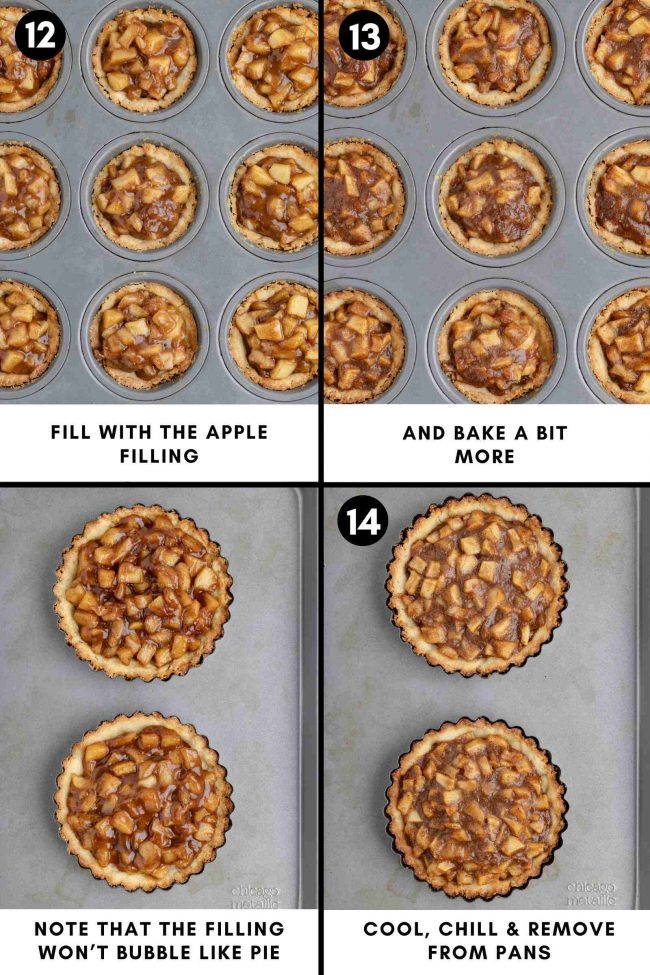
- Scoop about 53 grams (slightly less than 1/4 cup) of apple filling into each cooled cupcake tart crust OR about 1/2 cup (90-110 grams) of filling into each cooled mini tart pan crust. Don’t overfill!
- Bake the mini tart pan tarts for 13-16 minutes and the cupcake tart pan tarts for 15-17 minutes. They won’t bubble around the edges like with apple pie. The filling will firm up as it cools. The crusts will have browned a bit more but not even be close to being burned.
- Let cool completely in the pans, about 1 hour, and then chill the tarts in their pans for at least 3 hours. This is needed to firm them up. You can also pop them in the freezer once they’re cool enough to not release a bunch of condensation. Once they’re thoroughly chilled, use a sharp knife to run along the edge of the cupcake pan tarts. They’ll come out easily. For the mini tart pan tarts, you can just easily remove the side and bottom pieces.
- Cover and refrigerate for up to 3 days.
Prepare the tart shells:
Make the filling:
Assemble and bake:
Notes
- You might need up to another tablespoon of milk to get the dough together. If it’s too dry with 1 tablespoon of milk, add a teaspoon at a time rather than dumping in another full tablespoon.
- If you use coconut sugar, your filling will be darker than mine.

