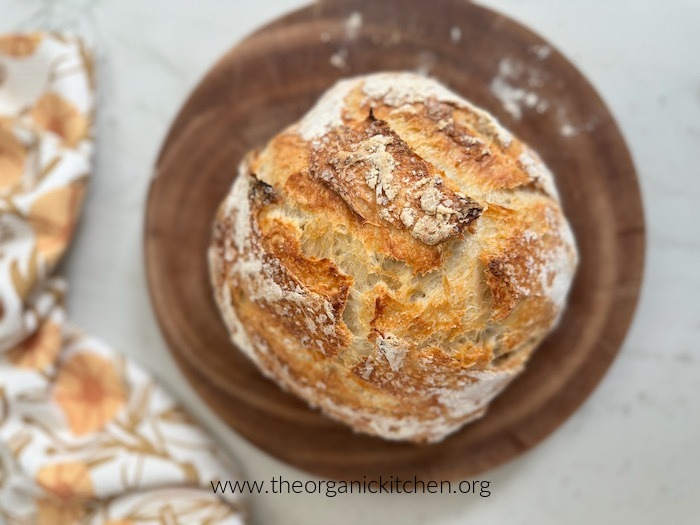
I am a covid cliche. Like many other people, I began making sourdough bread during the very beginning of the lockdown. I had always been intimidated by the homemade bread game. It seemed difficult, labor intensive, and I figured I could leave the bread making to the professionals. But as soon as I made my first loaf, I was hooked! As it turns out making sourdough bread is neither time consuming nor labor intensive, or at least it doesn’t have to be. And, as with most things food oriented, sourdough is best when it’s homemade and fresh out of the oven. Now that I have the process and recipes down pat, I am ready to share a complete tutorial on How to Make Sourdough Bread – a beginners guide. This recipe is simple, and I keep instructions minimal and easy to follow. You can do it, I promise, it’s actually a relaxing and fun process!
(This post contains affiliate links. I may make a commission from sales but your price remains the same.)
So, Where do you Start? With a Great Starter!
Sourdough bread is perfect for the beginning bread maker. It’s very forgiving and this particular recipe requires very little kneading. That’s right, there’s almost no need to knead…. bada boom! I’m here all week folks. So where to start? You start with a good quality Sourdough Starter. Starter is basically fermented flour and water. The bacteria in the starter is what makes your bread rise and gives it that “sour” flavor. In a perfect world, you would have a generous bread baking friend with a starter passed down from her/his great, great, great, great grandmother that you could nab. But alas, it’s not a perfect world, so I recommend you purchase some amazing Cultures For Health Starter. It’s a very reliable starter with simple to follow instructions and makes great bread. That said, if you are in Orange County, hit me up! I am not kidding, I am happy to share my starter with you. Gluten free friends, Cultures for Health also makes a gluten free starter!
Starter is Kind of Like a Pet, You have to Feed It…but not as often as a dog
That’s right, to keep the bacteria in your starter alive, you have to feed it. When you receive your Cultures For Health Starter it will come with complete directions for feeding. BUT I can tell you, it’s super easy! Simply add flour and water and stir, then allow it to sit on the counter all day to get active and bubbly. That means it’s ready to be used for bread. I feed my starter once a week whether I am baking or not.
What you need:
You will need a Dutch oven, a food scale, parchment paper.
How to Make Sourdough Bread – a beginners guide:
NOTE: This tutorial is shown in four easy steps. There is waiting/rising time between steps. All that is spelled out clearly in the recipe.
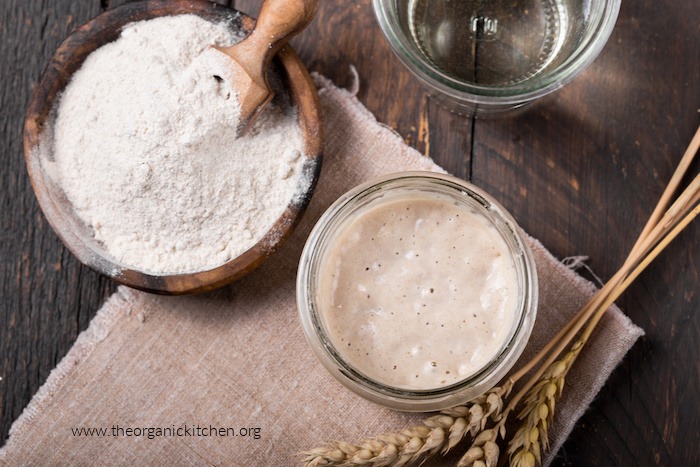
1: The day before baking you’ll want to feed your starter and allow it to get active and bubbly (this usually takes 8-12 hours). Each starter comes with instructions, follow the instructions for your starter. Take a look at that bubbly starter, that’s what you want to see.
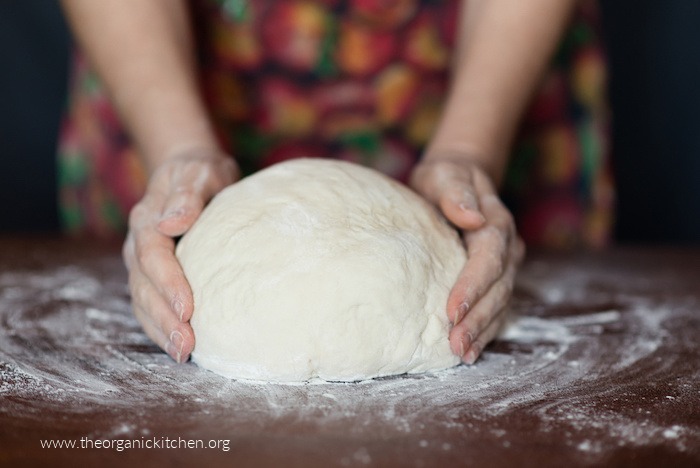
2: Once the starter is ready, you will make your bread dough by combining only four ingredients: flour, water, sea salt and starter. Stir, knead a little and form into a ball.
3: Let dough sit in a bowl overnight to rise. Then shape into a round loaf. Allow to rise another hour while Dutch oven and oven pre-heat.
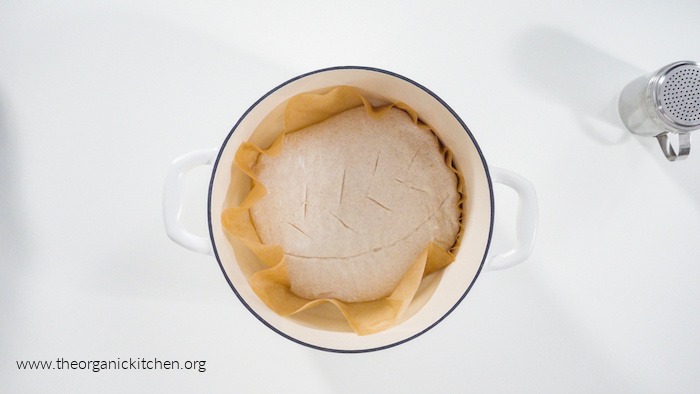
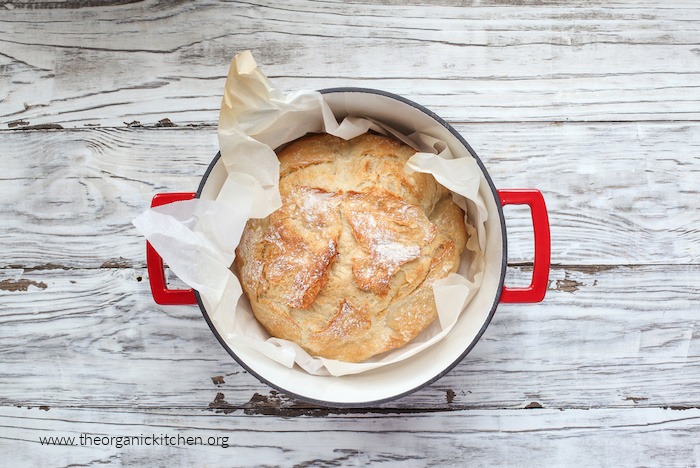
4: Place dough on parchment paper and bake in a Dutch oven! Yup! That’s it. I told you it was easy.
Experience Helps!
Ok. So truth be told my first loaf was a rock. My second was decent, my third and fourth were good, and since then I have pretty much rocked it. I was always following the same recipe so what gives? Experience! You will see in the recipe below that the time you allow the starter and the bread dough to rest is a pretty wide range. As your bread journey unfolds you will begin to learn what the starter and dough should look like when they are active/bubbly and ready to go. For some people it’s closer to the eight hour mark, for others twelve hours works better. I live in California and Utah and the timing is different because of altitude and humidity.
Serving and Storing:
Because your sourdough is fresh and made without preservatives it will only stay fresh for a couple of days. Now if you have a family, this is absolutely no problema because the the bread will be gone before you can say ‘pass the butter’ (or should I say pasa la manteca 🙂 But if like us, your nest is empty, I have a couple of suggestions. We love to cut the loaf in half and bring the other half to one of our neighbors. Let’s just say it pays to be on good terms with the Spikers. You can also wait until the bread is thoroughly cooled, slice and store in the freezer, pulling it out to toast whenever you wish. I use it to make this fabulous Burrata Toast, this grilled cheese, or incredible French Toast!
After You Master Plain Sourdough, Try My Cheddar Jalapeño Sourdough!
Once you have the process of baking sourdough down, take it up a notch with this Cheddar Jalapeño Sourdough!
What you need: a Dutch oven, a food scale, parchment paper.

Sourdough bread is easy to make, but at first can seem overwhelming. This tutorial is very easy to follow with minimal instructions, so just relax and enjoy the process, it’s fun!
Course:
Bread, Breakfast
Cuisine:
American
Keyword:
how to, sourdough bread, tutorial
Servings: 8 servings
You will need to take sourdough starter out of your fridge a day before baking and feed it before forming your loaf. After feeding, it will need to sit out on the counter for 8-12 hours before using. You want it to be active and bubbly for best results.
-
500
grams
bread flour -
1 1/2
teaspoons
sea salt or kosher salt -
350
grams
lukewarm water -
100
grams
starter (fed, active and bubbly!)
-
Note: Make sure you feed starter a day before you plan on baking, leaving it on the counter for 8-12 hours until active and bubbly. Do not put starter in the fridge between feeding and forming your loaf. I usually feed starter in the morning, let it become active as it rests on the counter all day, form my loaves that night and bake the next morning. But you can certainly feed starter in the afternoon/evening and allow to activate overnight, form your loaves in the morning and bake in the evening. It’s totally up to you!
-
Note: be sure to set your food scale back to zero between additions.
Place measured flour, salt, water and active starter in a large bowl and work with hands until you form a craggly ball (a rough ball). Cover bowl with a damp dishtowel and let rest for 20 minutes.
-
Place dough on a counter surface dusted with flour and knead for a couple of minutes minutes (no more than five minutes is needed). You can add a little flour as needed to prevent sticking. Form into a smooth ball. Dust bowl with flour, place dough back in bowl, dust dough lightly with flour. Cover bowl with wet dishtowel, place a plate on top and allow to rest on the counter for 12-18 hours. During this time the dough will rise and become bubbly. (If it’s cold where you live, try to place dough in a warm area of the house. Cold temps can impact rising time) When your bread dough has doubled and looks nice and bubbly, it’s go time!
-
Sprinkle counter with flour. Remove dough from bowl, form into a round loaf and place on a large sheet of parchment paper, set aside. Place a Dutch oven with lid on into the oven. Preheat oven and Dutch oven at 450 degrees for one hour.
-
After oven and dutch oven have preheated for an hour, sprinkle bread dough lightly with sea salt if desired (I love a good bite of salt with my bread!).Use a knife to slice the top of your bread dough (don’t go too deep, just an inch or two), this allows steam to release. Have fun with it. You can slice three lines, a criss cross, or four diagonal lines and one across as pictured above.
-
Grab the sides of the parchment and lift bread dough into pre-heated Dutch oven. Place the lid back on and cook for 20 minutes, remove lid and cook for 20 more minutes. Total baking time is 40 minutes, crust should be golden and crispy. Remove from oven, place on a rack, and allow to cool a bit and enjoy!
MAY I PLEASE ASK A FAVOR?
We small bloggers need all the help we can get. Subscribing and sharing on social media is very appreciated!
STANDARD FTC DISCLOSURE and Privacy Policy: In order for me to support my blogging activities, I may receive monetary compensation or other types of remuneration for my endorsement, recommendation, testimonial and/or link to any products or services from this blog. Please note that I only endorse products that are in alignment withThe Organic Kitchen’’s ideals and that I believe would be of value to my readers.The Organic Kitchen is a participant in the Amazon Services LLC Associates Program, an affiliate advertising program designed to provide a means for sites to earn advertising fees by advertising and linking to Amazon.com. View The Organic Kitchen’s Privacy Policy


