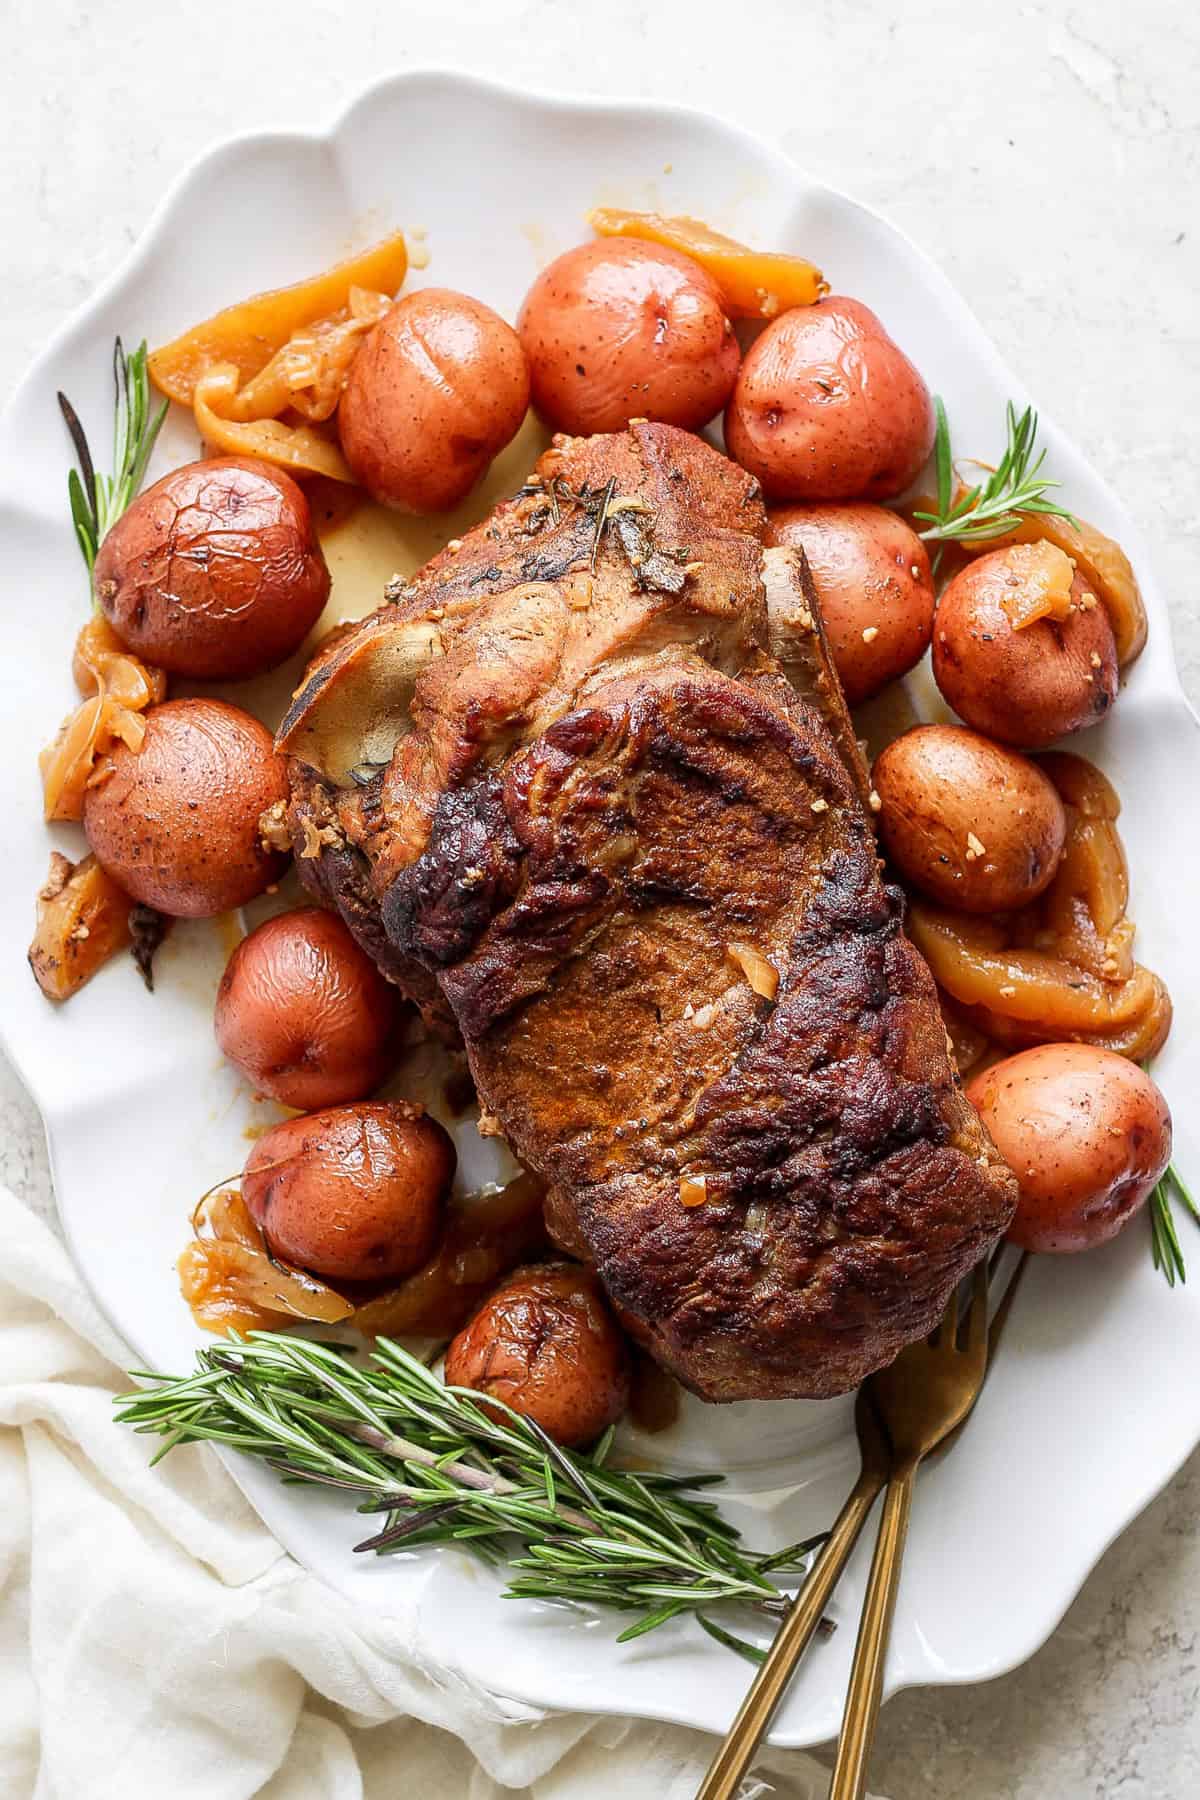
Apple cider and pork? Get it in my belly! This Apple Cider Braised Pork Shoulder is an autumn dream. The pork is first seared until nice and crispy, then braised in the oven in apple cider. It’s oh-so-tender and full of fall flavor!
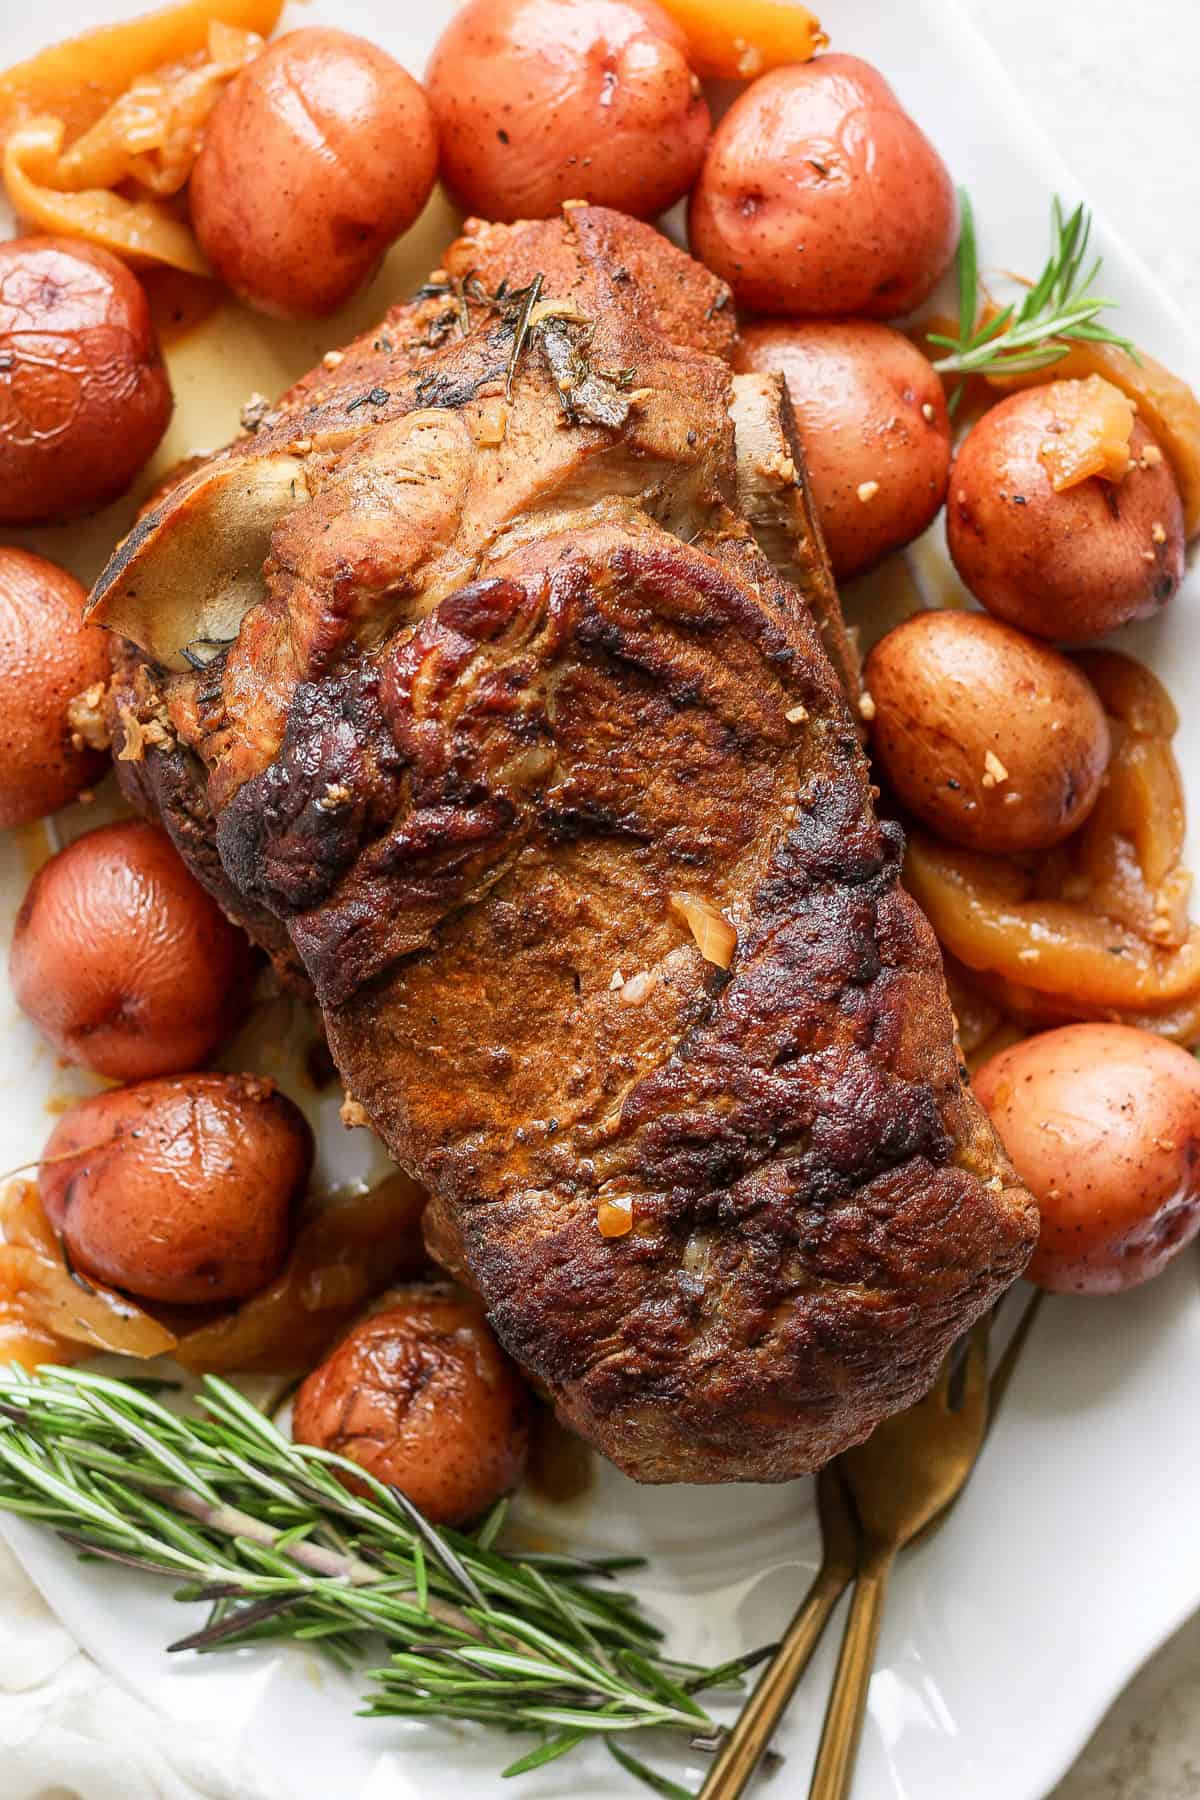
Ooof, what a hunk of meat! I cannot wait to serve this braised pork shoulder at my cabin for the fam. Not only will it get gobbled up instantly, but it’s also SO easy to prepare and can be made ahead of time. It’s a set-it-and-forget-it kind of pork roast — perfect for a cabin weekend.
Just season the pork shoulder and then sear it. Add the pork, potatoes, apples, and apple cider into a Dutch oven and bake until the pork is lusciously fork tender. Yumz.
The Main Fixings for Apple Cider Braised Pork Shoulder
- Pork shoulder: Nothing goes better with apples than pork! The fat in the pork shoulder keeps it nice and moist while cooking, making it the perfect cut for braising.
- Pork seasoning: You can make your own pork rub or use your favorite store-bought blend. A simple mix of salt, pepper, garlic powder, and paprika will do the trick.
- Apple cider: The star of the show! Use pure apple cider for the best flavor.
- Worcestershire sauce: This adds a depth of flavor and balances out the sweetness of the apple cider.
- Honeycrisp apple: Thinly sliced and added to the braising liquid, these apples will infuse their delicious flavor into the pork.
- Baby red potatoes: These little taters hold their shape well during cooking and soak up all the flavors of the dish.
- Fresh herbs: Fresh rosemary and thyme add a fragrant and earthy element to the dish.
- Dutch oven: You’ll need a heavy, oven-safe pot for braising the pork.
We highly recommend using apple cider instead of apple juice in this recipe. Apple cider has a richer, more concentrated flavor that will give your braised pork shoulder a deeper, more complex taste. If you must use apple juice, we suggest adding a splash of apple cider vinegar to the liquid for added depth.
Of course! Honeycrisp apples are our top pick for this recipe because of their sweet-tart flavor and firm texture that holds up well during cooking. However, you can use any type of apple you prefer or have on hand. Just keep in mind that the flavor and texture may vary slightly.
How to Make a Delicious Apple Cider Braised Pork Shoulder
Cooking up an entire pork shoulder may seem intimidating, but trust me, it’s easier than you think! Follow these simple steps, and you’ll have a mouthwatering dish in no time.
- Season Pork: Massage the pork shoulder with kosher salt and pork seasoning, coating it completely with spices. Wrap in plastic wrap and refrigerate for at least two hours.
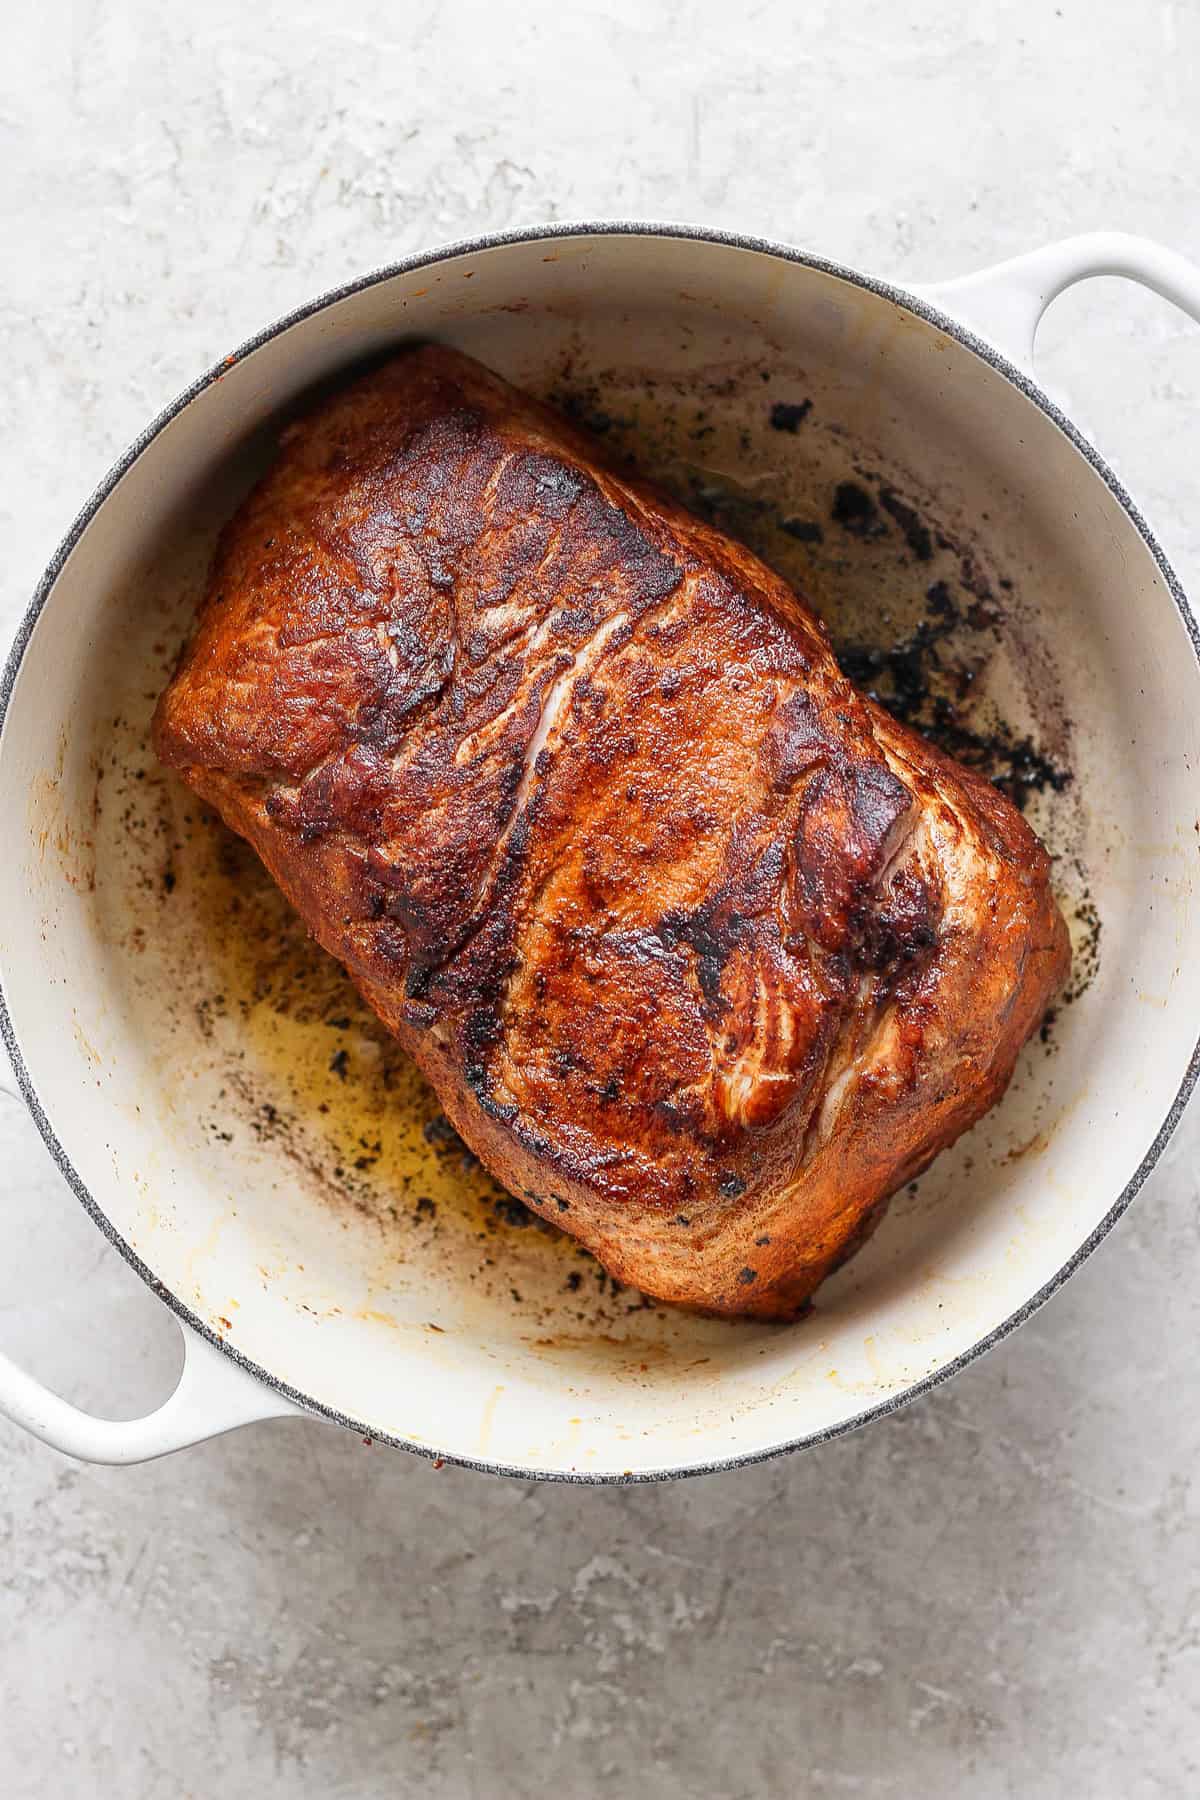
- Sear: Next, preheat the oven to 325ºF. Heat oil in a large Dutch oven over high heat. Sear each side of the pork shoulder for 2-3 minutes or until browned. Remove it from the pot once all sides have been browned.
- Make Sauce: Deglaze the pot with ½ cup of apple cider vinegar and scrape the brown bits from the bottom. Add the rest of the apple cider, Worcestershire, onion, and garlic to the pot and whisk to combine. Add the potatoes and apples and toss to coat.
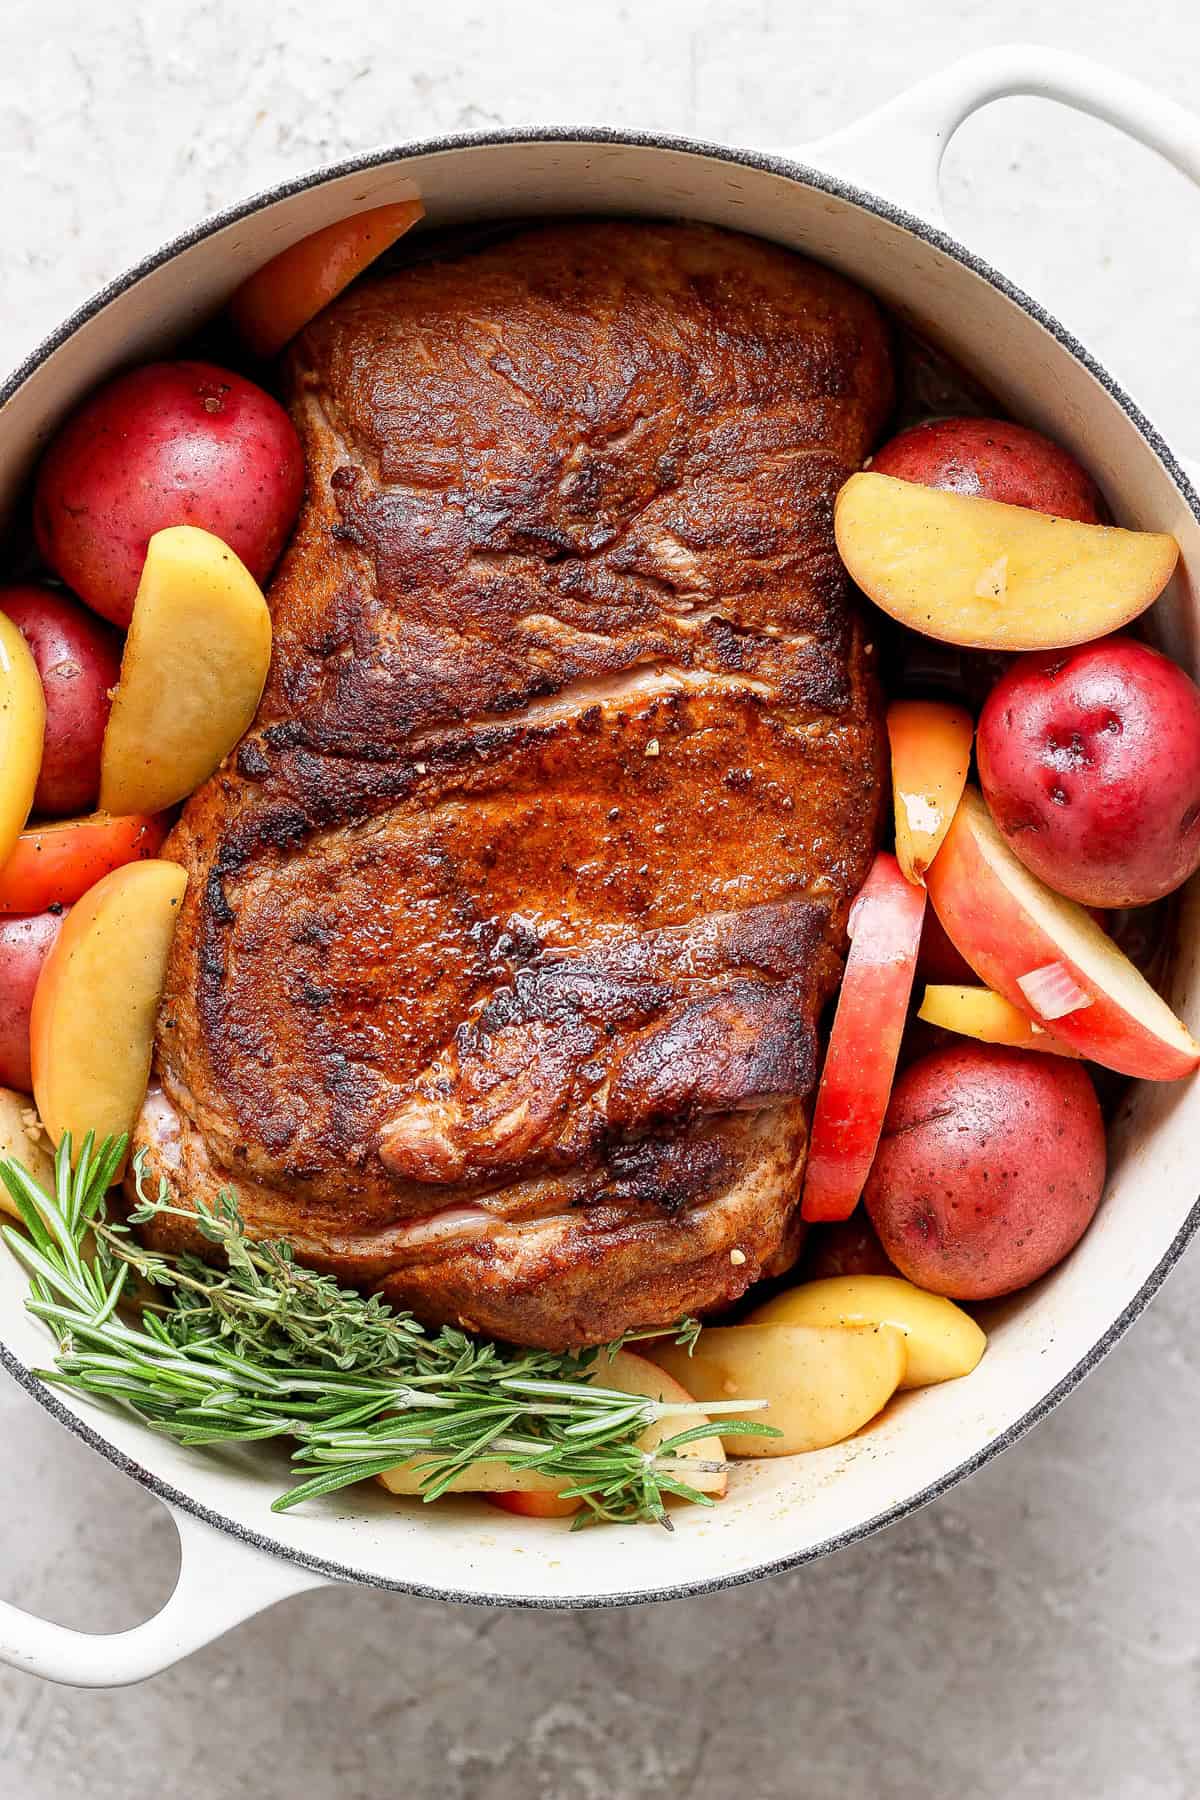
- Bake: Nestle the pork shoulder in between all of the vegetables and add the fresh herbs. Cover and bake for 3-3.5 hours, basting the pork with the apple cider every hour or so.
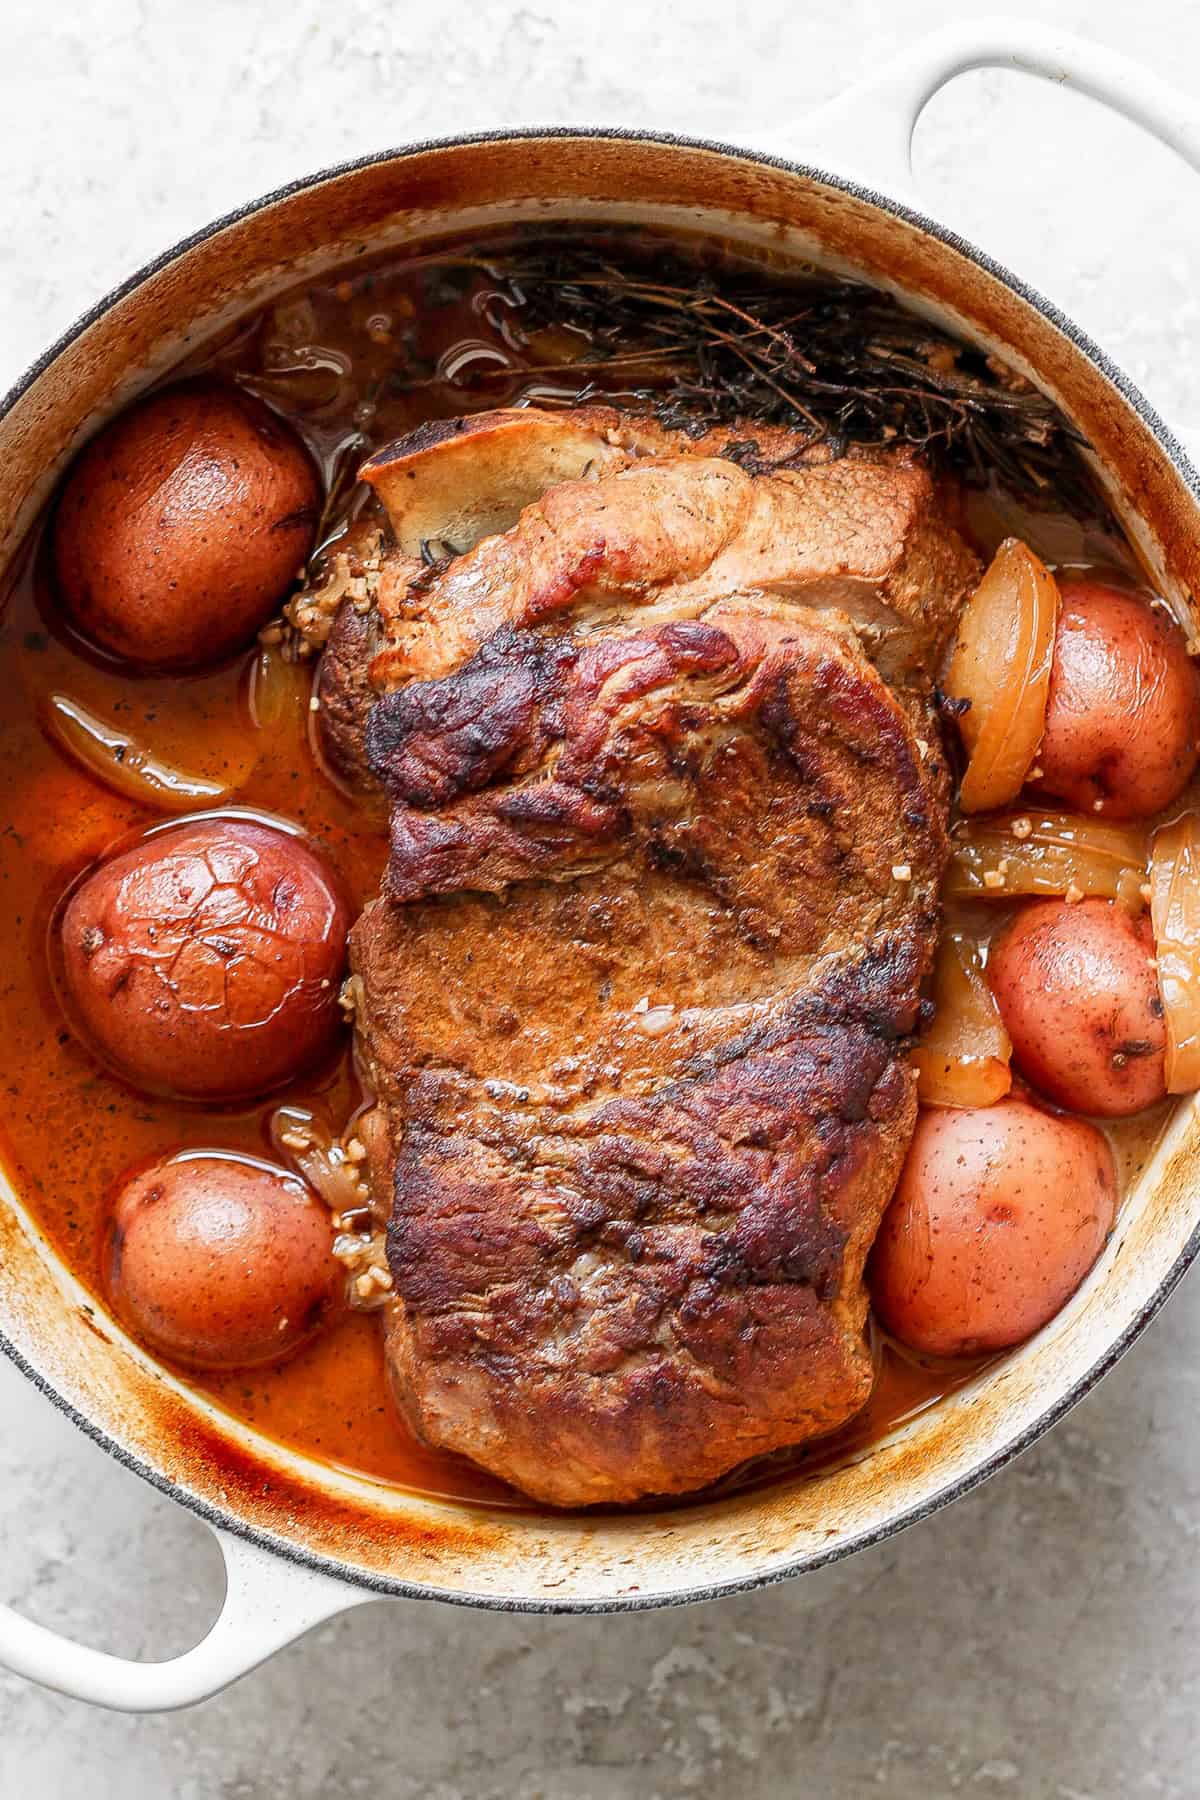
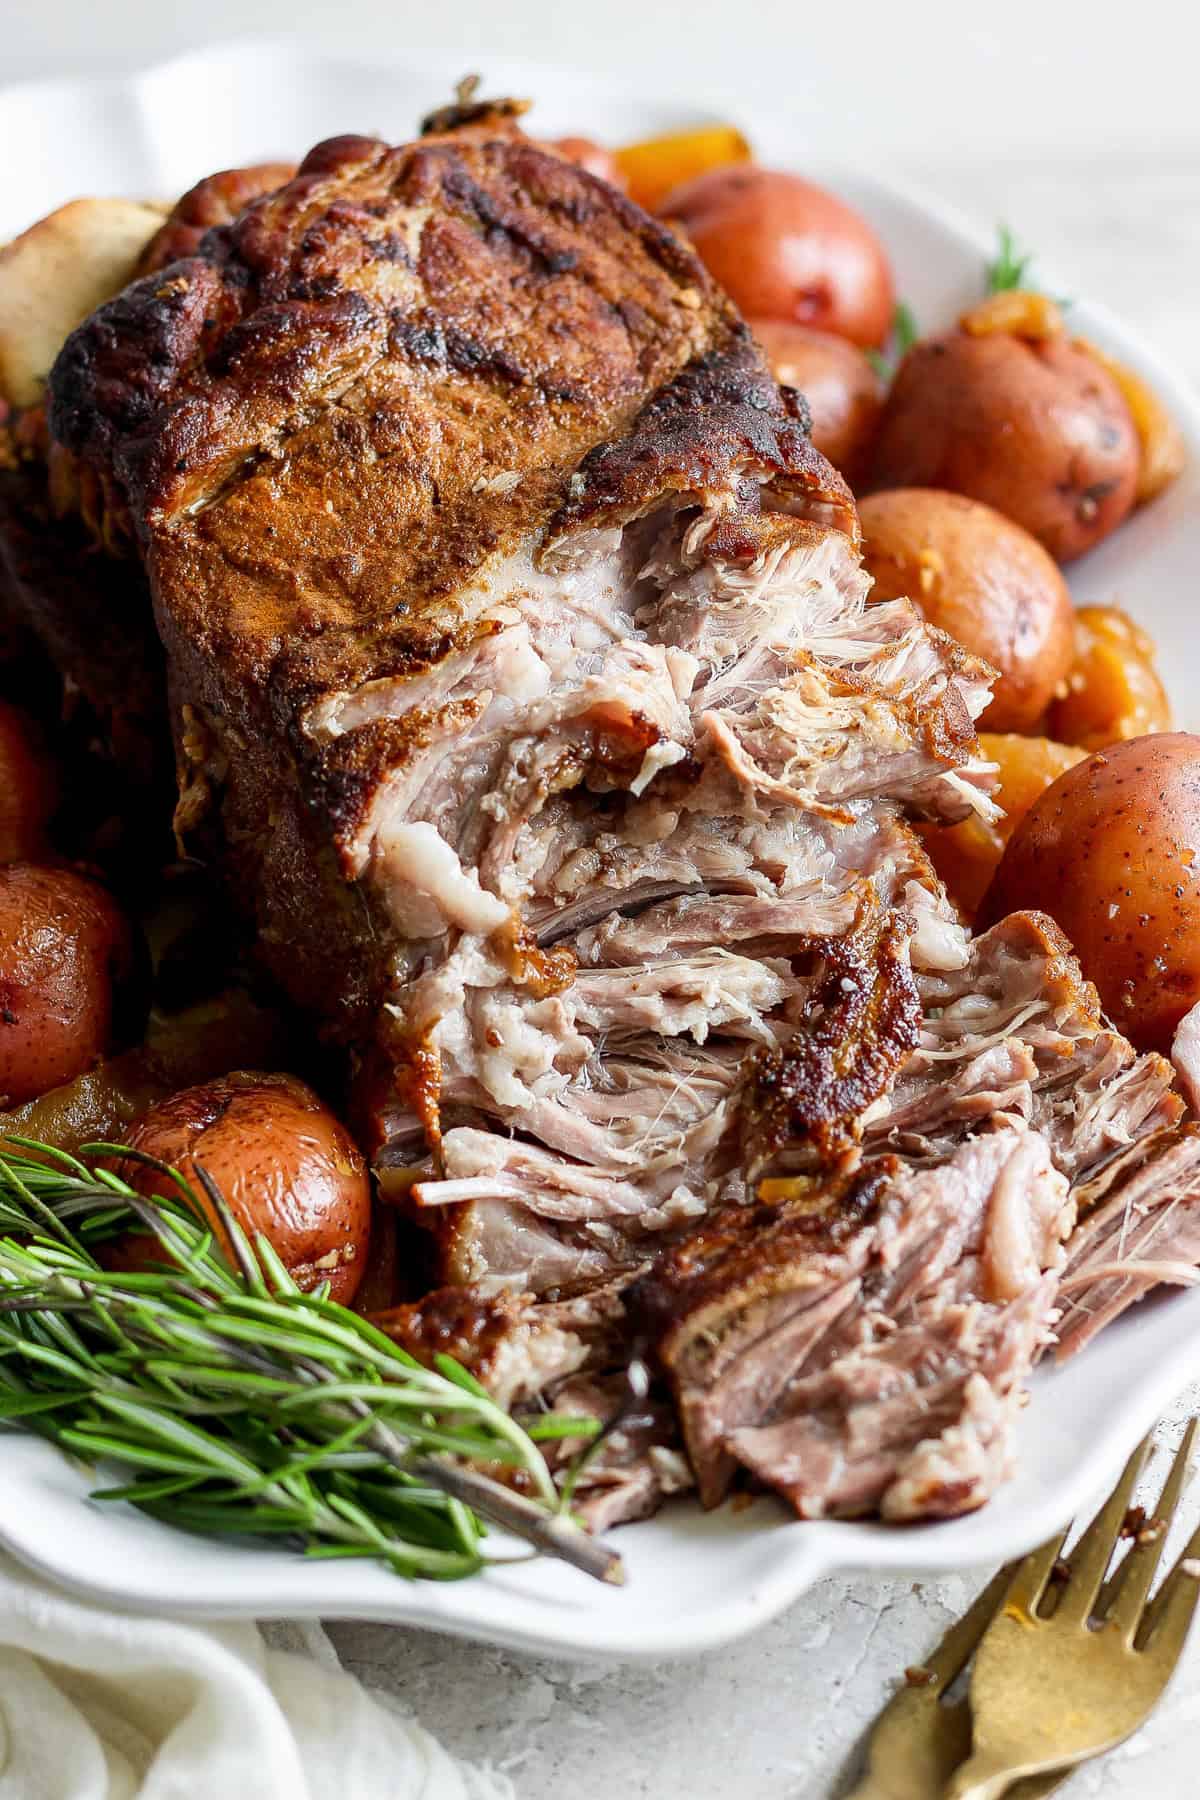
- Rest & Serve: When the pork reaches 200ºF or is easily shreddable with a fork, remove it from the oven. Let the meat rest for 10 minutes. Once rested, remove the herb stems from the pot and shred the pork. Serve with accompanied vegetables and any remaining apple cider sauce. Enjoy!
Pork is safe to eat once it reaches an internal temperature of 145ºF (USDA), but because we are cooking low and slow, the goal is to get it to reach 200ºF so that the meat can tenderize and break down to be easier to shred.
Basting is an important step in this recipe because it helps keep the pork moist and flavorful. The apple cider not only adds flavor to the dish but also helps keep the pork from drying out as it cooks.
This dish makes for great leftovers! Store any remaining pork shoulder in an airtight container in the fridge for up to 3-4 days.
To reheat, simply heat it up on the stove or in the microwave until warmed through.
What to Serve with This Apple Cider Pork Roast
We’ve got the pork, we’ve got the potatoes, so what else would taste delish with this apple cider pork shoulder? Here are a few ideas to get you started:
-
Massage the pork shoulder with kosher salt and pork seasoning. Be sure the whole pork shoulder is coated in spices. Wrap in plastic wrap and transfer to the refrigerator for at least two hours.
-
Preheat the oven to 325ºF. Heat oil in a large Dutch oven over high heat. Sear each side of the pork shoulder for 2-3 minutes or until browned. Remove it from the pot once all sides have been browned.
-
Deglaze the pot with ½ cup of apple cider vinegar and scrape the brown bits from the bottom of the pot. Add the rest of the apple cider, Worcestershire, onion, and garlic to the pot and whisk to combine. Add the potatoes and apples and toss to coat.
-
Nestle the pork shoulder in between all of the vegetables and add the fresh herbs. Cover and bake for 3-3.5 hours, basting the pork with the apple cider every hour or so.
-
When the pork reaches 200ºF or is easily shreddable with a fork, remove the pork from the oven.
-
Let the meat rest for 10 minutes. Remove the herb stems from the pot and shred the pork. Serve with accompanied vegetables and any remaining apple cider sauce.
- We highly recommend using apple cider instead of apple juice.
- You’ll notice that we recommend cooking your pork should roast until the internal temperature reaches 200ºF. This is because we want it to be easily shredded.
- Pork is safe to eat once it reaches an internal temperature of 145ºF (USDA), but because we are cooking low and slow, the goal is to get it to reach 200ºF so that the meat can tenderize and break down to be easier to shred.
Calories: 657 kcal, Carbohydrates: 44 g, Protein: 60 g, Fat: 26 g, Fiber: 5 g, Sugar: 11 g
Nutrition information is automatically calculated, so should only be used as an approximation.
Photography: photos taken in this post are by Erin from The Wooden Skillet.

