

Are you struggling to determine the best camera settings for sunrise and sunset? Do you want to capture stunning morning and evening landscapes?
You’ve come to the right place. In this article, we’re going to explain everything you need to know about sunrise/sunset camera settings, including:
- The key aperture range for sunrise/sunset photography
- The best way to focus when shooting sunrise/sunset landscapes
- A simple technique for consistently nailing the perfect exposure
- Much, much more!
So to become a master of sunrise and sunset photography, read on, starting with a quick rundown of our favorite settings:
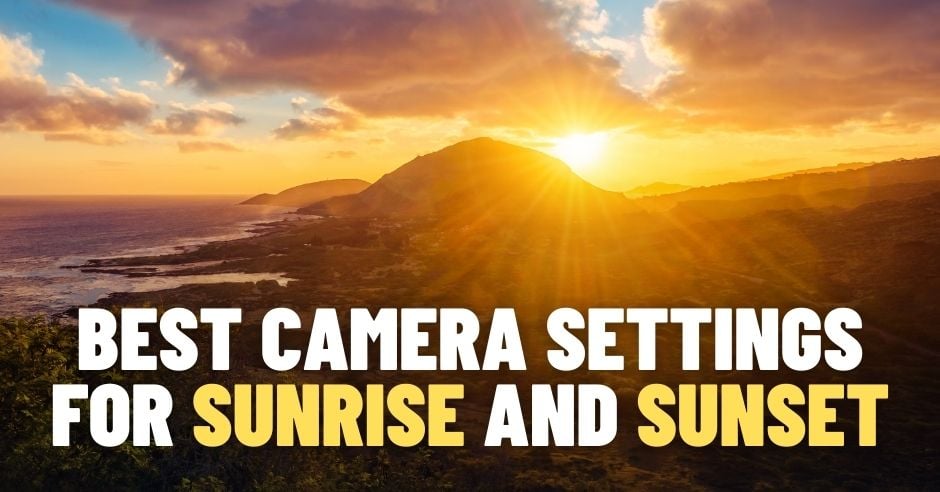
Best Camera Settings for Sunrise and Sunsets
- Exposure mode: Aperture Priority (AV, A)
- Aperture: f/8-f/13
- ISO: 100 (or your base value)
- Focus mode: Single-point AF
- Focus one-third into the scene
- Use back-button focus
- Focal length: 15-30mm
- Image quality: RAW
- White balance: Auto
Of course, the settings listed above won’t work in all situations – but they’ll do a great job for a majority of your sunrise and sunset landscape shots.
For a more detailed explanation of the best sunrise and sunset settings, as well as a discussion of why sunrise and sunset is so great for landscapes, continue on below.
Why Sunrise and Sunset Is the Best Time for Landscape Photography
Landscape photographers love sunrise and sunset. It’s how they consistently capture beautiful, golden, dramatic images.
But why are sunrise and sunset – also known as the golden hours – so special for photography?
For one, the golden hours just look incredible, thanks to the frequent sky drama, the low sun, etc.
But the quality of early-morning and late-afternoon light is also better for photography. It has to do with the distance sunlight travels at midday versus sunrise/sunset. A midday sunbeam travels straight down, passing through around 11 miles of Earth’s atmosphere before hitting your subject. Whereas a sunrise or sunset sunbeam comes at your subject from a low angle, traveling through 200 miles of atmosphere.

This matters because the atmosphere filters and diffuses the light. While you can read more about golden hour light in another article, know that the filtering and diffusion process produces light that is both soft and warm.
And soft, warm light? It looks incredible in landscape photos.
Main Challenges of Shooting Sunrises and Sunsets
While sunrises and sunsets offer gorgeous landscape photography opportunities, they’re not always the easiest to photograph.
Here are the two main challenges faced by landscape photographers:
- Balancing an ultra-bright sky with a dark foreground
- Maintaining an optimal exposure as the light changes
The first challenge – balancing your exposure – can be managed but requires precise camera settings. You can also use a bracketing technique, as I discuss below.
The second challenge is more difficult to address. You need to master several different exposure techniques and be ready to adjust your settings with the changing light. For instance, shooting during the brighter part of the golden hours – at the beginning of sunset and at the end of sunrise – requires you to manage significant contrast. Whereas shooting during the darker part of the golden hours – at the end of sunset and at the beginning of sunrise – requires an understanding of night photography settings.
Sunrise vs Sunset Photography
You might be wondering:
Are sunrise and sunset essentially the same (i.e., from a settings perspective)? Or should you approach them differently?
When it comes to exposure and focusing, sunrise and sunset are identical; the light just proceeds in different directions.
However, there are practical advantages to shooting at sunrise or at sunset:
Sunrise Photography Advantages
While sunset locations can be pretty crowded, if you head out at sunrise, you’ll often have the whole place to yourself. This is a major benefit at popular photographic spots because a) you won’t have to deal with people in your pictures, and b) you’ll be able to put down your tripod wherever you like.
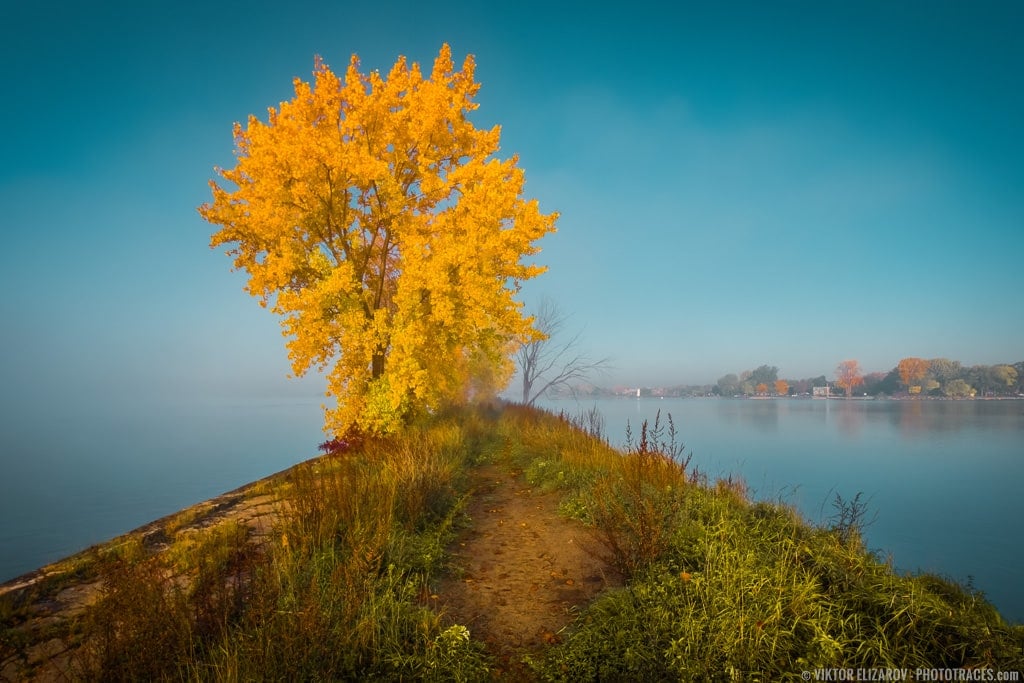
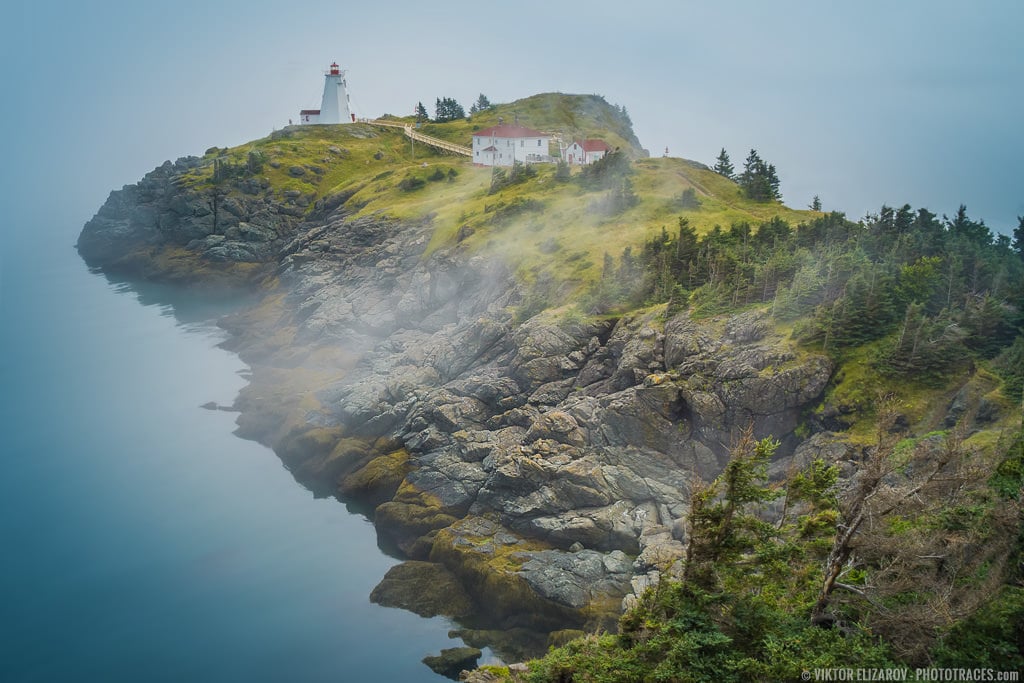
Sunrise also tends to offer a clearer sky, or – if you’re lucky! – you might end up with some morning fog, which makes for wonderfully atmospheric shots.
Sunset Photography Advantages
It’s true that sunrise offers more compositional flexibility, but it also comes with a major problem:
You have to head out in the dark. And you often need to compose in the dark to nail your first sunrise shots.
You can try to find compositions in the dark, but it’s pretty tough. So you’ll either need to shoot blind for the first few minutes of sunrise – and risk missing out on incredible images – or you’ll need to scout days in advance, which can be inconvenient or impossible, depending on the situation.
That’s where sunset photography comes in. Because you have all afternoon to find and fine-tune your compositions, and you don’t have to worry about stumbling around in the dark.
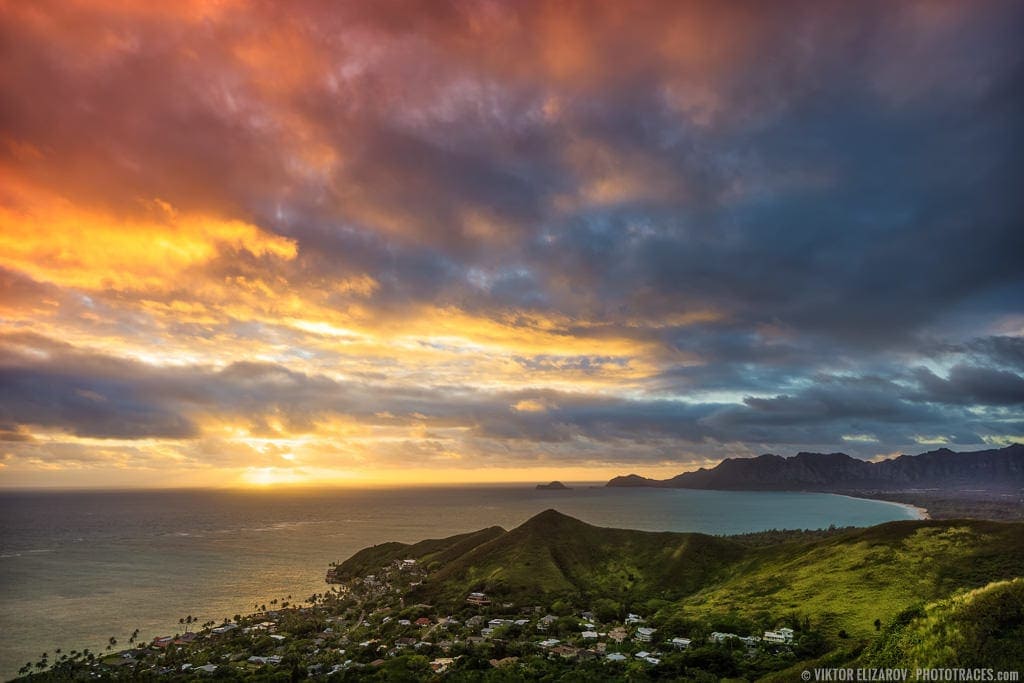
Also, sunset skies can be more dramatic compared to sunrise skies, plus – and for some photographers, this is a big one – you get to sleep!
How to Set Your Camera for Sunrises and Sunsets
So you’ve reached a sunrise or sunset location. What now? How should you approach the shot?
Here’s what we recommend:
A Tripod Is Essential
Landscape photography is generally best done at narrow apertures. And the narrower the aperture, the longer you’ll need to make your shutter speed – which requires a tripod for sharp shots.
Toward the beginning of sunset and at the end of sunrise, you might be able to get away with handheld shooting, especially if your camera or lens has image stabilization. But you’ll still want to have a tripod on hand for when the sun gets low in the sky.
Always Shoot in RAW
RAW or JPEG? It’s a common question – but when it comes to sunrise and sunset camera settings (or landscape photography settings more generally), RAW is the way to go.
As discussed in our in-depth article on the subject, RAW offers the most editing flexibility, plus it captures the broadest dynamic range (which is a huge deal when photographing high dynamic range scenes like sunrises and sunsets).
Also, if you shoot in RAW, you don’t have to worry about the white balance. Just set it to Auto and deal with it in post-processing. You won’t lose any quality, and it’s one less thing to think about when shooting.
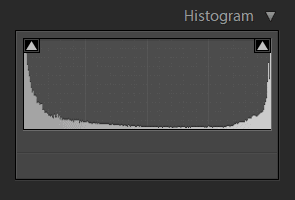
Carefully Set Your Exposure
These days, it’s easy to expose with a 100 percent success rate – where you capture maximum detail with zero clipped highlights or shadows.
Here’s how:
1. Set Camera to Aperture Priority Mode
First, set your camera to Aperture Priority mode. You can choose the aperture and ISO, your camera will choose the shutter speed, and you’ll be able to adjust your results via the Exposure Compensation dial.
2. Lock Exposure
Next, point your camera toward the scene you want to photograph. Press the AE-L button to lock the exposure.
3. Activate Histogram
Bring up the histogram on your LCD or EVF.
4. Use Exposure Compensation
Then slowly boost the exposure (with the Exposure Compensation dial), until the image is as bright as possible without clipping any highlights. This will reduce noise while maintaining maximum detail.
Then take your shot
5. Adjust Exposure During Post Processing
But don’t be concerned if it looks overexposed. You’ll simply need to reduce the exposure during post-processing, and you’ll end up with a high-quality result!
The technique I use is also known as “Exposure to the Right.”
Optional Setting: Auto Exposure Bracketing
A quick note:
Sunrise and sunset scenes tend to feature intense highlights and shadows, which can exceed the dynamic range of your camera sensor and lead to clipping – no matter how carefully you follow the recommendations given above.
So when you pull up the histogram, if you see clipping in both the highlights and shadows, switch your camera over to Auto Exposure Bracketing. When you get back home, you can do an HDR merge in Lightroom.
Set Your Focus and Aperture to Maximize Depth of Field
In landscape photography, a deep depth of field is essential; you generally want the foreground, the midground, and the background sharp with zero out-of-focus areas.
But how do you do this?
By following three guidelines:
- Select the right aperture
- Focus in the right place
- Use a wide-angle focal length
Let’s go over each in turn:
The Best Aperture for Shooting Sunrises and Sunsets
Remember: Narrower apertures produce a deeper depth of field (which is what you want in landscapes).
And you should also maximize image quality by keeping the aperture in your lens’s sweet spot (as explained in this article).
So for sunrises and sunsets, you’ll want to keep your aperture in the f/8 to f/13 range. It combines deep depth of field and top-notch image quality for gorgeous results.
Focus Settings
By focusing the perfect distance into the scene, you can maximize depth of field to keep every part of your photo sharp.
We recommend using single-point autofocus, but switch your camera over to back-button focus; that way, you can adjust focus and fire the shutter independently.
Then, put your focus point one-third of the way into the scene. Assuming you’ve chosen a sufficiently narrow aperture, this will get you foreground-to-background sharpness about 90% of the time.

For scenes requiring even greater accuracy, you can use the hyperfocal distance, a complex but highly useful concept.
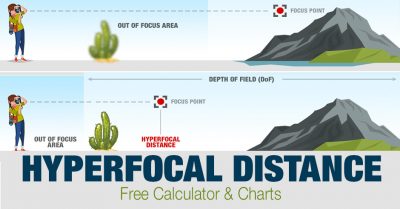
(Note that you won’t need to carry a chart or use an app to calculate the hyperfocal distance. Instead, just memorize distance values for your main wide-angle lens, and you’ll be good to go.)
Use Wide-Angle Lenses
The wider your focal length, the deeper the depth of field.
So while you can use any focal length for sunrise and sunset photography, we recommend going with a wider-angle lens (in the 10-20mm range on APS-C cameras and the 15-30mm range on full-frame cameras).
Best Camera Settings for Sunrise and Sunsets : Conclusion
Let’s summarize the best setting for shooting sunrises and sunsets.
- Scout the location. You can scout the sunset location on the same day of shooting. To scout the sunrise location, you need to do it in advance.
- Use a sturdy tripod.
- Shoot in RAW format.
- Set your camera to Aperture Priority mode.
- Use base ISO (lowest possible)
- Use the histogram to evaluate exposure (do not trust LCD or your own eyes).
- Practice the “Exposure to the Right” technique for getting the perfect exposure with every shot.
- Set autofocus to Single-point AF
- Focus one-third into the scene to maximize depth of field. Ultimately you can use a more advanced technique, “hyperfocal distance.”
- If you shoot RAW, you do not have to worry about White Balance because it can be adjusted after the fact.
- Use wide-angle lenses.
Choosing the best camera settings for sunrise and sunset photography might seem difficult, but it doesn’t have to be.
By following the recommendations we’ve given, you’ll consistently nail your exposure and focus. And you’ll end up with stunning results!