Are you struggling to understand the best camera settings for wildlife photography? Do you want to get amazing wildlife shots, but you’re just not sure how to deal with your camera equipment?
You’ve come to the right place.

Because this article will tell you everything, you need to know about wildlife photography camera settings. You’ll discover the best camera modes, as well as several highly practical tips for wildlife photography settings.
Let’s get started.
Camera Settings For Wildlife Photography
- Use Shutter Priority when shooting fast-moving objects (birds)
- Use Aperture Priority when dealing with quickly changing light
- Use Manual mode when you want complete control
- Choose a shutter speed that will freeze your subject’s movement
- Choose an aperture that will keep your entire subject sharp, if possible
- Compromise on aperture or ISO when in low-light situations
- Use your continuous shooting mode to catch the perfect moment
- Use Continuous AF when shooting moving wildlife
- Use Dynamic AF when tracking active animals
Camera Modes Used in Wildlife
Photography
If you’re looking to master wildlife
photography settings, then you’ll want to start by choosing the appropriate
camera mode.
In many genres of photography, Aperture Priority is by far the most popular shooting mode. For instance, travel photographers and landscape photographers love Aperture Priority, because it gives them control over the aperture while leaving the camera to choose a shutter speed.
But in wildlife photography, shutter speed is crucial – so Aperture Priority isn’t right for every situation. Wildlife photographers do use Aperture Priority mode at times, but they also use Manual mode. And some wildlife photographers use Shutter Priority mode, which has its uses, even if the mode is less popular.
So when should you use each of these camera modes?
Aperture Priority Mode
First, you should use Aperture Priority when you’re dealing with quickly changing light and you don’t want to spend time fiddling with camera settings. Aperture Priority will let you dial in an aperture, and your camera will choose a shutter speed that promises a good exposure result.
For instance, if you’re shooting birds that are moving in and out of a shaded environment, Aperture Priority is the way to go. Aperture Priority is also good when you’re photographing birds late in the day and the sun is dropping rapidly because it prevents you from having to focus on adjusting your shutter speed to account for the changing light.
See also: Choosing Right Aperture for Landscape Photography
Instead, you can focus on capturing beautiful
bird photos.
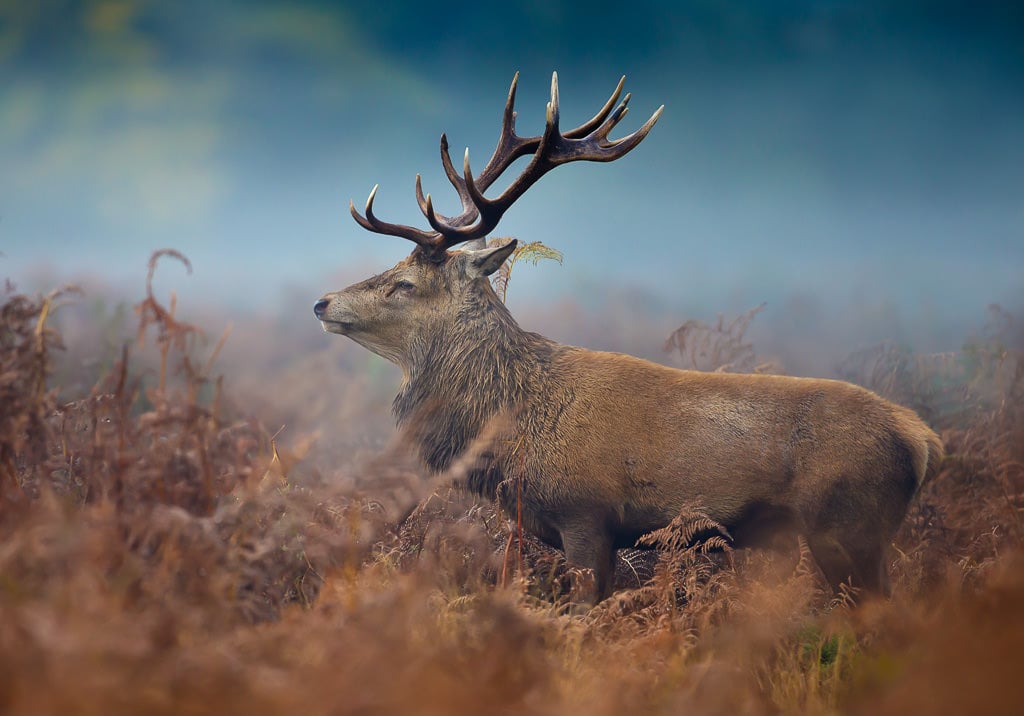
Aperture Priority is especially nice in situations where the light is strong and the shutter speed is extremely fast. When the light is lower (e.g., on a cloudy day), you can raise the ISO to force a faster shutter speed, though it may be better to put the camera in Manual mode instead.
Speaking of which:
Manual Mode
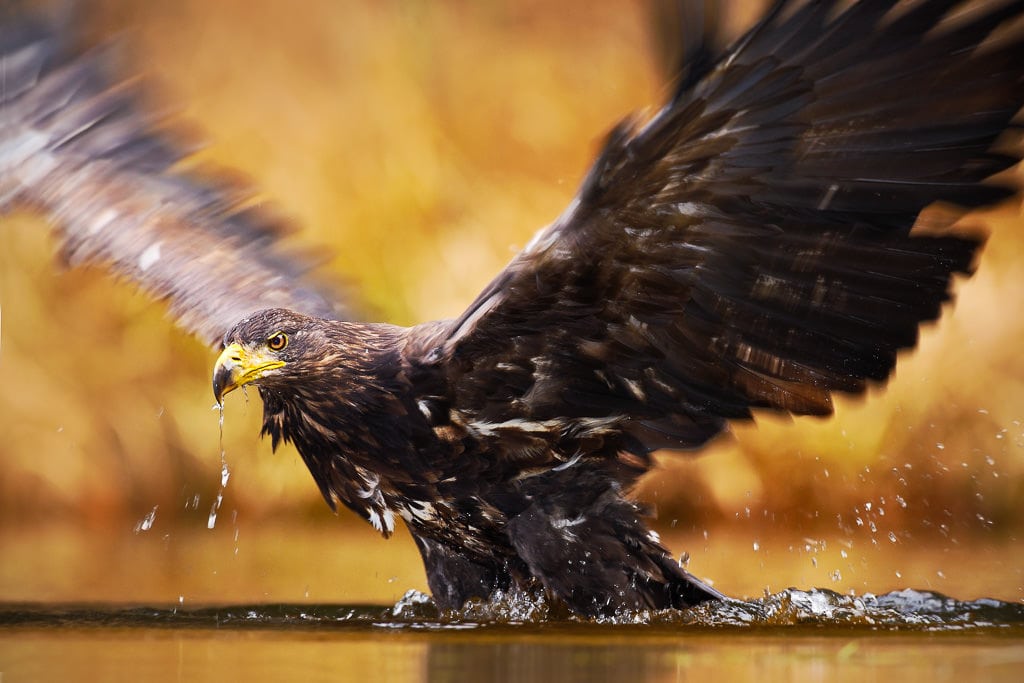
Manual mode is best when you want complete control over your camera settings. For instance, if you’re aiming to capture more creative shots – such as artistic blurs of birds flying past – Manual mode is a good option. Manual mode is also great for low-light situations when you have to make difficult decisions between ISO, shutter speed, and aperture. If you’re shooting deer at dusk, you can use Manual mode to carefully choose the widest aperture and longest shutter speed you can afford, ensuring sharp deer shots.
In other words:
Manual mode will allow you the most
flexibility so that you can make the best possible choice.
Shutter Priority Mode
Shutter Priority, on the other hand, gives you control over your shutter speed – though your camera will choose the corresponding aperture. Personally, I use this mode least, but there are times when it can be helpful.
See also: Must-have Wildlife Photography Equipment
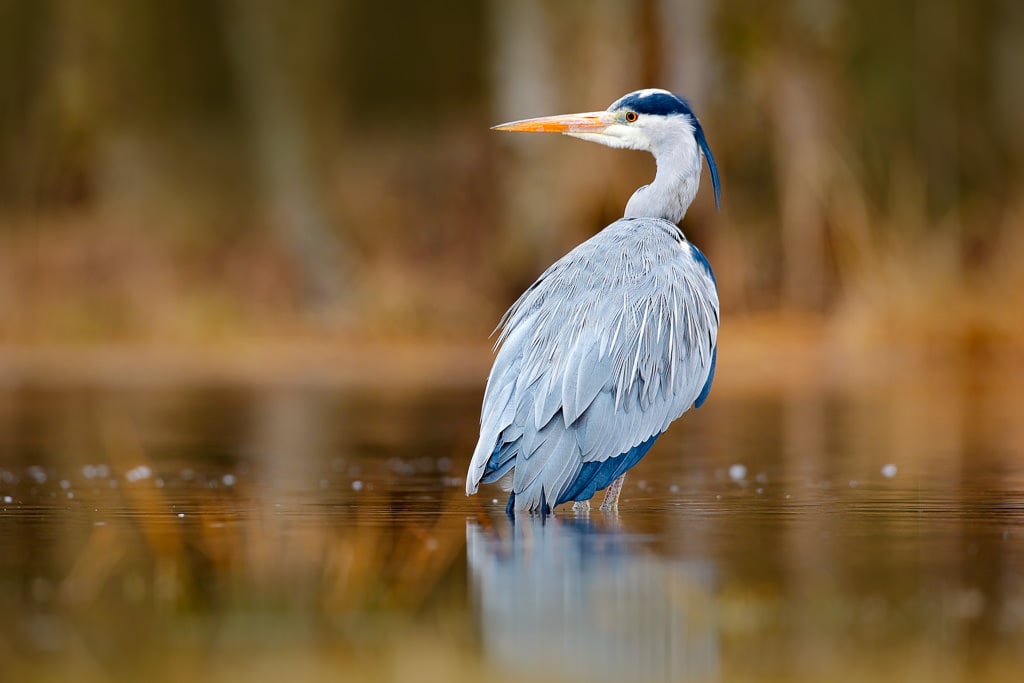
For instance, if you’re shooting an active bird and you know that you need a particular shutter speed to keep it sharp (1/2000s for a heron in flight, for instance), you can dial in the exact shutter speed and let your camera do the rest.

Make sense?
So while there’s no one best camera mode for
wildlife photography, there are certainly situations where one mode makes sense
over the others.
Camera Settings and Techniques to
Get the Right Exposure
Now that you know how to choose the proper camera mode, it’s time to get into the details of wildlife camera settings.
See also: Nature & Wildlife Photography Tutorials
First and foremost, capturing beautiful wildlife photography is about getting clear, crisp shots. And this can’t happen if you don’t keep things looking sharp.
Shutter Speed Settings
To attain perfect sharpness, you’ll generally need to shoot at 1/1000s or higher for moving animals (higher is better!). Birds in flight can require 1/2000s shutter speeds or even 1/4000s.
In other words, wildlife photography requires fast shutter speeds. And these shutter speeds will determine your choice of exposure settings.
See also: Bird Photography on a Budget
Sure, if you’re photographing a sleeping animal you won’t need to boost your shutter speed. But you’ll find that wildlife is rarely cooperative and that you have to be prepared for things to change, fast.
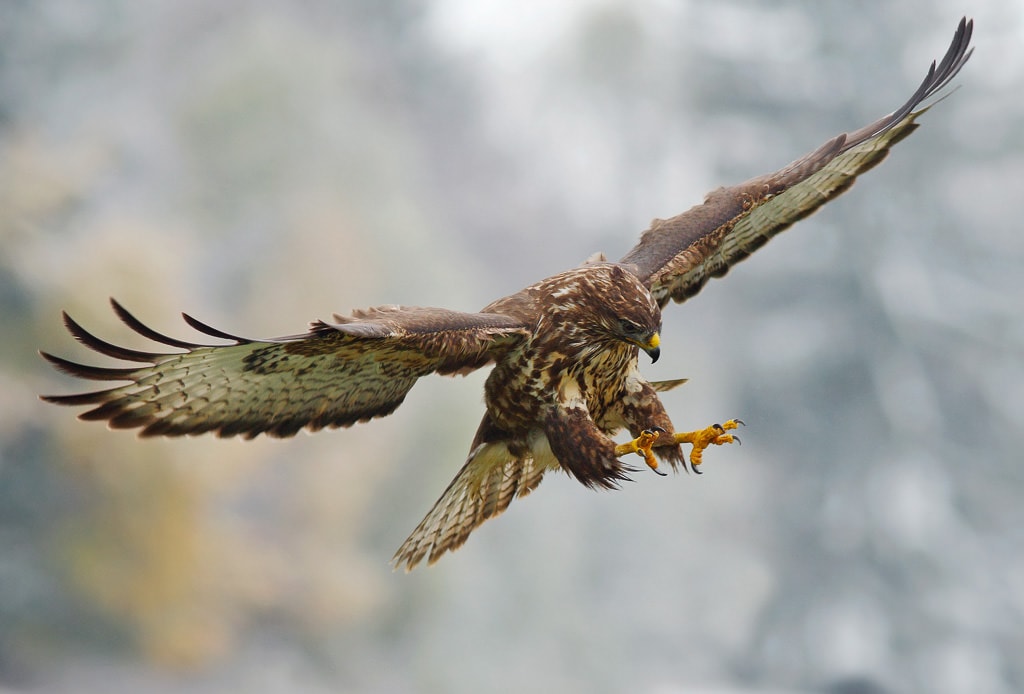
You should also be prepared to shoot in bursts, with your camera set to its continuous shooting mode. Wildlife photographers often shoot in long bursts, and don’t stop until the action is over; this is how they manage to get once-in-a-lifetime photos!
Aperture Settings
Now, while aperture is less important in wildlife
photography than other photography genres, it still matters. Generally, you
want to keep the entire animal sharp, from front to back. You don’t want to end
up with a sharp head but a blurry back, for instance. Or the front two legs
sharp and the back two legs blurry.
This often requires an aperture of at least f/6.3, but f/7.1 or f/8 is safer.
Now, wildlife photography often involves natural light, and natural light is hardly cooperative. This means that to get the perfect exposure, you’ll often have to compromise between fast shutter speed, adequate depth of field, and a low ISO.
I recommend you think about the shutter speed first. If your shot is blurry, then it should be rejected – so the shutter speed is of utmost importance. Then you can decide whether you want to deepen the depth of field or keep noise levels down.
See also: Wildlife Photography Equipment for Beginners
(And a lot will depend on your camera for wildlife photography. New cameras with the best sensors perform well in low light, so you may not have to compromise at all!)
Camera Settings and Focusing
Techniques
While a big part of good wildlife photography is about choosing the right aperture, shutter speed, and ISO…
…you’ve also got to master focusing.
Wildlife rarely stays still, which means that you must track critters with a long lens – which is hardly an easy task!
Now, there are a few camera settings that you
should absolutely be using for focusing in wildlife photography:
Continuous Autofocus
First, you should have your autofocus mode set to Continuous AF (also known as AI-Servo on Canon). This AF mode will keep your wildlife lens focused on your subject, even if the subject moves after you press the shutter button.
The exception is in situations where your subject is stationary; AF-S (One-shot AF) is a good choice.
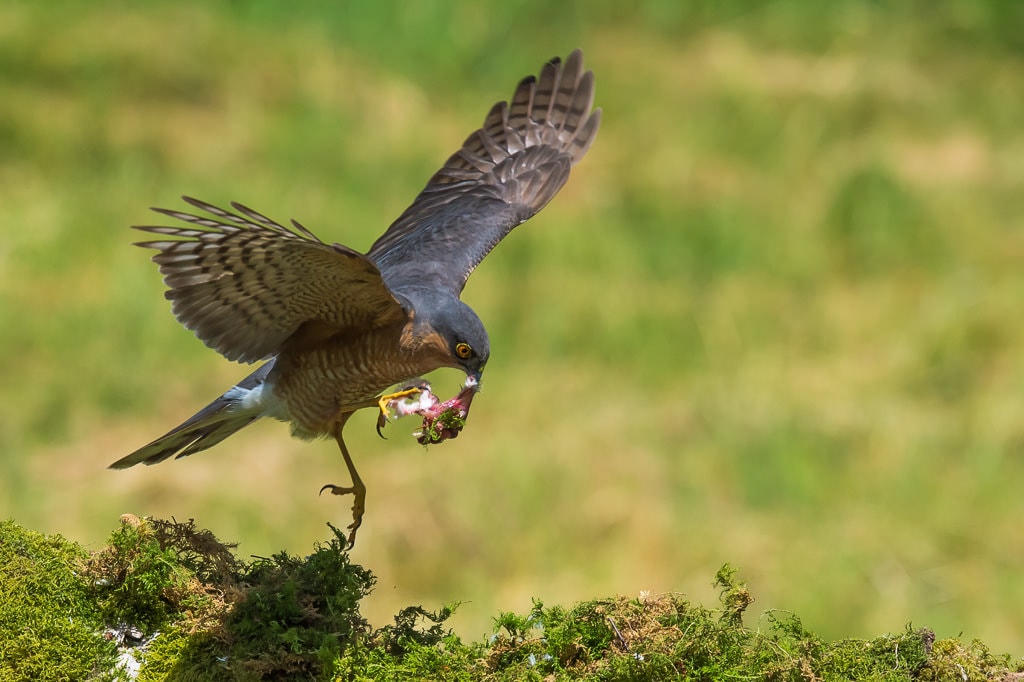
Dynamic Autofocus Mode
Second, when shooting active wildlife, you should have your camera area mode set to Dynamic AF, which will ensure your camera tracks the subject as you follow it. Without Dynamic AF, you’ll struggle to maintain focus in a number of situations: birds flying, cheetahs running, and more.
See also: Famous Animal Photographers
If your subject is stationary, then
Single-Point AF is fine.
Rounding Things Up: Camera Settings For Wildlife Photography
Now let’s take a brief look at everything
we’ve covered:
- Use Shutter Priority when shooting fast-moving objects (birds)
- Use Aperture Priority when dealing with quickly changing light
- Use Manual mode when you want complete control
- Choose a shutter speed that will freeze your subject’s movement
- Choose an aperture that will keep your entire subject sharp, if possible
- Compromise on aperture or ISO when in low-light situations
- Use your continuous shooting mode to catch the perfect moment
- Use Continuous AF when shooting moving wildlife
- Use Dynamic AF when tracking active animals
Camera Settings For Wildlife Photography | Conclusion
You should now feel confident when going out
to shoot wildlife–because you know the precise settings you need for stunning
wildlife photos.
So go find some wildlife to shoot while keeping these camera settings for wildlife photography in mind.
And your shots will be gorgeous!

