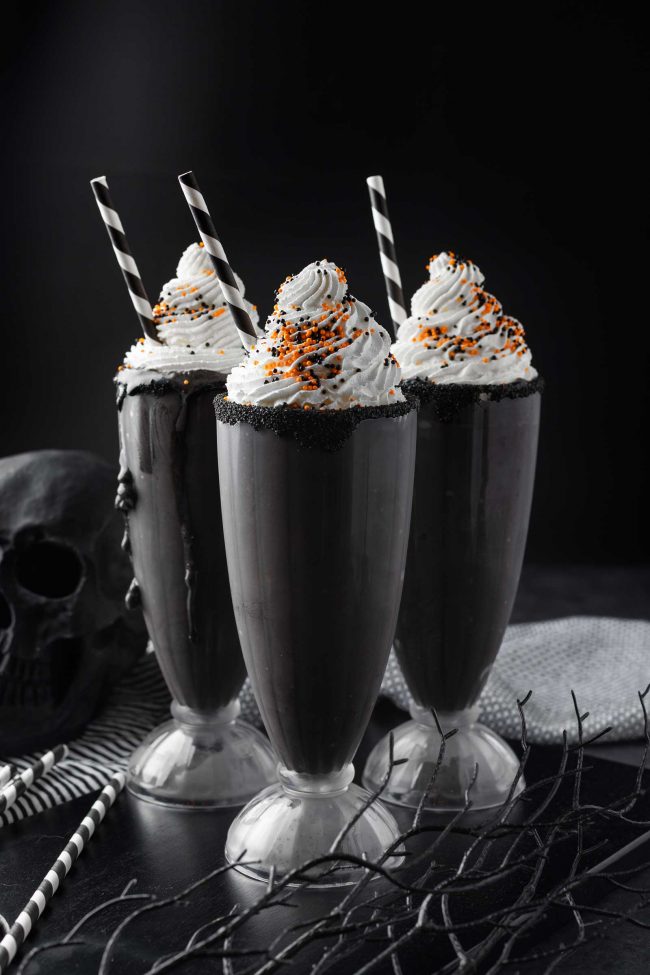
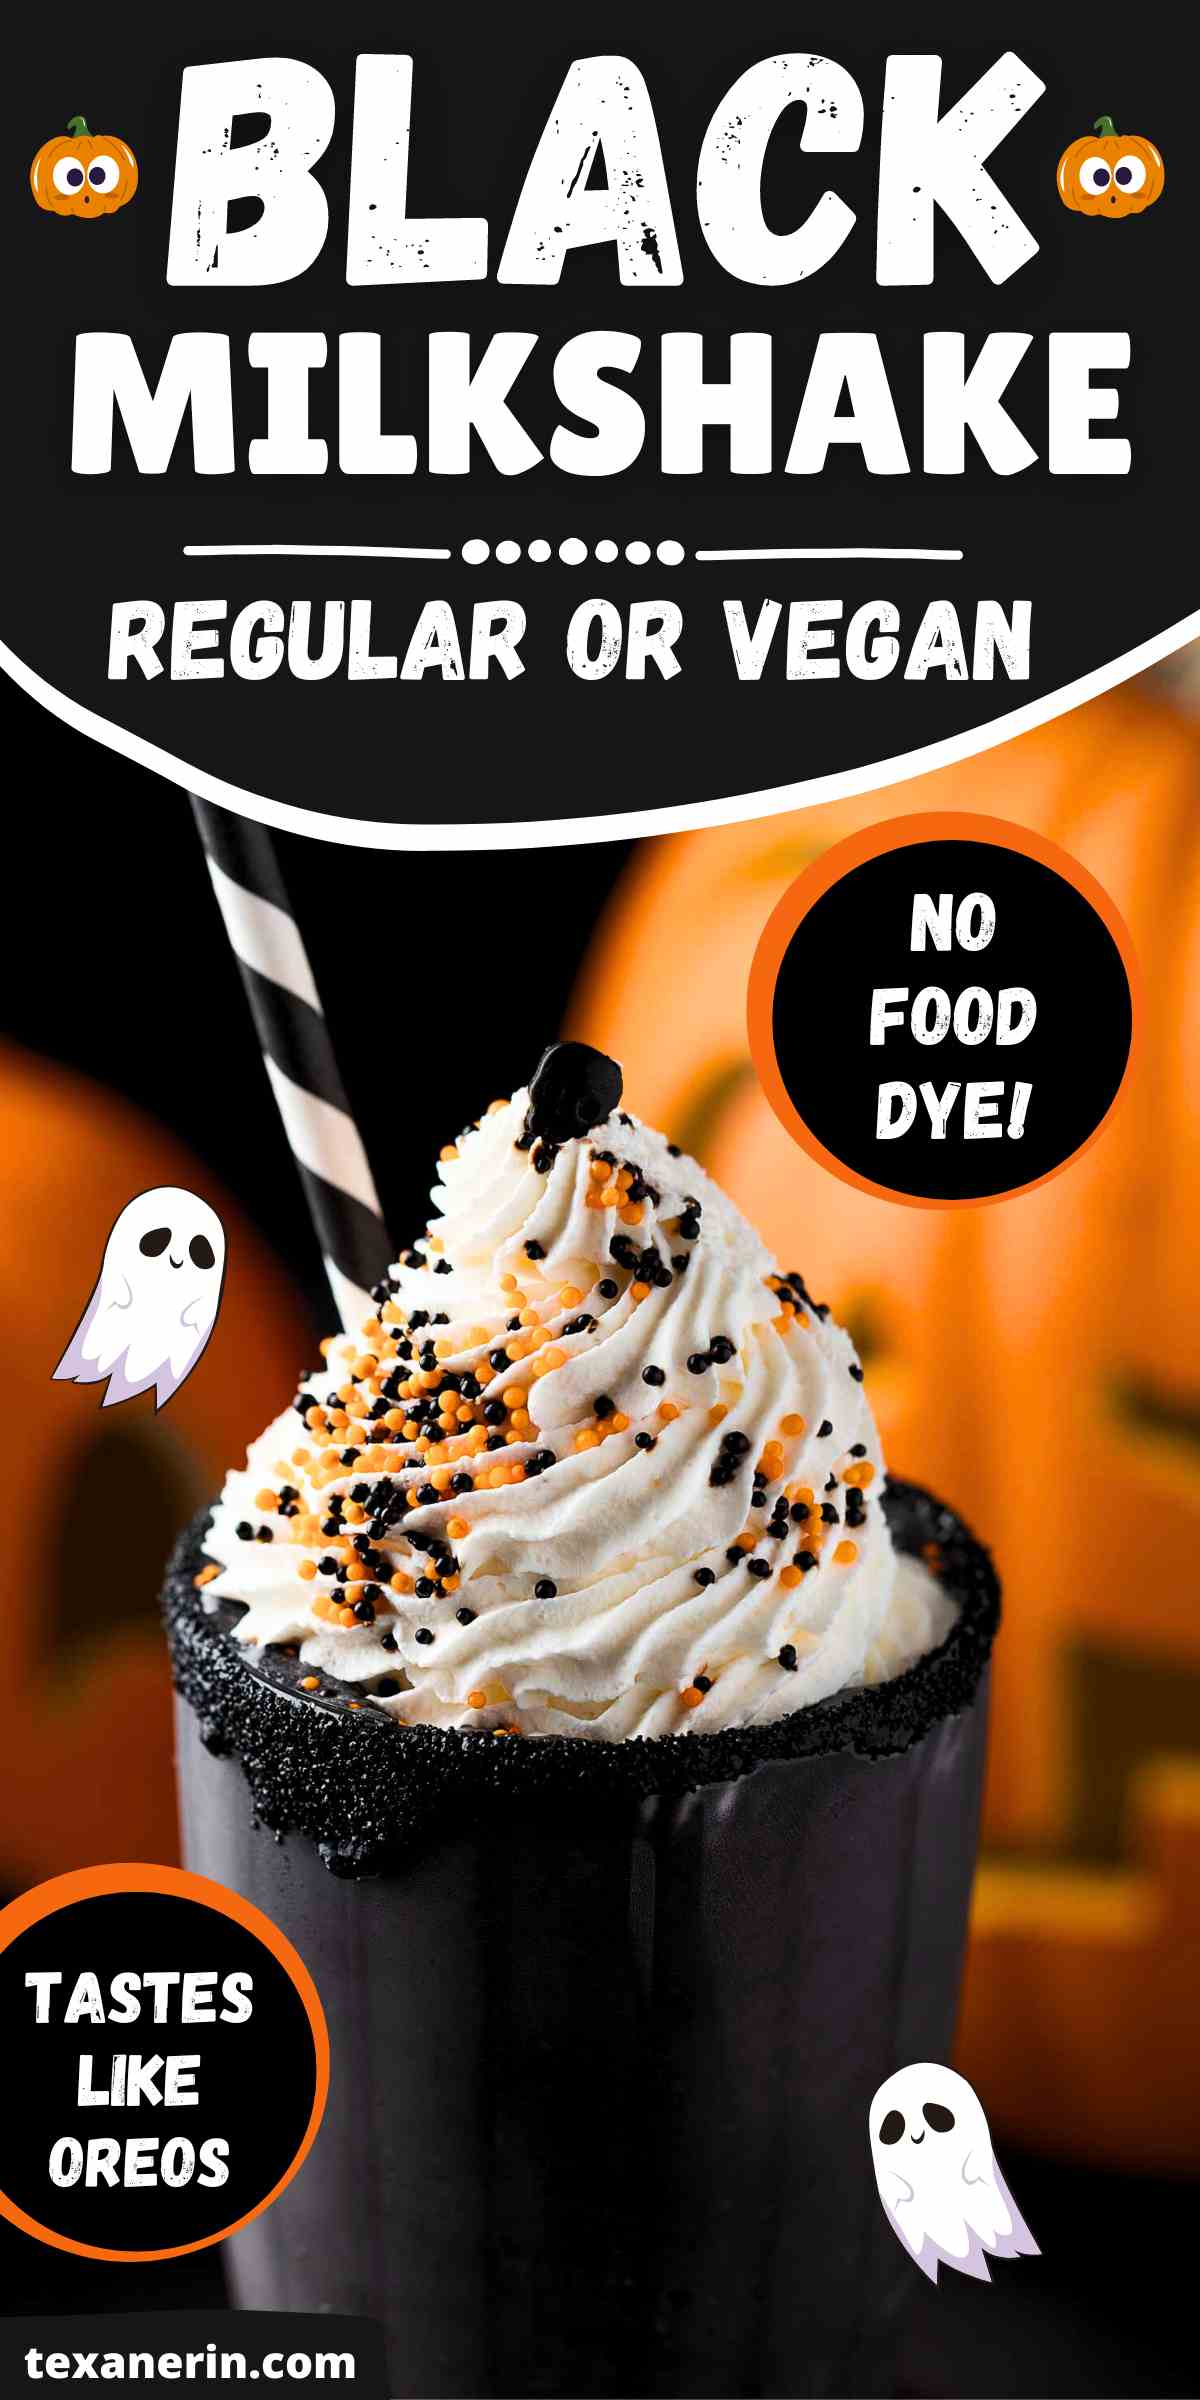
This black milkshake is free of food coloring and combines the creamy goodness of vanilla ice cream with the rich, mysterious flavor of black cocoa powder, which makes it taste like an Oreo milkshake. This easy Halloween milkshake can easily be made vegan or even paleo.
Perfect for adding a touch of spooky sophistication to your Halloween festivities, this black milkshake is as enchanting to the eyes as it is to the taste buds.
And it’s REALLY easy. Easier than other milkshake recipes that use cocoa powder.
When you look at other cocoa powder milkshake recipes, they all have you make a syrup first. I thought this meant that the cocoa powder wouldn’t dissolve nicely, so the first time I made it, I made a paste with the maple syrup.
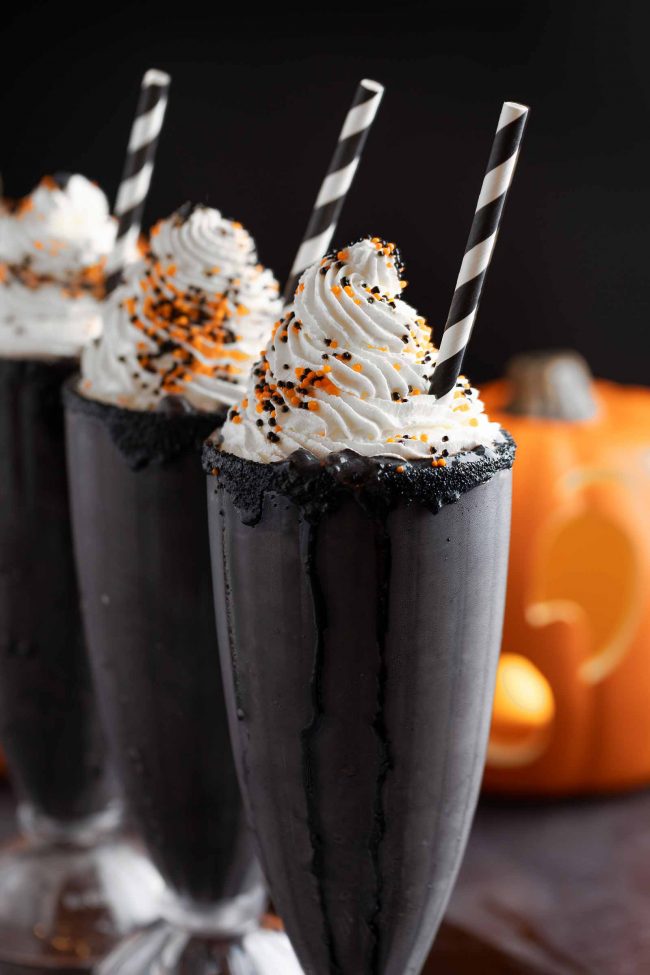
I blended the smoothie and ended up wanting more cocoa powder for taste and color, and it blended in totally fine. 🤷♀️
So the next time I made it, I just dumped everything in the blender and it worked just as well. I wanted to mention this in case you look at other milkshake recipes and are wondering why other recipes have you make a syrup first and this one doesn’t.
And should anyone be wondering why I’m already posting Halloween recipes, it’s because I’ve been waiting to do so since June. Today I decided that I’ve waited long enough. 😉
Plus this milkshake is great for the summer! Just leave out the Halloween-themed sprinkles.
Ingredients
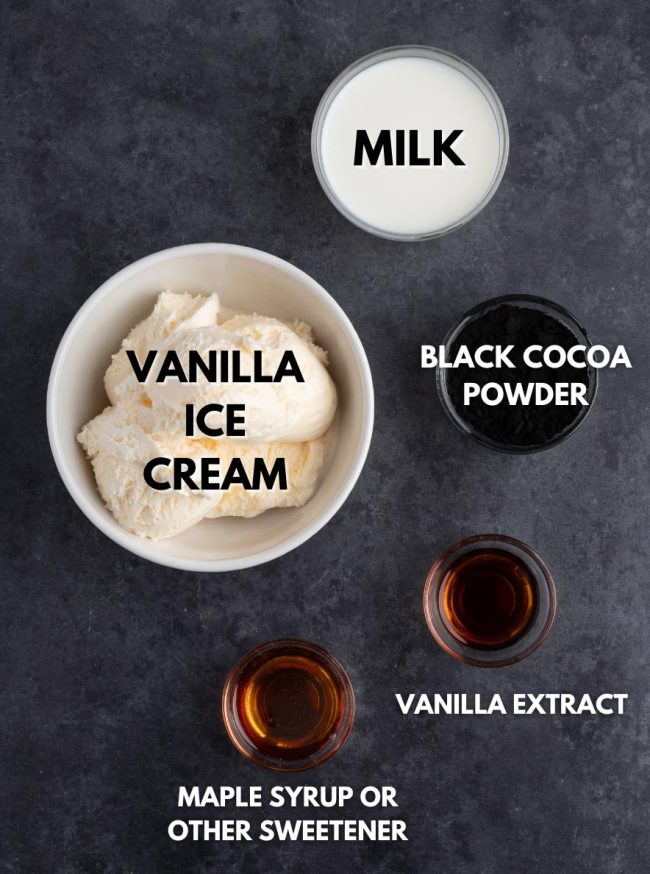
- Vanilla ice cream – the first few times I made this, I used some pretty sad quality vanilla ice cream, and it still came out amazing. If you have time to make homemade ice cream, then this French vanilla ice cream is an excellent choice!
The result was definitely creamier, but I wouldn’t say it tasted any better. That’s because the black cocoa powder is the main flavor and not vanilla.
- Black cocoa powder – I go super deep into detail about this below.
- Sweetener – I used maple syrup, which I think is ideal. There’s no issue with it not dissolving, and you can’t taste it in the milkshake (and I even used Grade C!). Don’t use honey unless you want some honey flavor. Agave syrup or brown rice syrup would also be great options because they’re liquid and neutral in taste.
Granulated sugar can be added, but it likely won’t dissolve since the milkshake is cold. The undissolved sugar can give the milkshake a slightly grainy texture. What you could do is dissolve the sugar in a small amount of warm milk before adding it to the milkshake.
- Vanilla extract – essential to any milkshake. 🙂
- Milk – you can use whatever type you’d like except canned coconut milk because the flavor of coconut would offset the taste of the black cocoa powder. Whether or not you’ll need milk depends on your ice cream. You almost definitely will.
With the bad vegan store-bought ice cream I first tried this with, I didn’t need any milk at all. With the homemade French vanilla ice cream and my paleo ice cream recipe, I did need milk. It wouldn’t blend without it. I write more about this below.
- Whipped cream – these milkshakes aren’t very exciting looking without whipped cream on top. But you absolutely don’t need whipped cream on top if you don’t want it. I don’t think it really adds anything, so I never use it in real life. Only for photos.
What is black cocoa powder?
Black cocoa powder is a type of cocoa powder that’s heavily alkalized, meaning it’s been treated with an alkaline solution to reduce its acidity. This process, known as Dutch processing, gives black cocoa powder its distinctive dark color.
It’s almost black and has a milder, smoother flavor compared to regular cocoa powder.
It has less bitterness and a deeper, more intense chocolate flavor, making it popular in recipes where a rich, dark color and subtle chocolate taste are desired, like in Oreo cookies or Halloween-themed desserts like these Mummy Cookies.
Because it’s so dark and has a different flavor profile, it’s often used in combination with regular cocoa powder to balance the taste.
But not here! You only want to use black cocoa powder in this milkshake for the best taste and color.
Cocoa powder type
If you opt for regular, natural cocoa powder like Hershey’s, the color will be brown and won’t have that Oreo-like flavor.
Using Dutch-process cocoa powder will improve the flavor compared to natural cocoa and will darken the color of your milkshake. But it still won’t be black — just dark brown. And, again, it won’t taste like an Oreo.
If you’re thinking about using one of those and adding black food coloring, I have no idea of how much you’d need. Black food coloring is said to have some flavor to it, and I’m assuming you’d need quite a bit, so I wouldn’t recommend it.
To make this milkshake black, black cocoa powder is what you need.
Which brand to buy
For my European readers, I’ve been using Van Houten Intense Deep Black Cocoa in my black cocoa recipes, and everything I’ve made with it has turned out perfectly.
My photographer, who lives in the US, needed a similar product, so I did some research on Amazon, focusing on reviews and prices to find the best option.
As an Amazon Associate, I earn from qualifying purchases. For more info, see my disclosure.
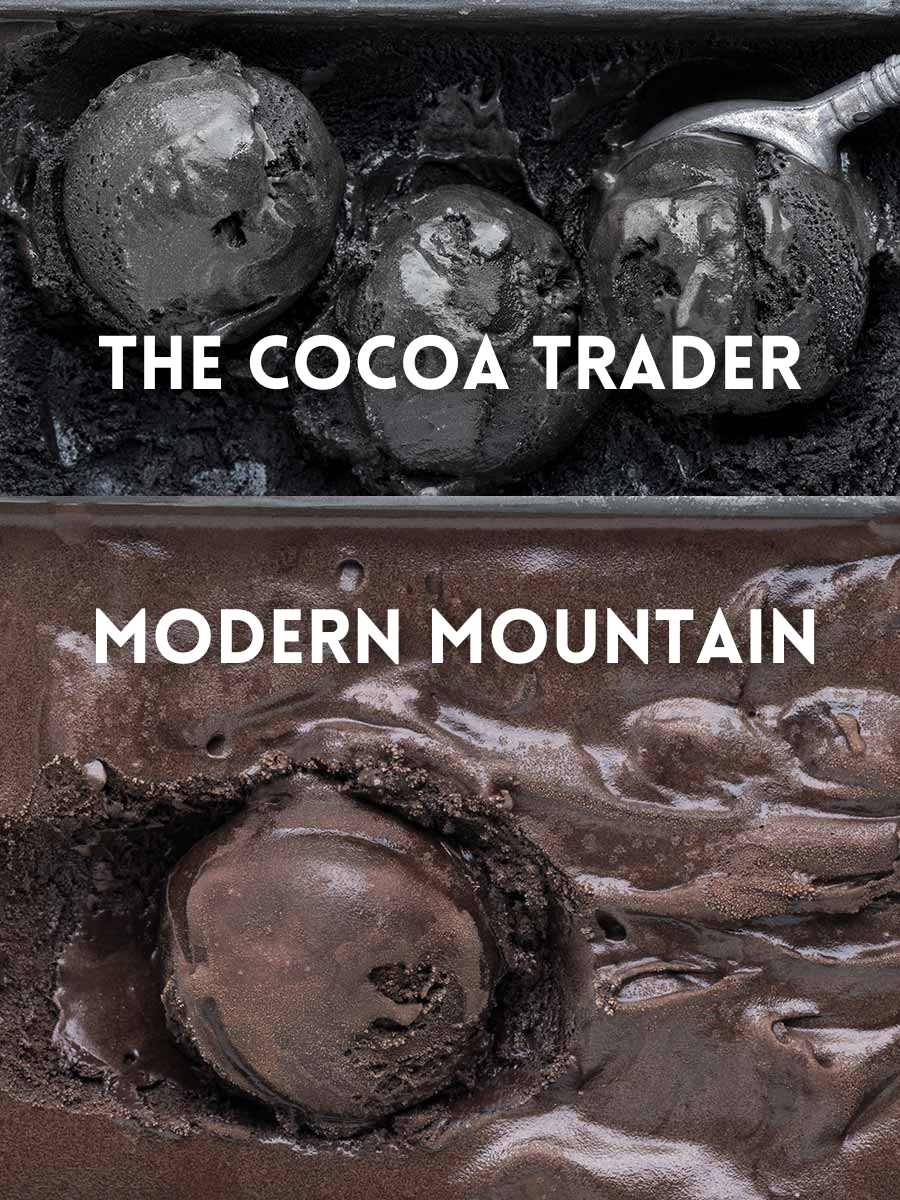
Modern Mountain – not great for no-bake treats
First, she tried Modern Mountain black cocoa in my Black Cookies recipe. They looked just like mine. Yay!
However, when she used the same cocoa in my Black Ice Cream recipe, the result was brown ice cream. Definitely not what I was aiming for; it was supposed to be black!
So it seems like this brand may produce black, baked treats, but there could be issues with the color of no-bake treats.
So we gave another brand a try.
The Cocoa Trader
This is the brand I used for this milkshake. And all of my other black cocoa recipes.
If you’re not concerned about color, feel free to use any black cocoa brand. The flavor will be right, but the color might turn out brown.
If you want to be sure your milkshake comes out black, be sure to use The Cocoa Trader black cocoa.
If you want to try a different brand — most have great reviews on Amazon. Anthony’s sells black cocoa for $11.99 per pound (up from $10.99), and it’s organic.
But I can’t guarantee if that or other brands will yield a black color in this milkshake. If you’re considering the black cocoa from King Arthur Flour, I found reviews mentioning that The Cocoa Trader produces noticeably blacker results.
Can I use chocolate ice cream?
Because I haven’t tried it, I can’t really say how it’d affect the Oreo flavor.
But I’m pretty sure it’d taste more classically chocolaty and less Oreo-y. I’m also not sure of the color, but I think you’d get the same dark grey.
I mixed black cocoa powder and Dutch-process cocoa powder in my Jack Skellington Cake, and it worked great. But because I only used a small amount of black cocoa powder, the cake base didn’t taste of Oreos.
But the frosting did! That frosting is my absolute favorite. 😋
How to make it
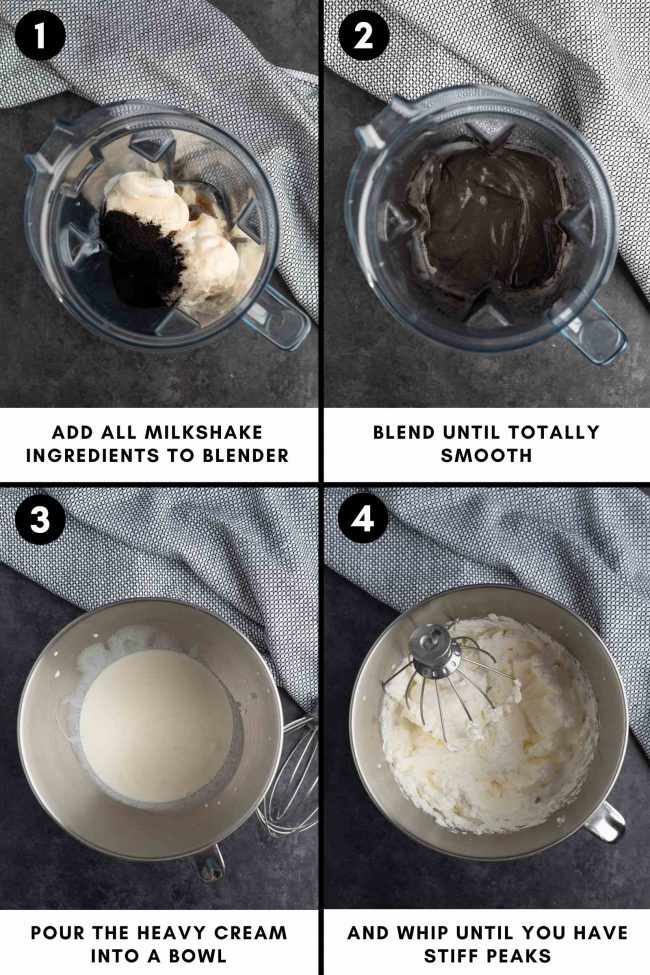
You just need to blend it. If you want whipped cream, you whip heavy cream. Done!
If you want to make the rim, here’s what you do:
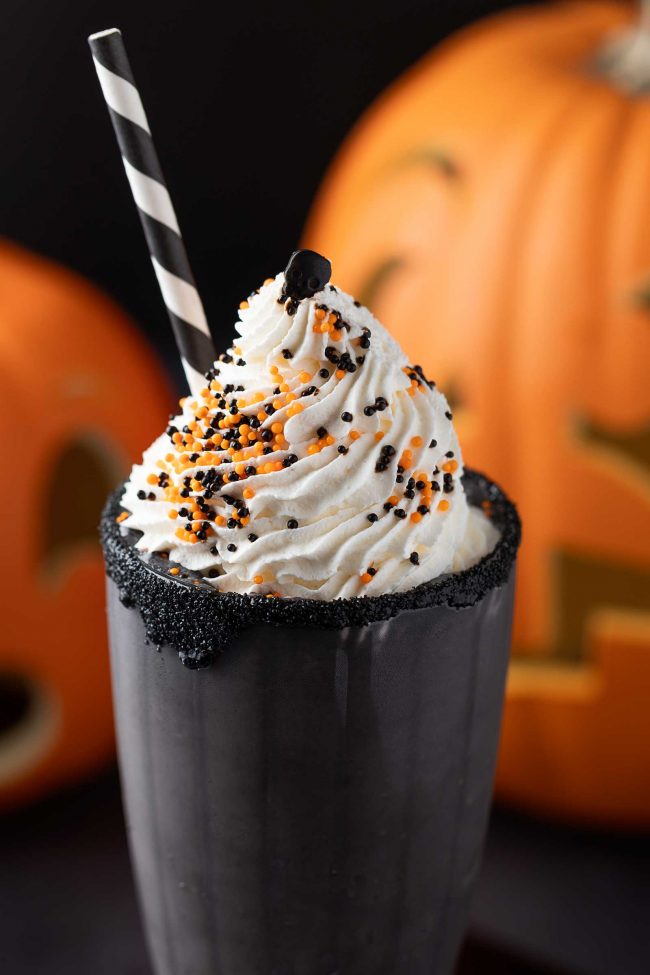
- Pour the black sanding sugar onto a small plate or shallow dish.
- Lightly coat the rim of your milkshake glass with maple syrup. You can do this by dipping the rim into a shallow dish of the syrup or by brushing it on with a small brush.
- Immediately dip the sticky rim of the glass into the black sanding sugar, pressing down slightly to ensure the sugar sticks evenly.
- Once the rim is coated with the black sanding sugar, gently tap the glass to remove any excess sugar.
- Place the glass in the refrigerator or freezer for a few minutes to set the sugar and help it adhere better.
A little warning!
As black cocoa travels through your digestive system, it doesn’t lose its color.
I’m surprised more sites don’t mention this, but it’s important to know so you don’t start Googling symptoms and worrying about internal bleeding or other serious issues.
It’s just the cocoa powder! And if you have kids, they’ll probably find this amusing. 💩
By the way, if you’ve been curious about the beet test but can’t stand beets, here’s your chance! It works with this ice cream and anything else made with black cocoa. 😉
Milk amount
The ideal ratio is usually about 3 parts ice cream to 1 part milk. Too much milk can make the shake too thin, while too little can make it difficult to blend.
The first time I made it, I used 3 parts ice cream to 1 part milk, and the milkshake was WAY too thin. I made it again, and it was perfect without any milk at all.
The problem was my not-so-good ice cream, which was pretty light, airy and not dense. I needed 1/2 cup (120 ml) when making it with better quality ice cream.
Yield
The recipe yields 2 1/2 cups (591 ml) when using dense, high-quality ice cream and 1/2 cup (120 ml) of milk. When I made this with ice cream that had a lot of air in it, I didn’t need any milk and the yield was only around 1 1/3 cups (307 ml).
When I weighed the high-quality ice cream, it was 240 grams per cup. With the other airy ice cream, it was only 174 grams per cup. So that, along with the lack of milk, explains the difference in yield.
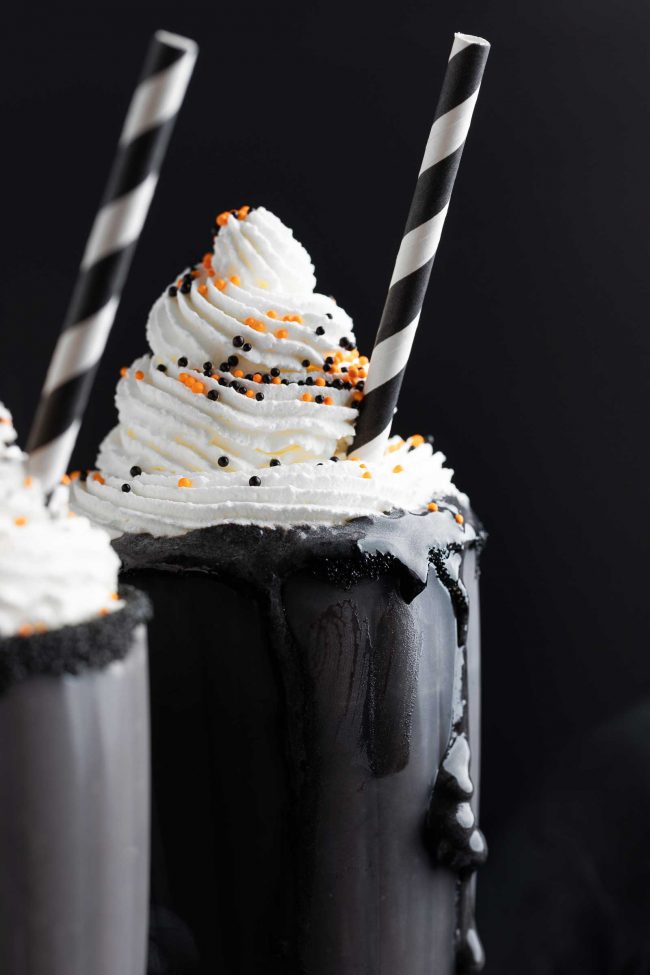
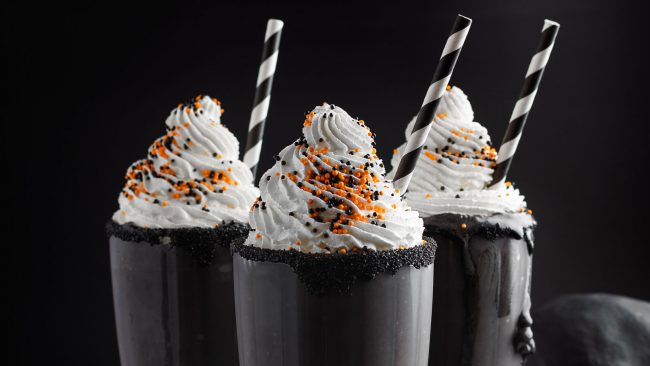
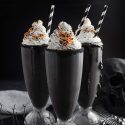
Please note that the recipe produces two milkshakes. The images you see are of three milkshakes, made by 1.5xing the ingredients.
Vegan version
You just have to use vegan vanilla ice cream and plant-based milk. I used unsweetened cashew milk.
I used store-bought vegan vanilla ice cream as well as this Paleo Ice Cream for a paleo version. I was surprised that it came out so well!
That ice cream is SO good, but it has a slight salted caramel flavor, which I thought would conflict with the black cocoa powder. It didn’t! 🥳
It’s also great in this Mocha Milkshake and Blueberry Milkshake.
You’ll obviously need to skip the whipped cream and sprinkles for a paleo version.
Milkshake making tips
Here are some general tips for making milkshakes; not just this one.
- Make sure all your ingredients, especially the ice cream and milk, are very cold. This helps maintain the thick, creamy texture of the milkshake.
- Blend just until the ingredients are combined and smooth. Overblending can cause the shake to become too thin and lose its creamy texture.
- A chilled glass helps keep your milkshake cold and prevents it from melting too quickly.
I hope you’ll enjoy this milkshake if you try it out! I’d love to hear your thoughts below. 🙂 Thanks!
❀
- Prep Time:
- Cook Time:
- Ready in:
- Yield: 2
Ingredients
- 1/4 cup (60 ml) heavy cream or whipping cream
- black sanding sugar
- 2 cups (475 ml) vanilla ice cream, packed
- 1/4 cup-1/2 cup (60-120ml) milk
- 3+ tablespoons (26 grams) black cocoa powder
- 2 tablespoons maple syrup
- 2 teaspoons vanilla extract
- optional: sprinkles
Optional whipped cream topping and rim:
Milkshake ingredients:
Directions
- Add the heavy cream to a bowl. Begin by whipping the cream at medium speed. Once it starts to thicken, increase the speed to high. Continue whipping until the peaks stand up straight. Place in the fridge while you make the milkshake.
- If you want to make a rim with black sanding sugar like I did – pour sanding sugar into a shallow bowl. Brush some maple syrup on the rim of your glass with a small pastry brush or dip the rim into a shallow dish of maple syrup. Immediately dip the rim of the glass into the sanding sugar. Tap to remove excess sugar and place in the freezer for a few minutes to help the sugar adhere better.
- Add ice cream, 1/4 cup (60ml) milk, black cocoa powder, maple syrup, vanilla to a blender and blend until it’s totally combined and there aren’t any lumps of ice cream. If it’s too thick, add more milk until it’s however thick you’d like. Taste and add more black cocoa, if desired. Note that the milkshake may look dark grey at the beginning, but gets very close to black the longer it sits.
- Top with the whipped cream and add sprinkles, if desired.
If making whipped cream and rim:
Make the milkshake:
Notes
- For the milk, you can use any type except for canned coconut milk. I use unsweetened cashew milk for a paleo/vegan version, but any compliant milk would work. Also omit the sprinkles if you’re paleo/vegan. When I made this recipe with store-bought vegan ice cream, I didn’t need any milk at all. That ice cream was very airy and not dense. When I used homemade ice cream, I needed 1/2 cup (120 ml) of milk.
- The recipe yields 2 1/2 cups (591 ml) when using dense, high-quality ice cream and 1/2 cup (120 ml) of milk. When I made this with ice cream that had a lot of air in it, I didn’t need any milk and the yield was only around 1 1/3 cups (307 ml).

