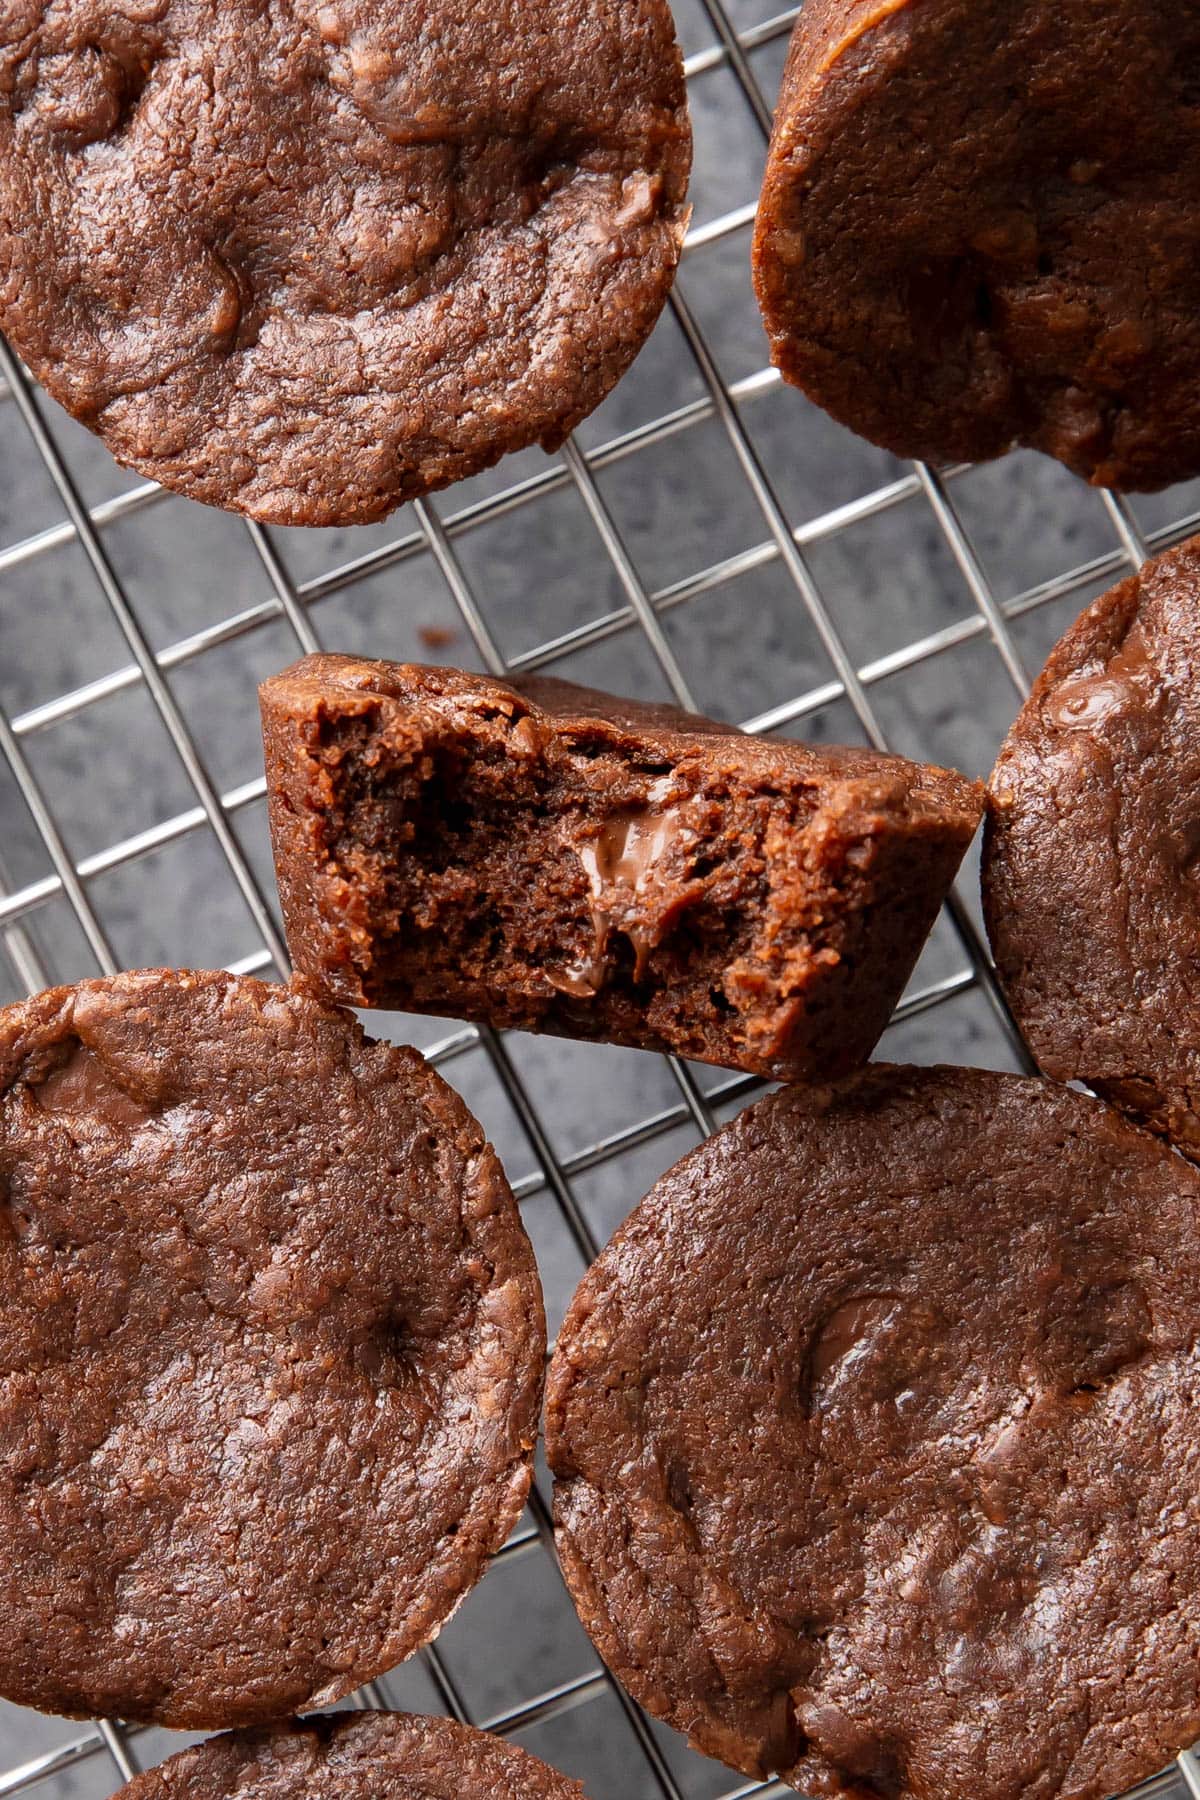
Chewy, tender brownie bites with fudgy chocolate flavor and a lightly crispy edges.
Why are mini desserts so much better than regular sized desserts? (Maybe because we feel indulgent in a cute way?) I love making today’s brownie bites because they are just the right amount of fudgy, chocolatey, and satisfying in a cutely mini-sized portion.
Want a bite-sized brownie bites recipe that just hits the spot when you’re craving chocolate-everything? Let’s get baking!
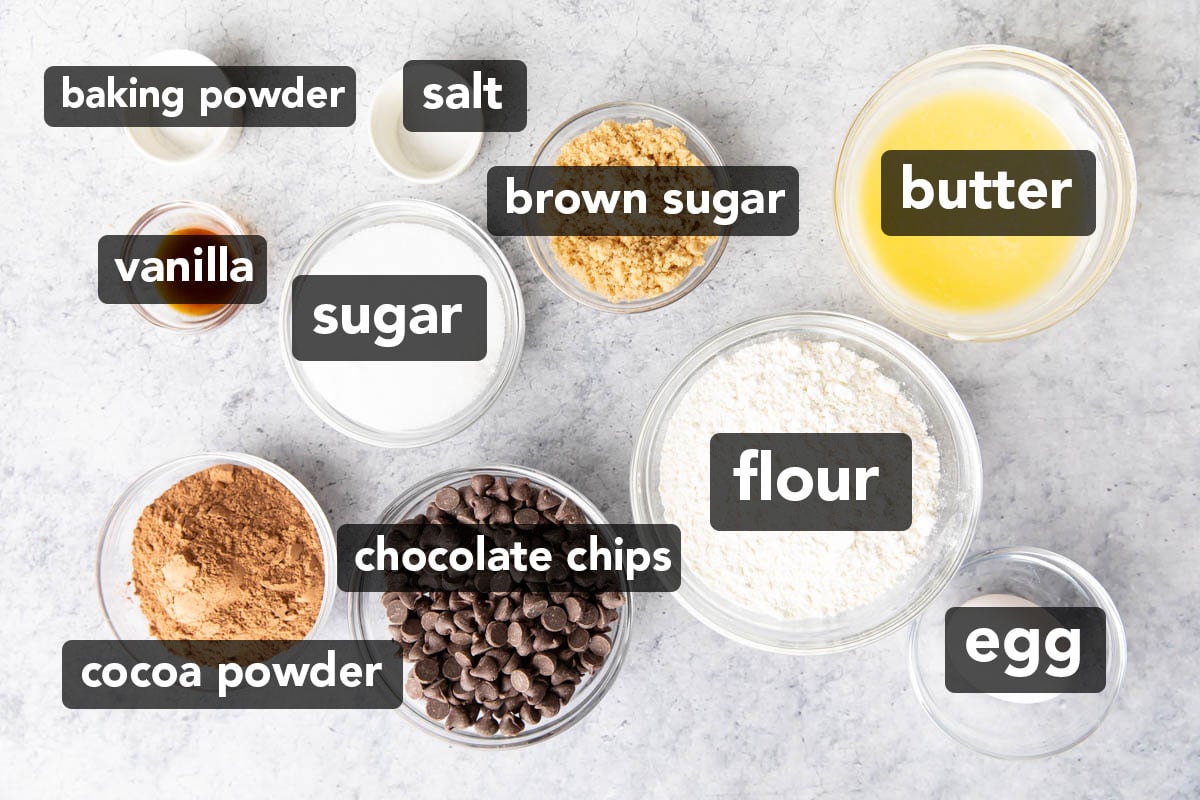
Brownie Bites Ingredients
- All purpose flour – you can also use oat flour as a swap
- Unsweetened cocoa powder – make sure not to use dutch-processed cocoa
- Butter – make sure to use unsalted butter so we can control the exact amount of salt that goes into this recipe.
- Vanilla – use real vanilla extract and skip the imitation since it has a lower quality taste
- Granulated sugar
- Brown sugar
- Egg – we’ll be using one large egg for this brownie bites recipe. Make sure it’s at room temperature before preparing the recipe
- Chocolate chips – you can use high-quality chocolate chips or, truly, your favorite chocolate chips.
- Baking powder, salt
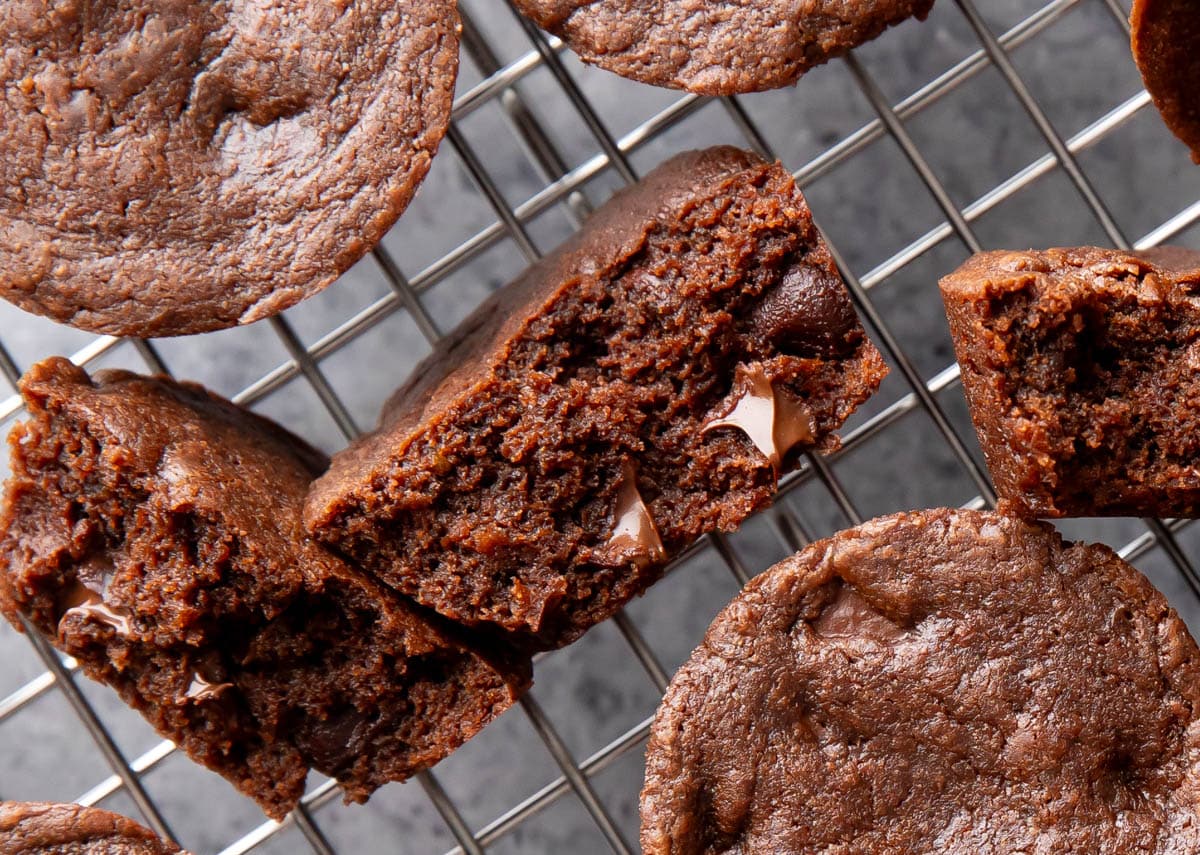
What are Mini Brownie Bites?
Mini brownie bites, otherwise known as two bite brownies, are mini brownies in the shape of mini bites.
These bites can be smaller cut brownies, or in the case of today’s recipe, mini muffin pan brownies.
You can eat these brownie bites in just two bites if you’re so inclined. Or, in one bite, as Erik is so inclined… Heh heh.
How to Make Brownie Bites
We’ll start this brownie bites recipe by preheating the oven to 350°F and setting aside mini muffin pans.
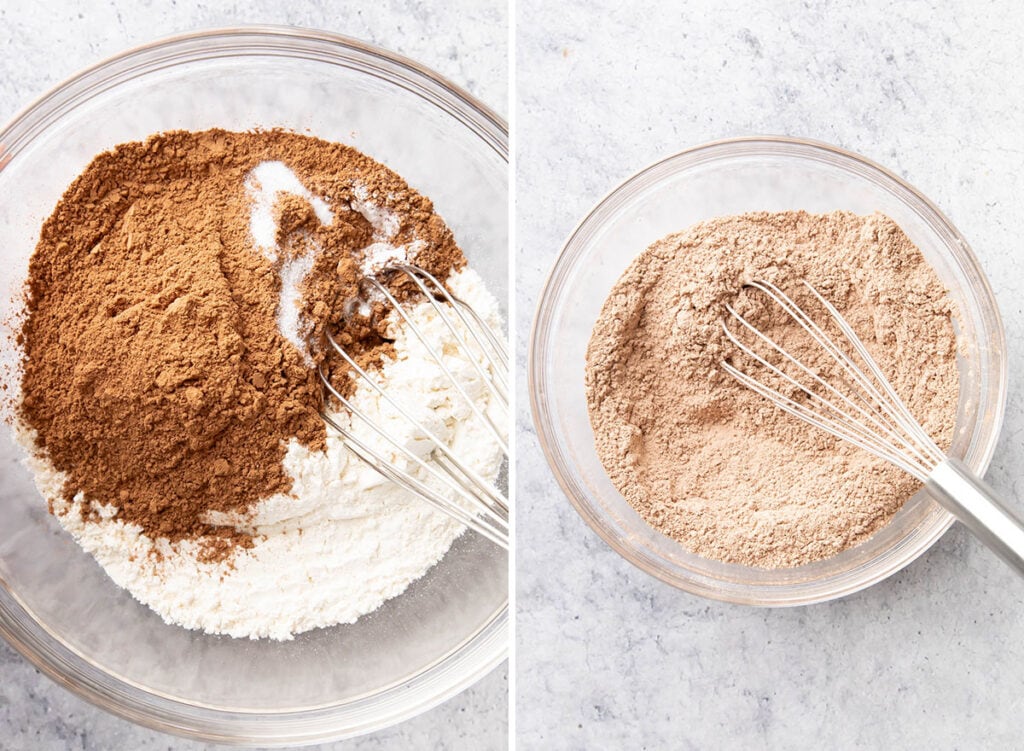
Next, let’s whisk together the dry ingredients, including flour, cocoa powder, and salt.
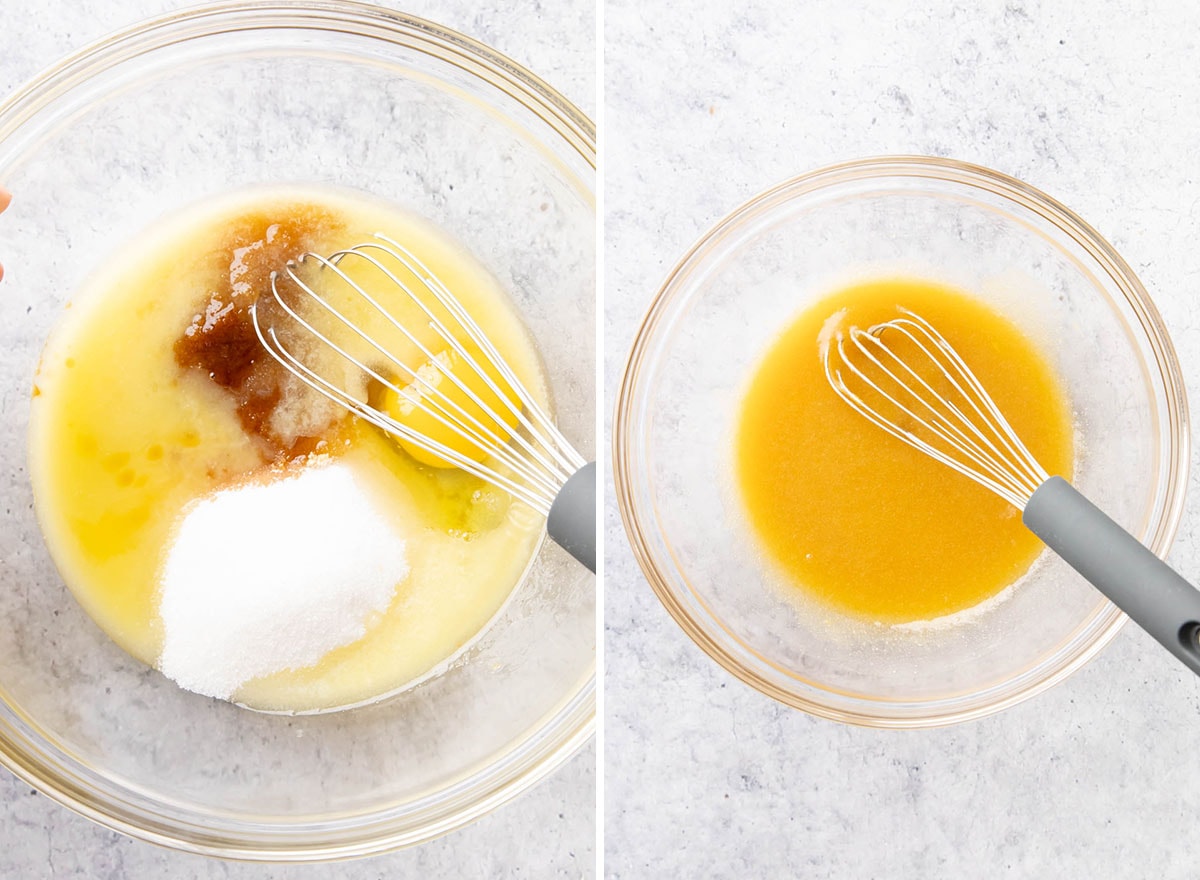
Grab a large bowl and add in melted butter, sugar, brown sugar, a room temperature egg, and vanilla.
Whisk until well mixed.
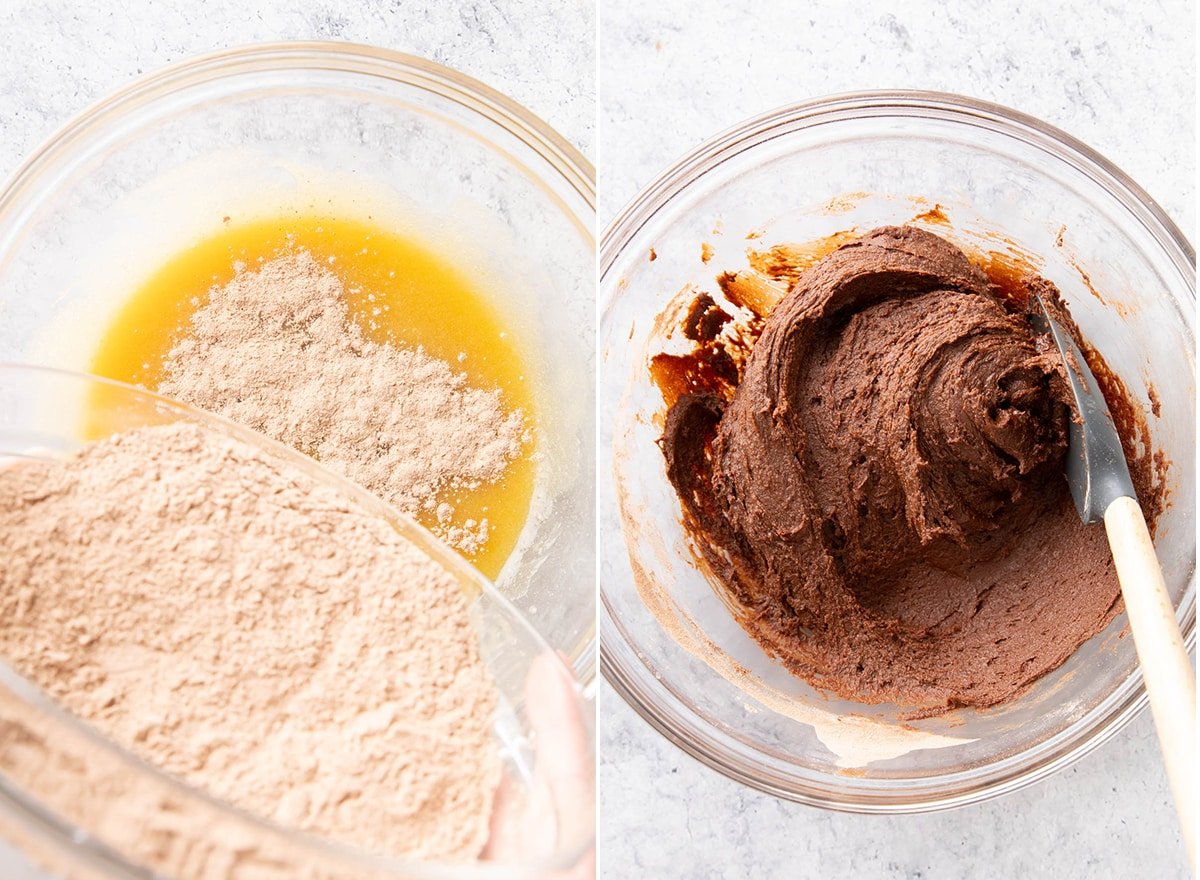
Then, tip the bowl of dry ingredients over the wet ingredients.
We’ll skip whisking here, and instead, gently stir and fold to combine.
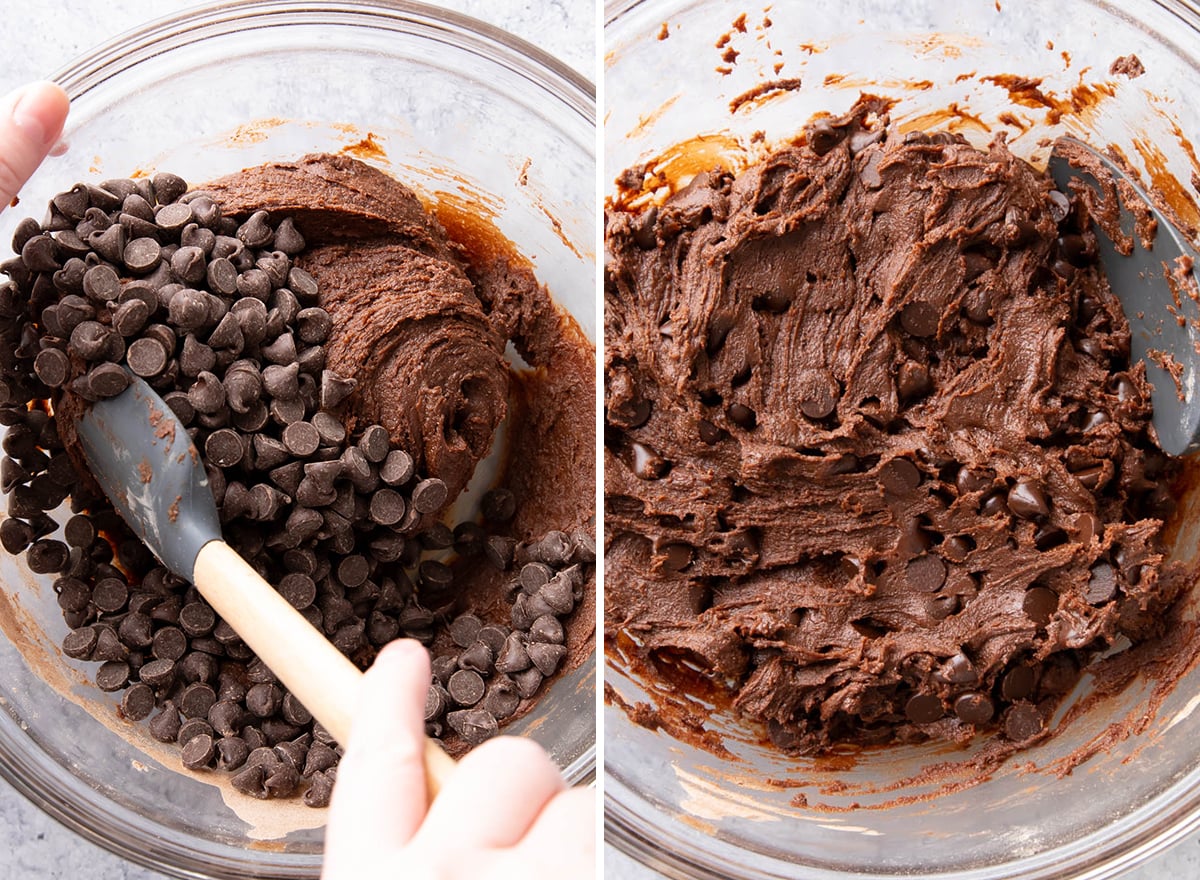
Pour chocolate chips over the brownie batter.
Then, stir and fold to combine.
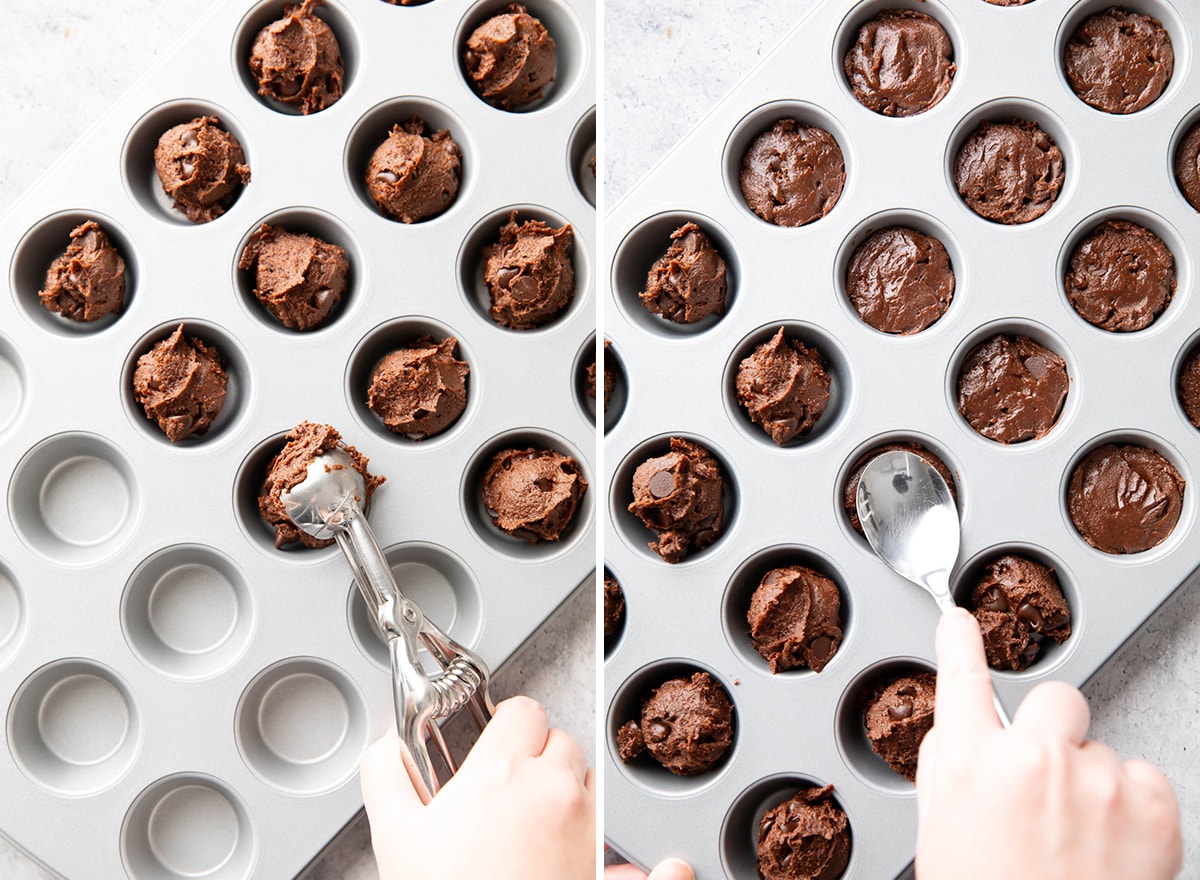
Next, grab a small cookie scoop and use it to scoop and drop batter evenly into the pan.
Using a spoon, smooth the batter into an even layer.
Bake brownie bites for about 14 minutes, then remove the pan from the oven and cool for about 20 minutes. <– Be sure not to skip this step as it’ll prevent the bites from falling apart.
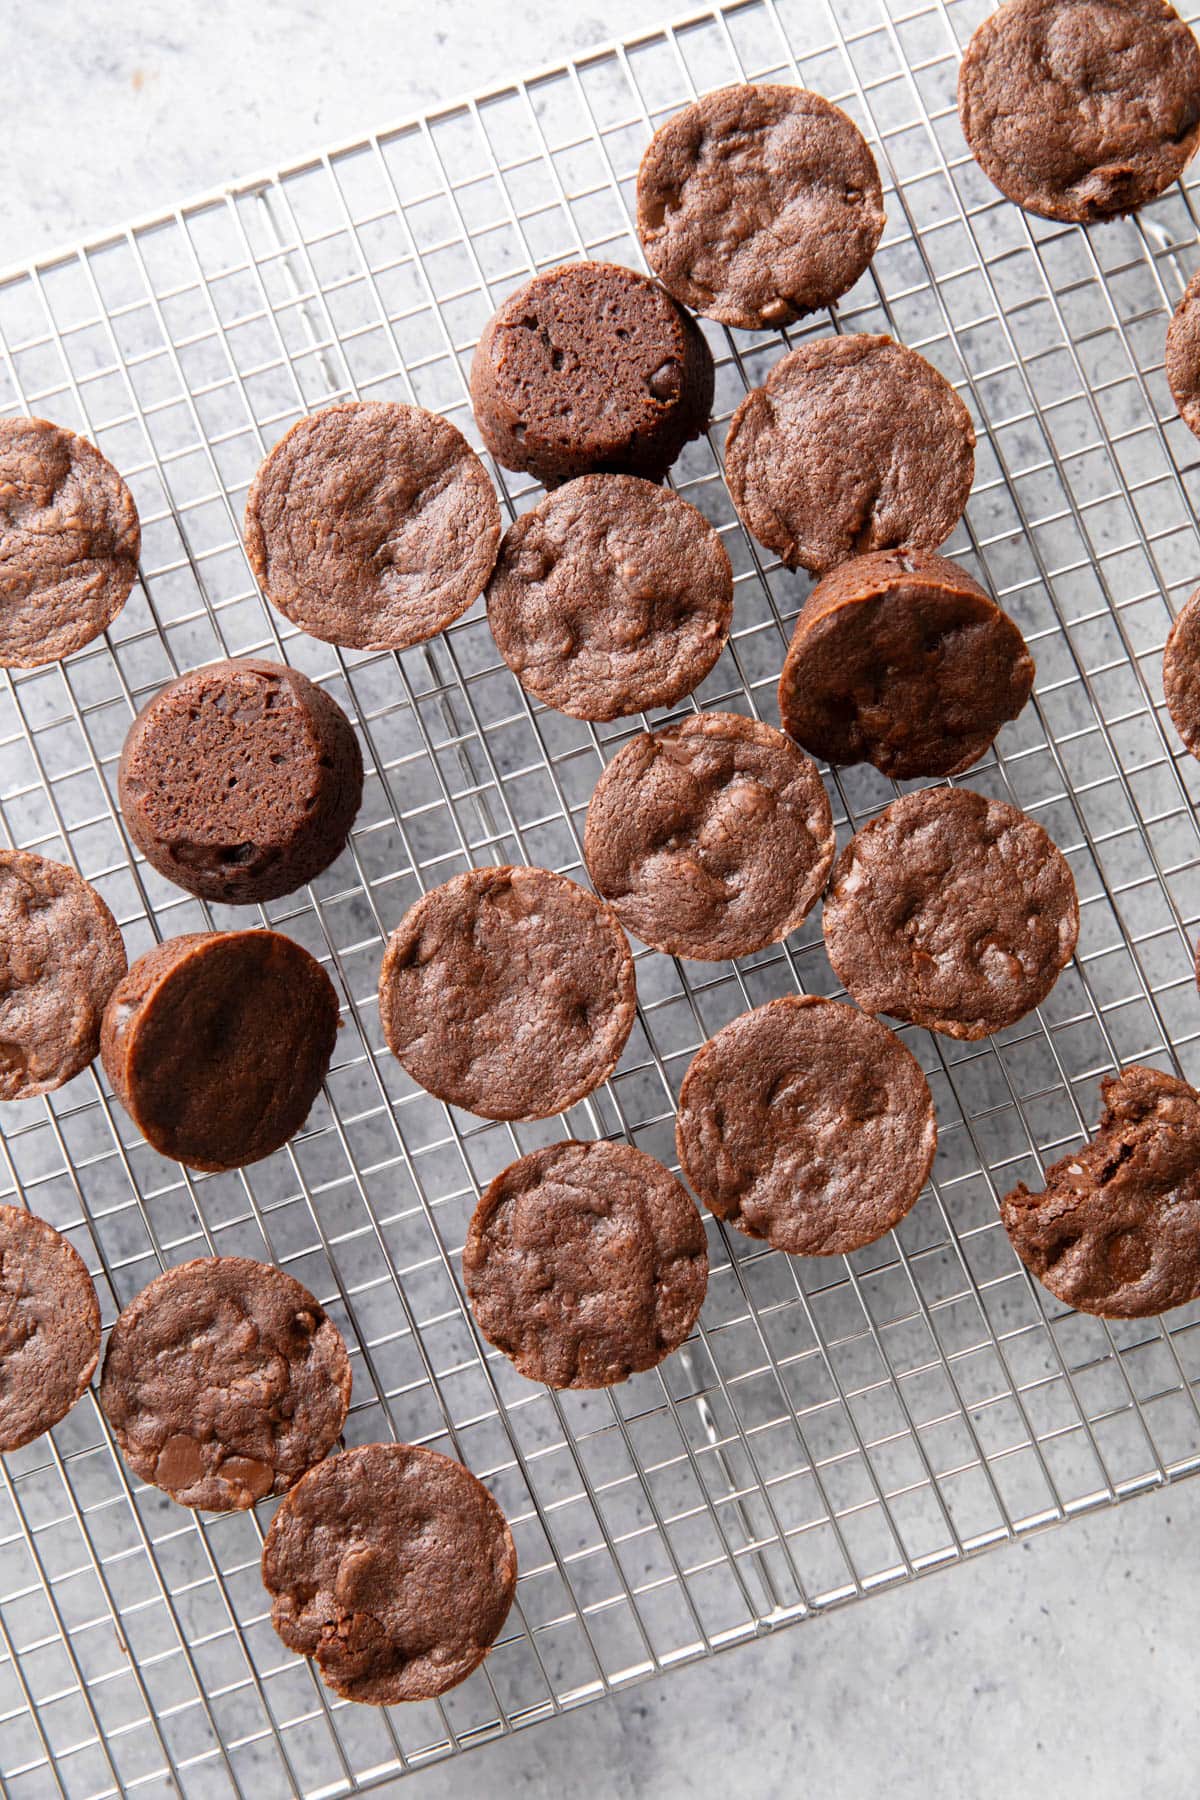
After cooling, place a cooling rack facedown onto the brownie pan.
Then, holding the two together, flip until the pan in upside down. Bang the pan onto the cooling rack to release the bites.
Alternately, you can use a butter knife to gently wedge out the bites.
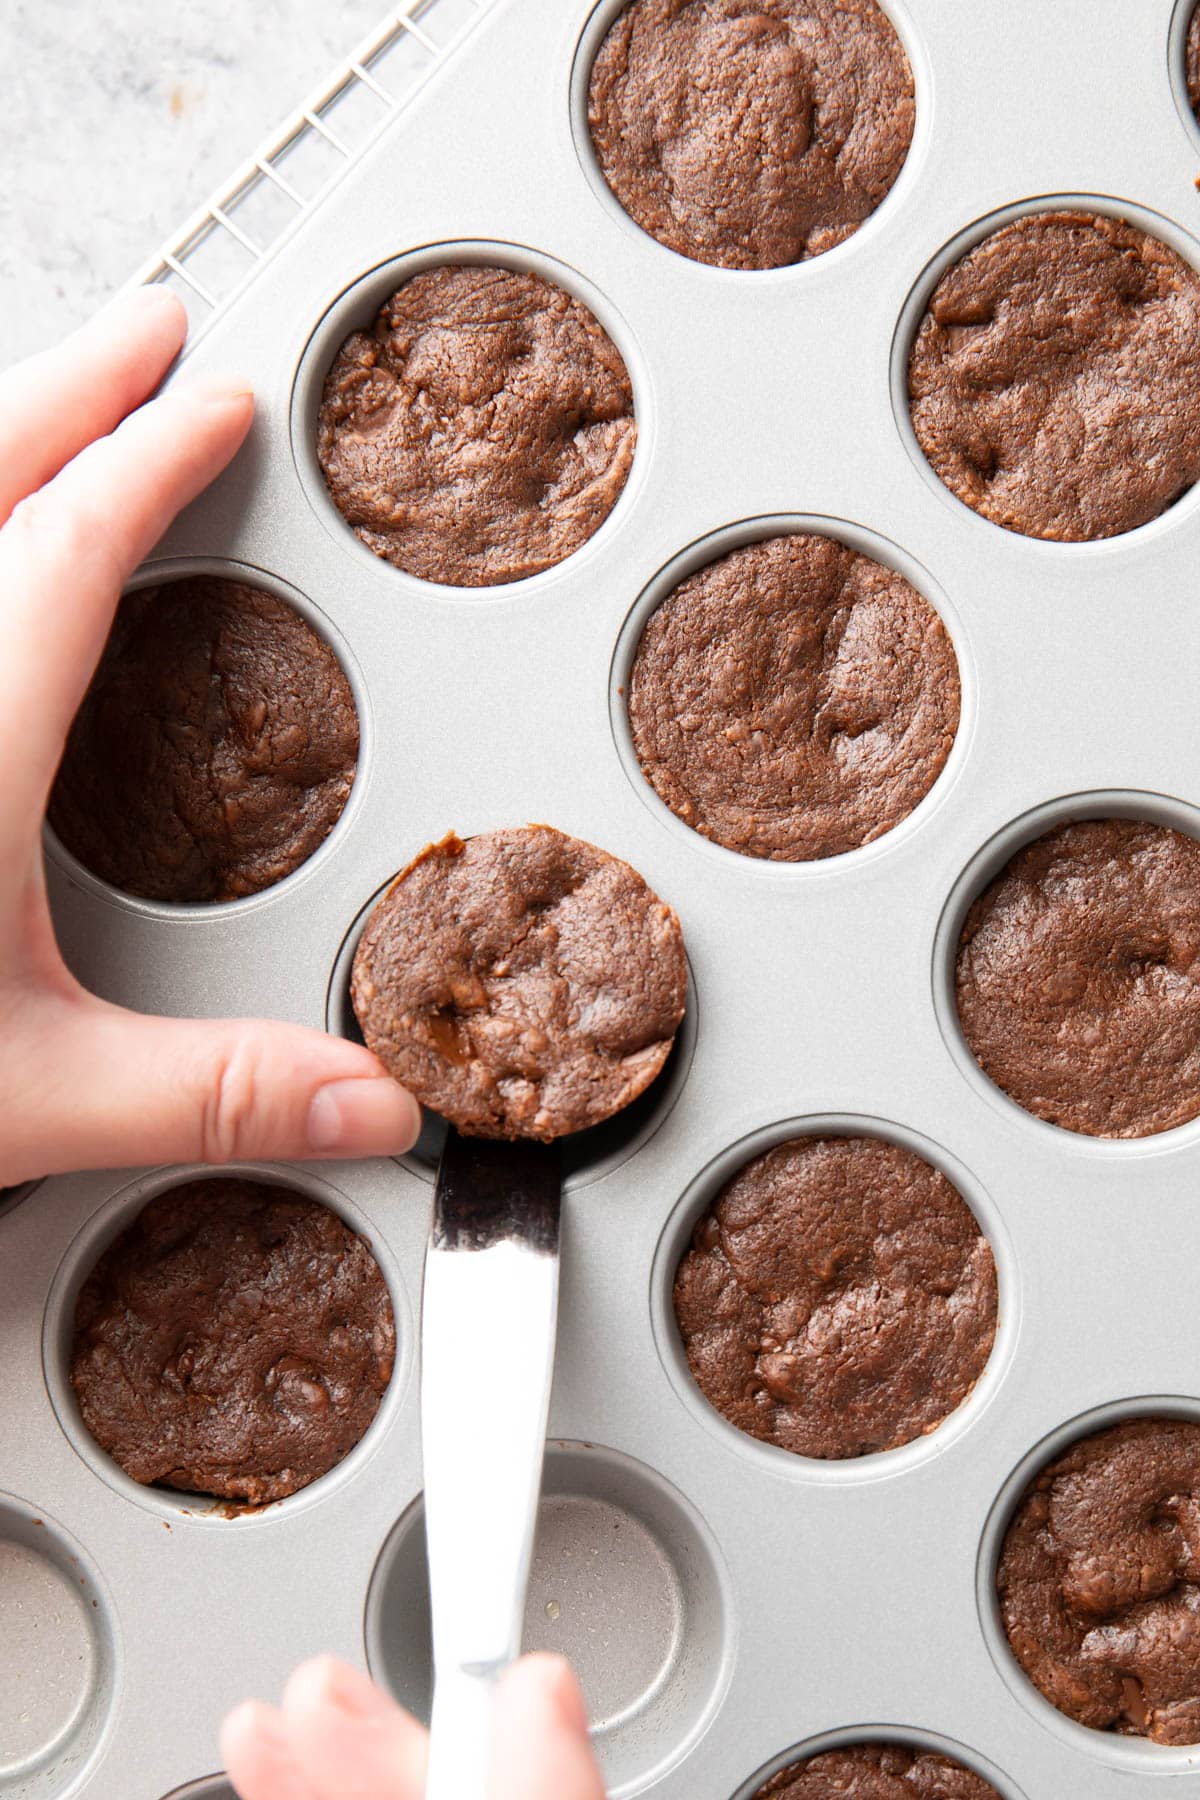
Arrange brownie bites on a cooling rack to cool completely. Enjoy!
Q&A
How Long to Bake Brownie Bites? At a temperature of 350°F, you’ll be baking these brownie bites in a mini muffin pan for about 14 minutes.
How long to cook brownie bites from a mix (box mix)? This depends on the exact box mix, but you can bake the bites for 10-12 minutes for fudgier brownies and 15-20 minutes for firmer brownies. Keep in mind that fudgier, less baked brownies will be harder to remove from the pan.
How to dress up store bought brownie bites? You can dress up store bought brownie bites with frosting, tasty toppings, and by serving it with something tasty…
- Frosting: top bites with frosting of any flavor, including strawberry, vanilla, and chocolate.
- Toppings: the frosting creates a perfect sticky layer to add toppings, including nuts, sprinkles, mini chocolate chips, and more.
- Dress up store bought brownie bites by topping with a mini scoop of vanilla ice cream, or serve with a bowl of pudding.
Desserts You’ll Love
Makin’ It Sweet!
It’s seriously so awesome being able to bake, cook, and sip our way through the kitchen together. I can’t wait ‘til the next one…
For more delicious recipe ideas, follow us on Instagram, Facebook, and Pinterest. If you’ve tried this recipe, take a pic and tag us on Instagram using #beamingbaker. We can’t wait to see it!
Sending you all my love and maybe even a dove, xo Demeter ❤️
Description
Chewy, tender brownie bites with fudgy chocolate flavor and lightly crisp edges.
Tools Needed
Dry Ingredients
Wet Ingredients
Add-ins
- Preheat the oven to 350°F. Set out enough nonstick mini muffin pans to hold about 30 brownie bites. Set aside.
- In a medium bowl, whisk together all the Dry Ingredients: flour, cocoa, baking powder, and salt.
- In a large bowl, whisk together all Wet Ingredients: melted (but not hot) butter*, granulated sugar, brown sugar, egg, and vanilla.
- Add the dry mixture to the wet mixture in the large bowl. Stir and fold with a rubber spatula until just combined—with no flour patches remaining. Fold in chocolate chips.
- Scoop and drop about 1.5 tablespoons of batter into the mini muffin pan. Using a spoon, smooth into an even layer.
- Bake for 12-16 minutes. Mine took 14 Minutes.
- Cool in pan for about 20 minutes—this time is needed to allow the bites to firm up.
- After cooling, place a cooling rack upside down, on top of the brownie pan. Holding the pan and rack tightly together, flip the pan over so that the pan lays facedown, on top of the rack. Holding the rack and pan together tightly, bang on a flat, sturdy surface until brownie bites pop out.
- Or, using a butter knife, wedge the knife in between the edge of a bite and the pan. Insert and lift up to remove the bite (not my preferred method as it tends to dent the brownie bites).
- Transfer to cooling rack to complete cooling. Enjoy!
Notes
*For the melted butter, make sure to gradually melt it so the temperature doesn’t get so high. You don’t want hot butter to cook the egg.
Storing Instructions: Cool brownie bites completely, then store in an airtight container at room temperature for around 1 week, or in the refrigerator for 1-2 weeks.
Freezing Instructions: You can keep these brownie bites in the freezer for 1-3 months in a freezer-friendly container.
- Prep Time: 20 minutes
- Cook Time: 14 minutes
- Category: Dessert
- Method: Bake, Oven
- Cuisine: American
More Sweet Recipes
Like this recipe? Share it with friends!
Did you make this recipe? Take a pic and share it on Instagram with the hashtag #beamingbaker & tag @beamingbaker. I’d love to see it!
This post may contain affiliate links, which allow me to make a small commission for my referral, at no additional cost to you.

