

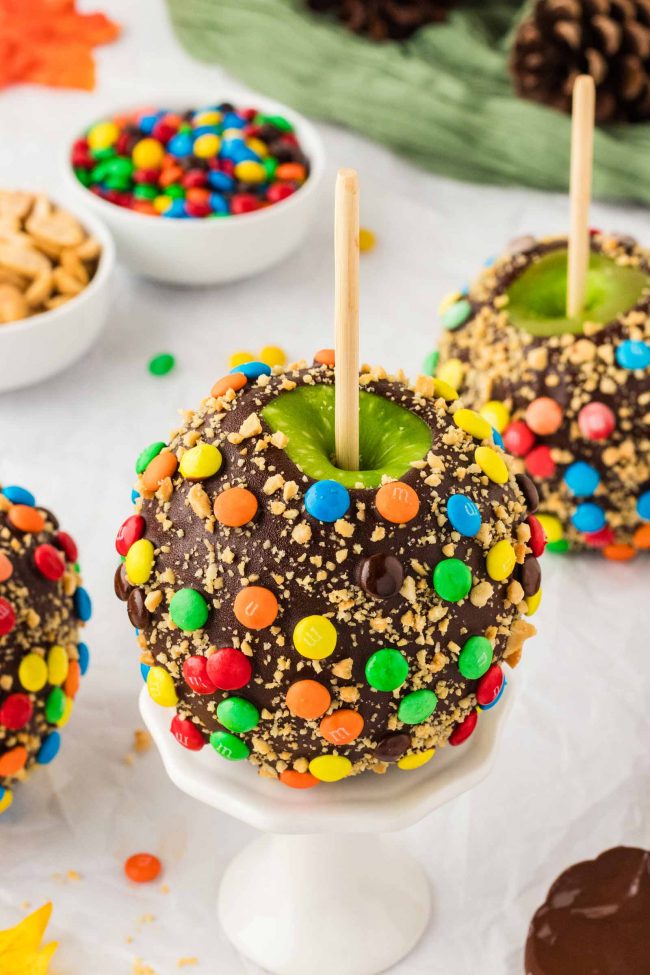
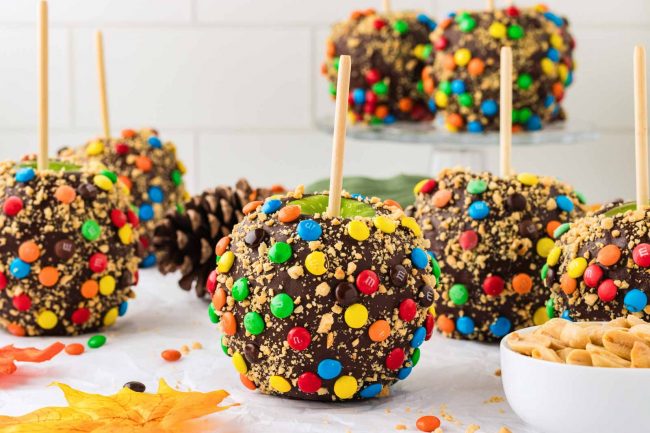
Chocolate covered apples are a fun and festive treat, perfect for Halloween or any time you’re craving a sweet and tart dessert. These apples are dipped in melted chocolate and topped with your choice of candy, nuts, or sprinkles.
Whether you’re preparing them for a party or just a family treat, this customizable dessert will be a crowd-pleaser. Not only are they delicious, but they’re also surprisingly easy to make at home with just a few simple ingredients.
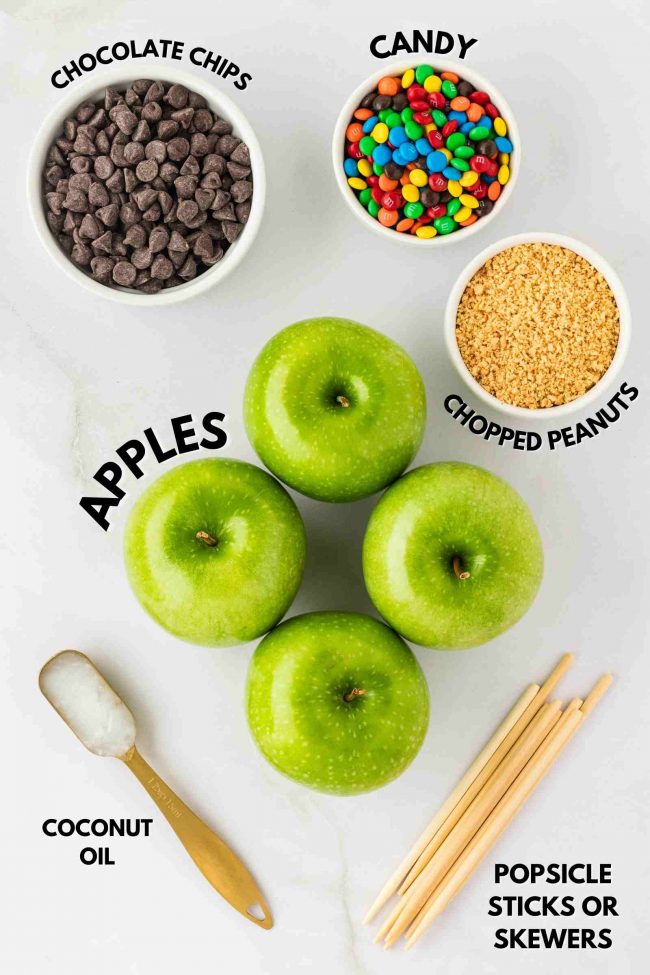
Ingredients
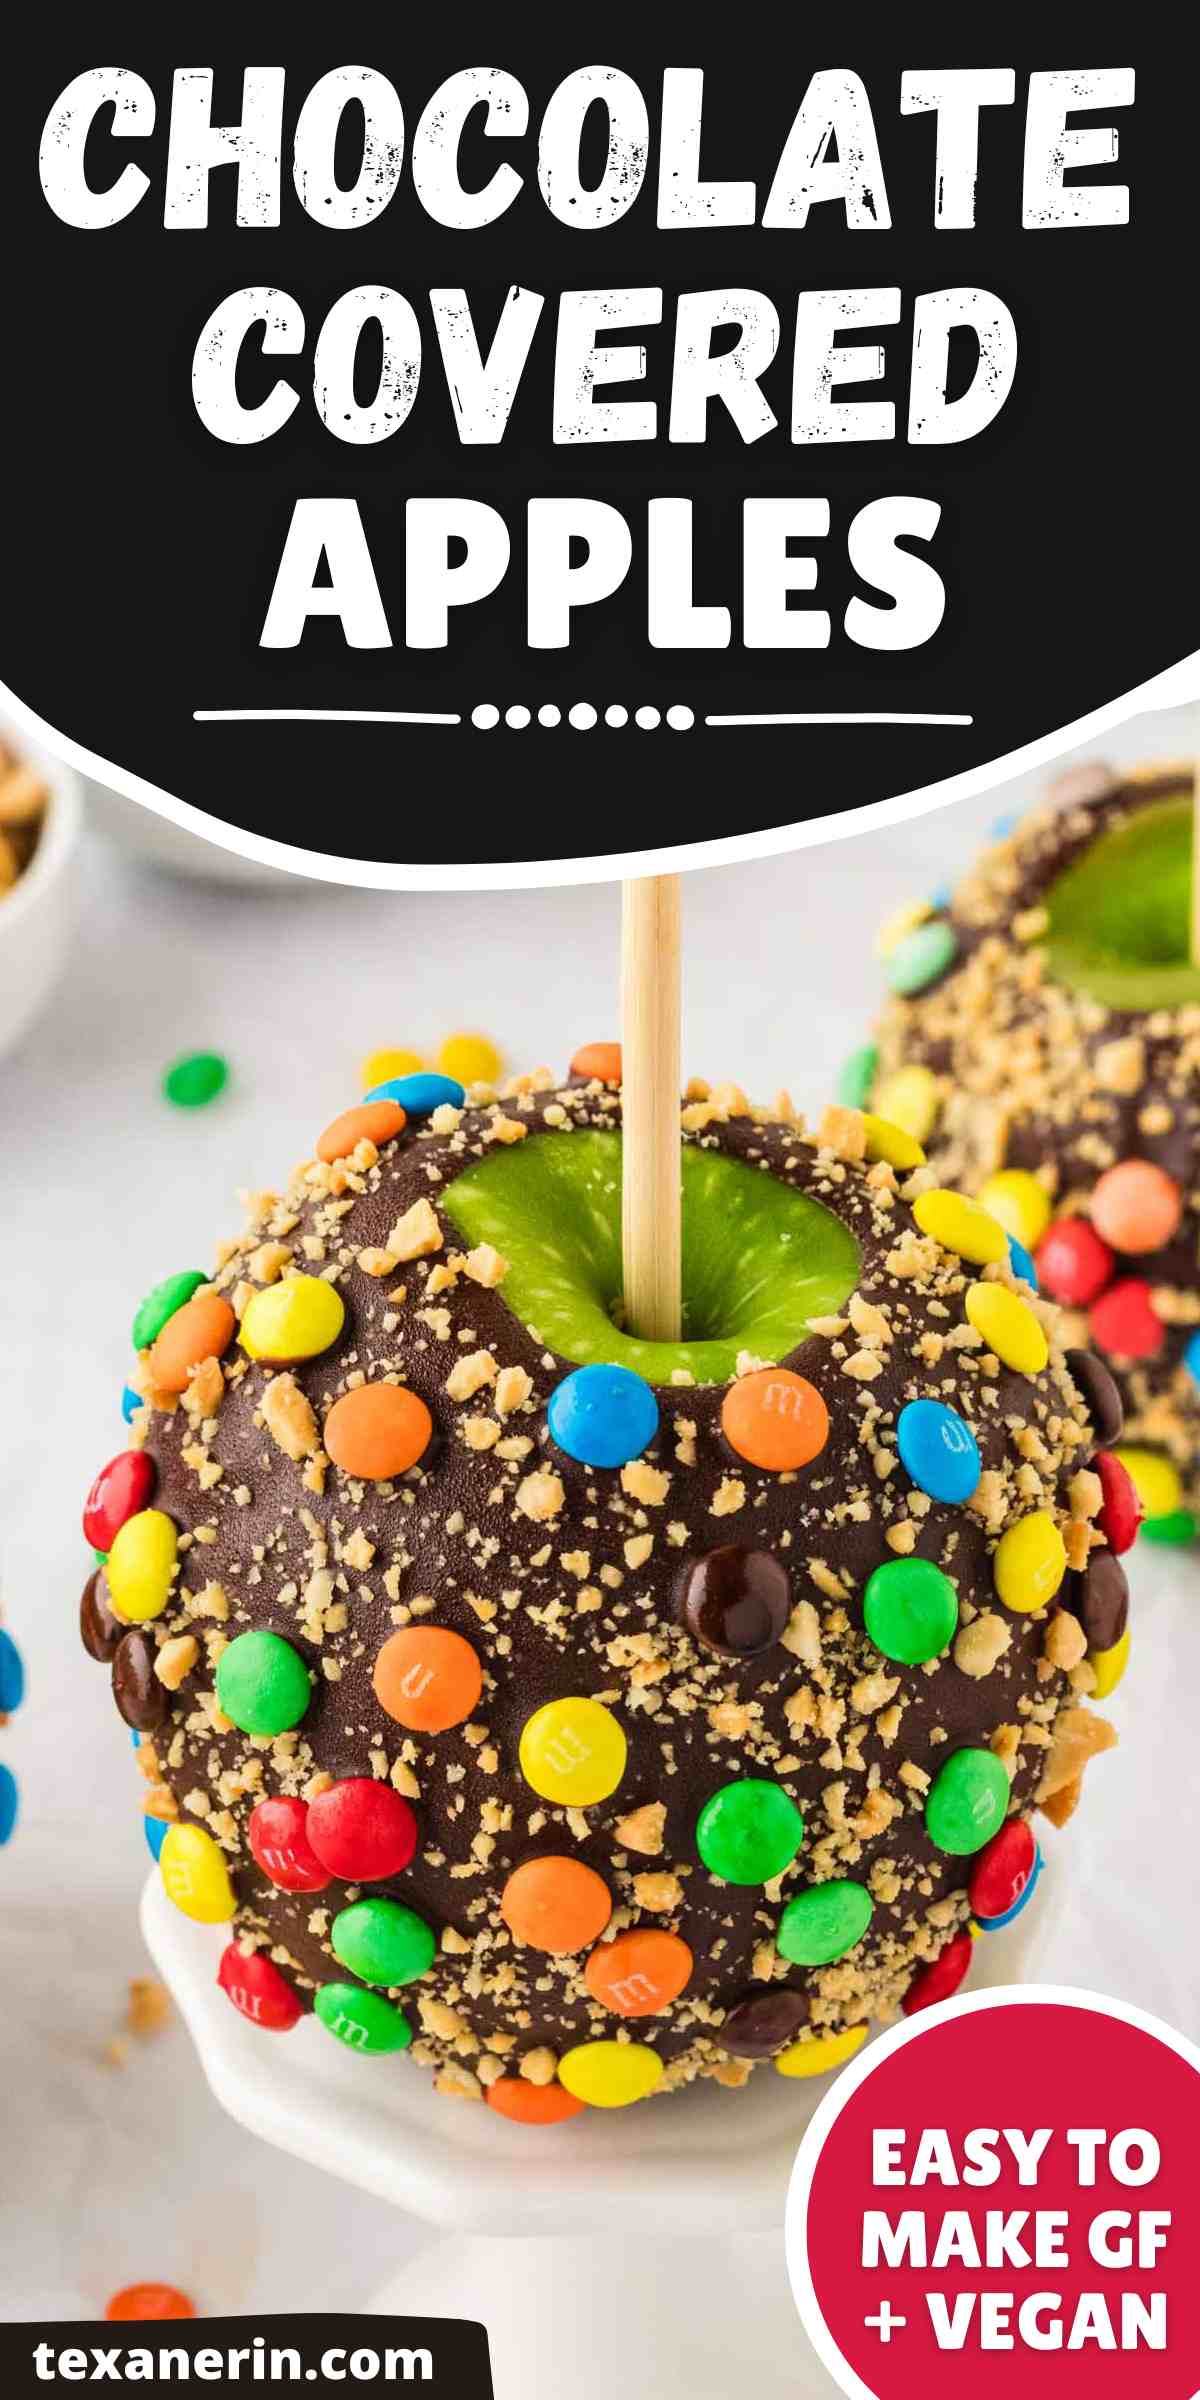
- Apples – tart varieties like Granny Smith work best as they balance the sweetness of the chocolate.
- Semi-sweet chocolate chips or chopped chocolate – provides the perfect balance of sweetness without being too overpowering. You can use any type of chocolate you’d like, though. And if you’re paleo or vegan, then use an appropriate chocolate.
- Coconut oil – helps to create a smooth, shiny finish when melted with the chocolate.
- Mini M&Ms or other candy – a colorful, crunchy topping that adds a pop of fun to the apples.
- Chopped peanuts – provides a salty contrast to the sweetness of the chocolate and M&Ms.
- Wooden popsicle sticks or skewers – essential for dipping and handling the apples.
Variations
Chocolate covered apples can be easily customized to fit any occasion or preference. For a more gourmet touch, try using high-quality dark chocolate and drizzling with white chocolate for a two-tone effect.
You could also make Halloween-themed apples by sprinkling on orange and black sprinkles or using candy eyes for a spooky look. For a healthier option, skip the candy and top your apples with dried fruit, seeds, or nuts.
Gluten-free and vegan options
Chocolate covered apples are naturally gluten-free and vegan as long as you use gluten-free chocolate and toppings. Be sure to check the labels on any candy or sprinkles you’re using to ensure they don’t contain ingredients you’re avoiding.
Some toppings, like certain types of M&Ms, may contain gluten or be processed in facilities that handle gluten-containing products, so opt for certified gluten-free brands if necessary. The mini M&Ms used here are gluten-free (at least in the US, but this might not always be the case, and they could contain gluten in other countries).
It’s the same deal if you’re vegan. Just check the labels.
M&Ms aren’t vegan, no matter the variety, so you’ll want to use something else.
How to make in advance and store
If you’re planning to make chocolate covered apples for a party or event, you can easily prepare them in advance. Once the apples are dipped in chocolate and decorated, they should be placed in the refrigerator for at least 30 minutes to allow the chocolate to set.
After that, uncut apples can be stored in an airtight container at room temp for up to 3 days or refrigerated for up to a week.
I have to say that I’m not quite sure why someone would make these for an event. An apple dipped in chocolate is a lot to eat.
I shared one apple over a few days with my husband and son. It wasn’t even a large apple! I kept it in the fridge, and we all had a piece or two per day.
But they do make great gifts. Put them in a little cellophane bag, add a ribbon, and you’ve got a great homemade gift. But I don’t see people eating one of these at a party.
There are smaller, individual treats like Spider Cupcakes or Halloween Dirt Cups that are better suited for a party.
Troubleshooting
If you encounter issues while making chocolate covered apples, don’t worry! Here are some common problems and solutions:
- Chocolate won’t stick – ensure your apples are thoroughly dried before dipping. Any moisture will prevent the chocolate from adhering properly.
- Chocolate is clumpy – make sure to melt the chocolate slowly, either in a microwave at 30-second intervals or over a double boiler. Stir frequently to prevent burning.
- Toppings don’t stick – sprinkle the toppings onto the apples immediately after dipping them in the chocolate. If the chocolate sets too quickly, the toppings won’t adhere.
I hope you’ll enjoy these chocolate covered apples! If you try them out, I’d love to hear your thoughts below in the comments. Thanks! 🙂
❀
- Prep Time:
- Cook Time:
- Ready in:
- Yield: 6-8 apples
Ingredients
- 6-8 small or medium apples
- 8 oz (225 grams) semi-sweet chocolate chips or chopped chocolate (if you’re vegan, use vegan chocolate)
- 1 tablespoon (14 grams) refined coconut oil
- 1/2 cup (115 grams) candy (I used mini M&Ms)
- 1/2 cup (70 grams) very finely chopped peanuts
- wooden popsicle sticks or skewers
Directions
- Prepare a baking sheet with a piece of parchment paper.
- Wash and thoroughly dry the apples to ensure the chocolate sticks to the apples. Make sure they’re completely dry!
- Insert a wooden popsicle stick into the top 6 apples (you may not have enough chocolate for the other 2, depending on how large your apples are) and almost all the way to the bottom.
- In a small microwave-safe bowl (you’re going to be dipping apples in the chocolate, so the bowl should be large enough to fit an apple), combine the semi-sweet chocolate chips and coconut oil. Microwave at half power, in 30-second intervals, stirring in between, until fully melted and smooth.
- Hold each apple by the stick and dip it into the melted chocolate, turning to coat evenly. Let excess chocolate drip off. Depending on your brand of chocolate, you may be able to add the candy now. Immediately after dipping each apple, keep the apple in your hand and sprinkle the mini M&Ms over the apples and then sprinkle the peanuts over the empty spots. But if the candy slides right off the chocolate because the chocolate is too thin, then refrigerate the apples for a few minutes until the chocolate is firm enough to hold up the candy. The photographer needed 6 minutes.
- Place the coated apples on the parchment-lined baking sheet. Refrigerate for 30 minutes or until the chocolate is set.
- After that, uncut apples can be stored in an airtight container at room temp for up to 3 days or refrigerated for up to a week.
Notes
- You can use unrefined coconut oil if you don’t mind coconut flavor.
- If you’re gluten-free or vegan, make sure to use gluten-free and vegan chocolate and candy.
- Lots of recipes say to roll the apples in the candy/peanuts, but this just made a mess of the candy/peanuts. I thought sprinkling was much easier!