Make cream cheese stuffed peppers for your next easy appetizer! All it takes is 6 ingredients and these colorful cheesy stuffed mini peppers bake up warm and gooey in minutes. Make them in the oven or use your air fryer!
Looking to supersize your stuffed pepper obsession? Try my quinoa stuffed peppers and these cheesy jambalaya stuffed peppers made with large bell peppers, too.

When it comes to stuffing peppers, don’t threaten me with a good time. From skillet cheese-stuffed peppers to spicy stuffed poblano peppers, I’ll never pass up a mini pepper filled with melted cheese!
These cream cheese stuffed peppers are the easiest appetizer and they’re always gone from the plate in minutes. Sweet and tender roasted mini peppers are filled with seasoned cream cheese and shredded cheddar and baked until said cheese is melted and gooey. This mini pepper recipe is crazy simple to make and oh-so-good.
Why You’ll Love These Stuffed Mini Bell Peppers
- Easy finger food. Cream cheese stuffed peppers are easy to prepare, quick to bake, and don’t need a lot of ingredients. You could even get away without seasoning the cream cheese if you’re really pressed for time.
- Party-ready. These colorful stuffed peppers look amazing on a plate. I often make these for parties and meals in the summer when mini bell peppers are in season. My local farm stall must think I’m crazy as I leave there with what feels like a trunkload of fresh peppers every week. In my defense, some are used for ajvar!
- Make-ahead. Mix the cream cheese filling the day before, and pop it into the fridge until the next day when you’re ready to fill the peppers and bake. It’s a great way to save time, plus it gives the flavors in the filling a chance to mingle.

What You’ll Need
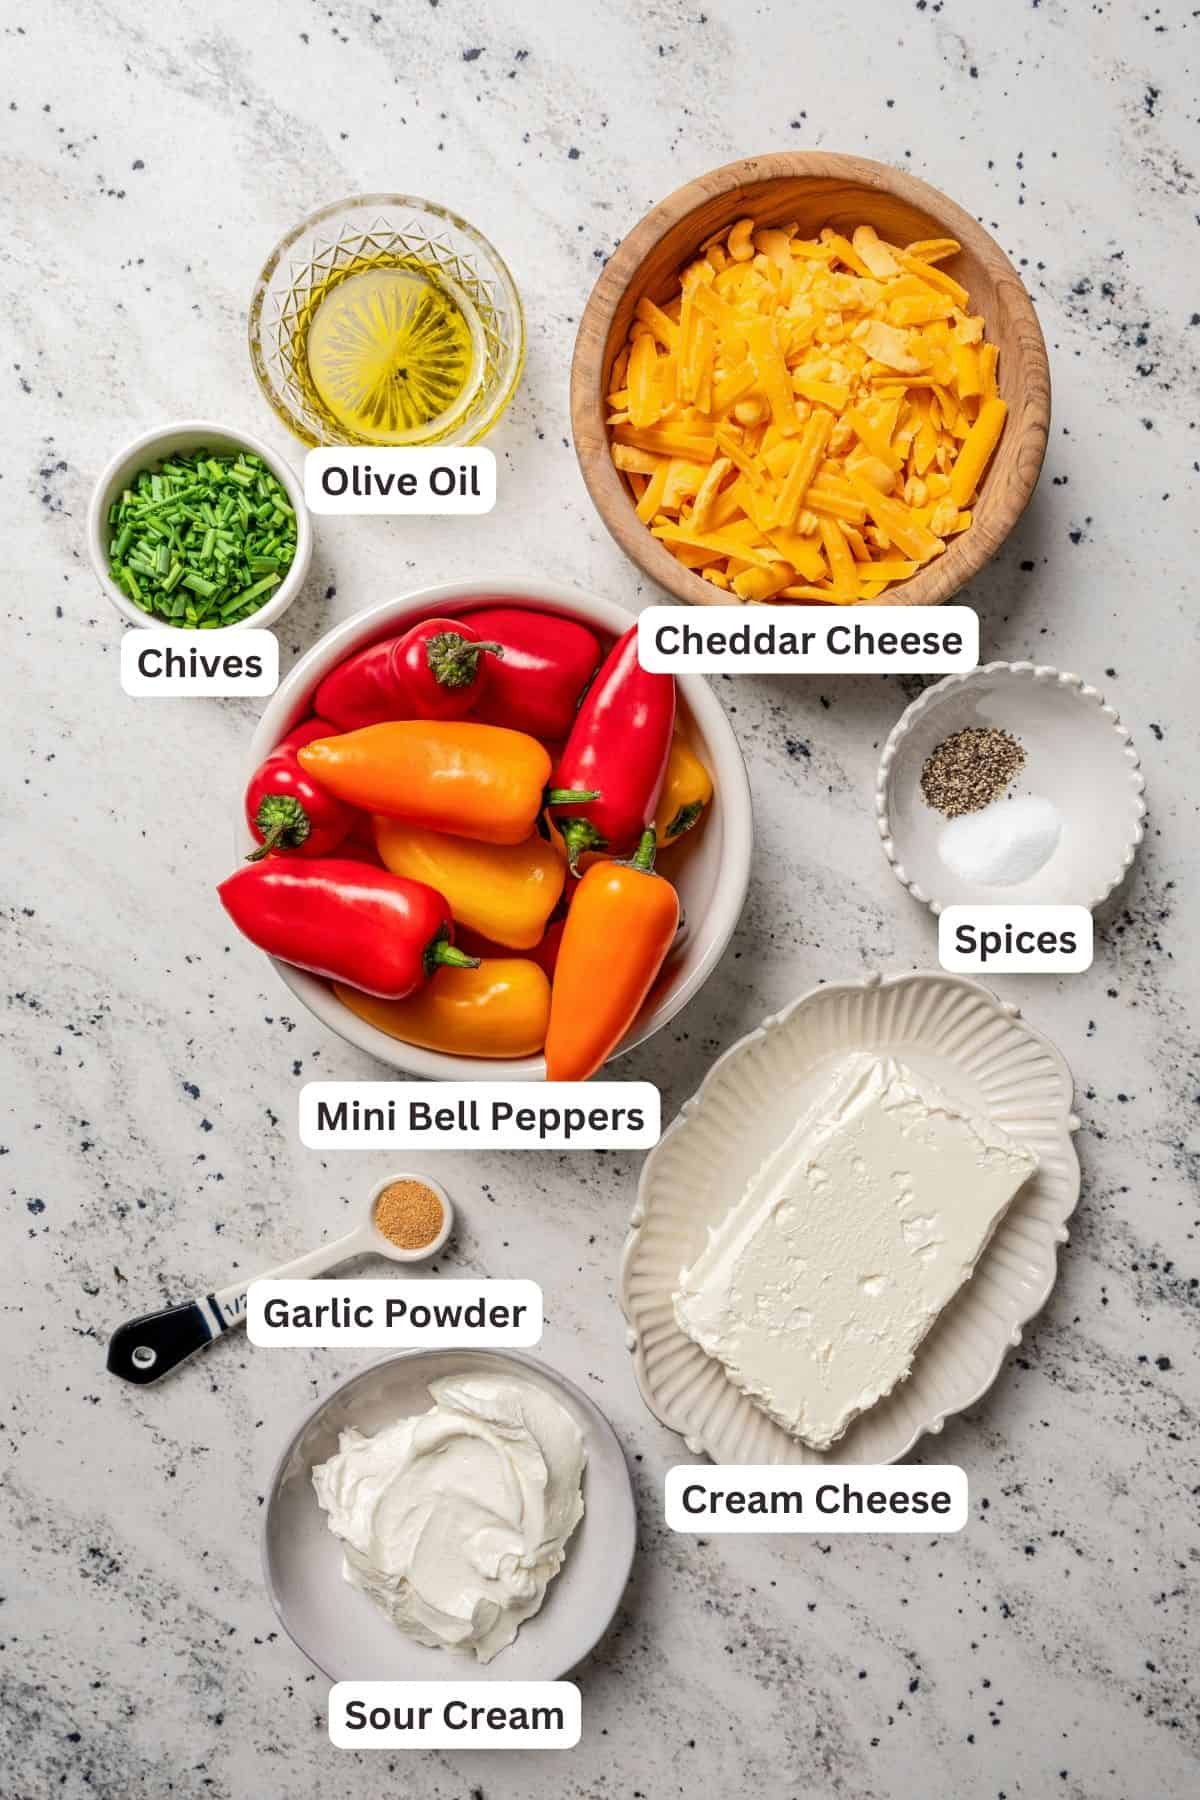
Here are the easy ingredients you’ll need to make these cheesy stuffed peppers. Scroll to the recipe card after the post for a printable list of the ingredients along with the amounts.
- Mini Bell Peppers – Wash and dry the peppers well, slice them in half lengthwise and remove the seeds. You can use any colored mini pepper you’d like.
- Olive Oil – Choose a mild-flavored olive oil for roasting. Avocado oil also works nicely.
- Cream Cheese – Take your block of cream cheese out of the fridge about 20-30 minutes ahead of time, so that it softens to room temperature.
- Sour Cream – If you don’t have sour cream, you can substitute it with Greek or plain yogurt instead.
- Chives – Freshly chopped chives, or you can use dried. Other herbs, like basil, oregano, or thyme, also work.
- Garlic Powder – If you’d prefer fresh garlic, use 1 clove for every ¼ teaspoon garlic powder. Onion powder is also a good substitute.
- Shredded Cheese – I use cheddar, but you can use any melty cheese. For best results, shred it fresh from the block (as opposed to using packaged pre-shredded cheese). Other good options are provolone, mozzarella, Monterey Jack, or Pepper Jack cheese.
How to Make Cream Cheese Stuffed Peppers
Every time I whip out a platter of these cream cheese stuffed mini peppers, at least one person begs for the recipe. Well, the secret’s out: it’s SO simple. Here’s how to make them in 3 quick steps:


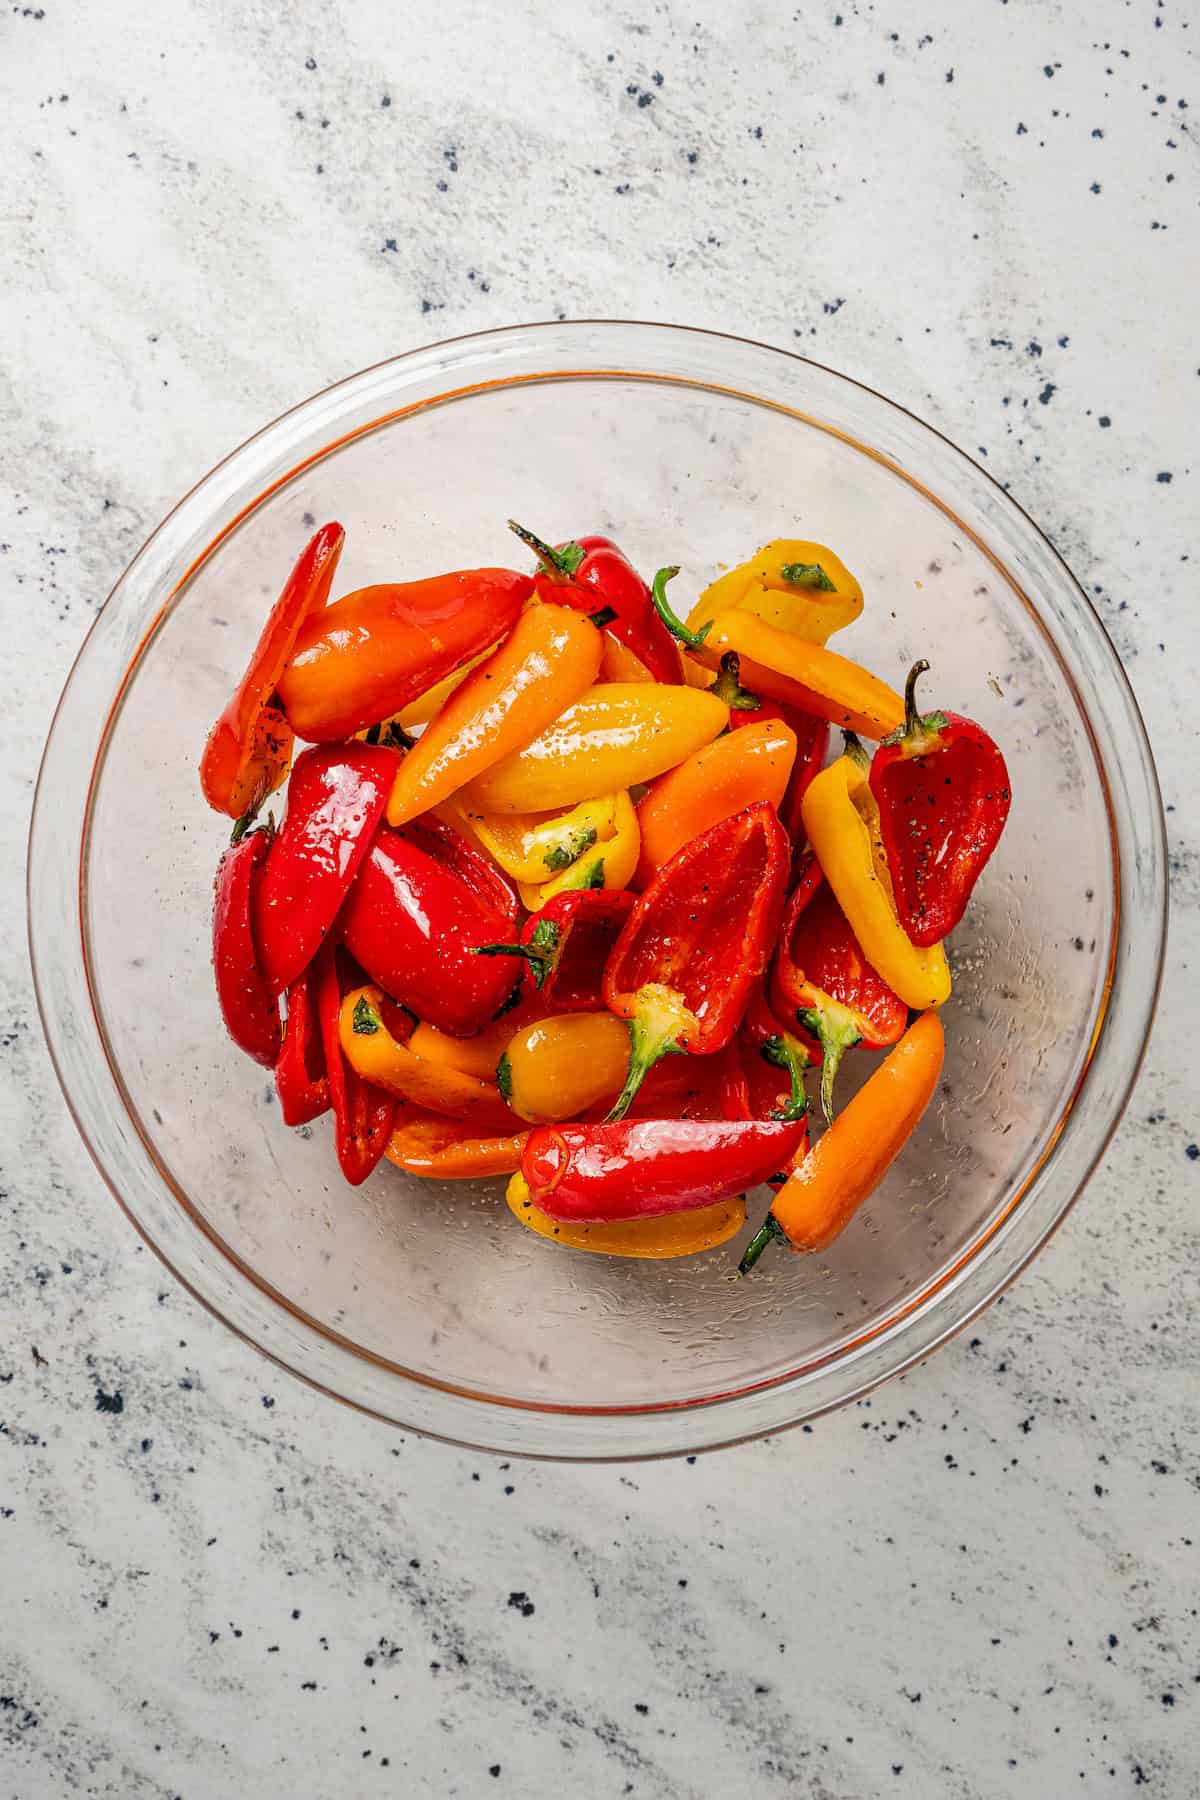
- Prep the bell peppers. First, you’ll want to toss the peppers with olive oil, salt, and pepper, and then spread them out on a lined baking sheet. There’s the option to leave them as-is, or you can pre-bake the peppers for 5 minutes if you prefer less crunch.
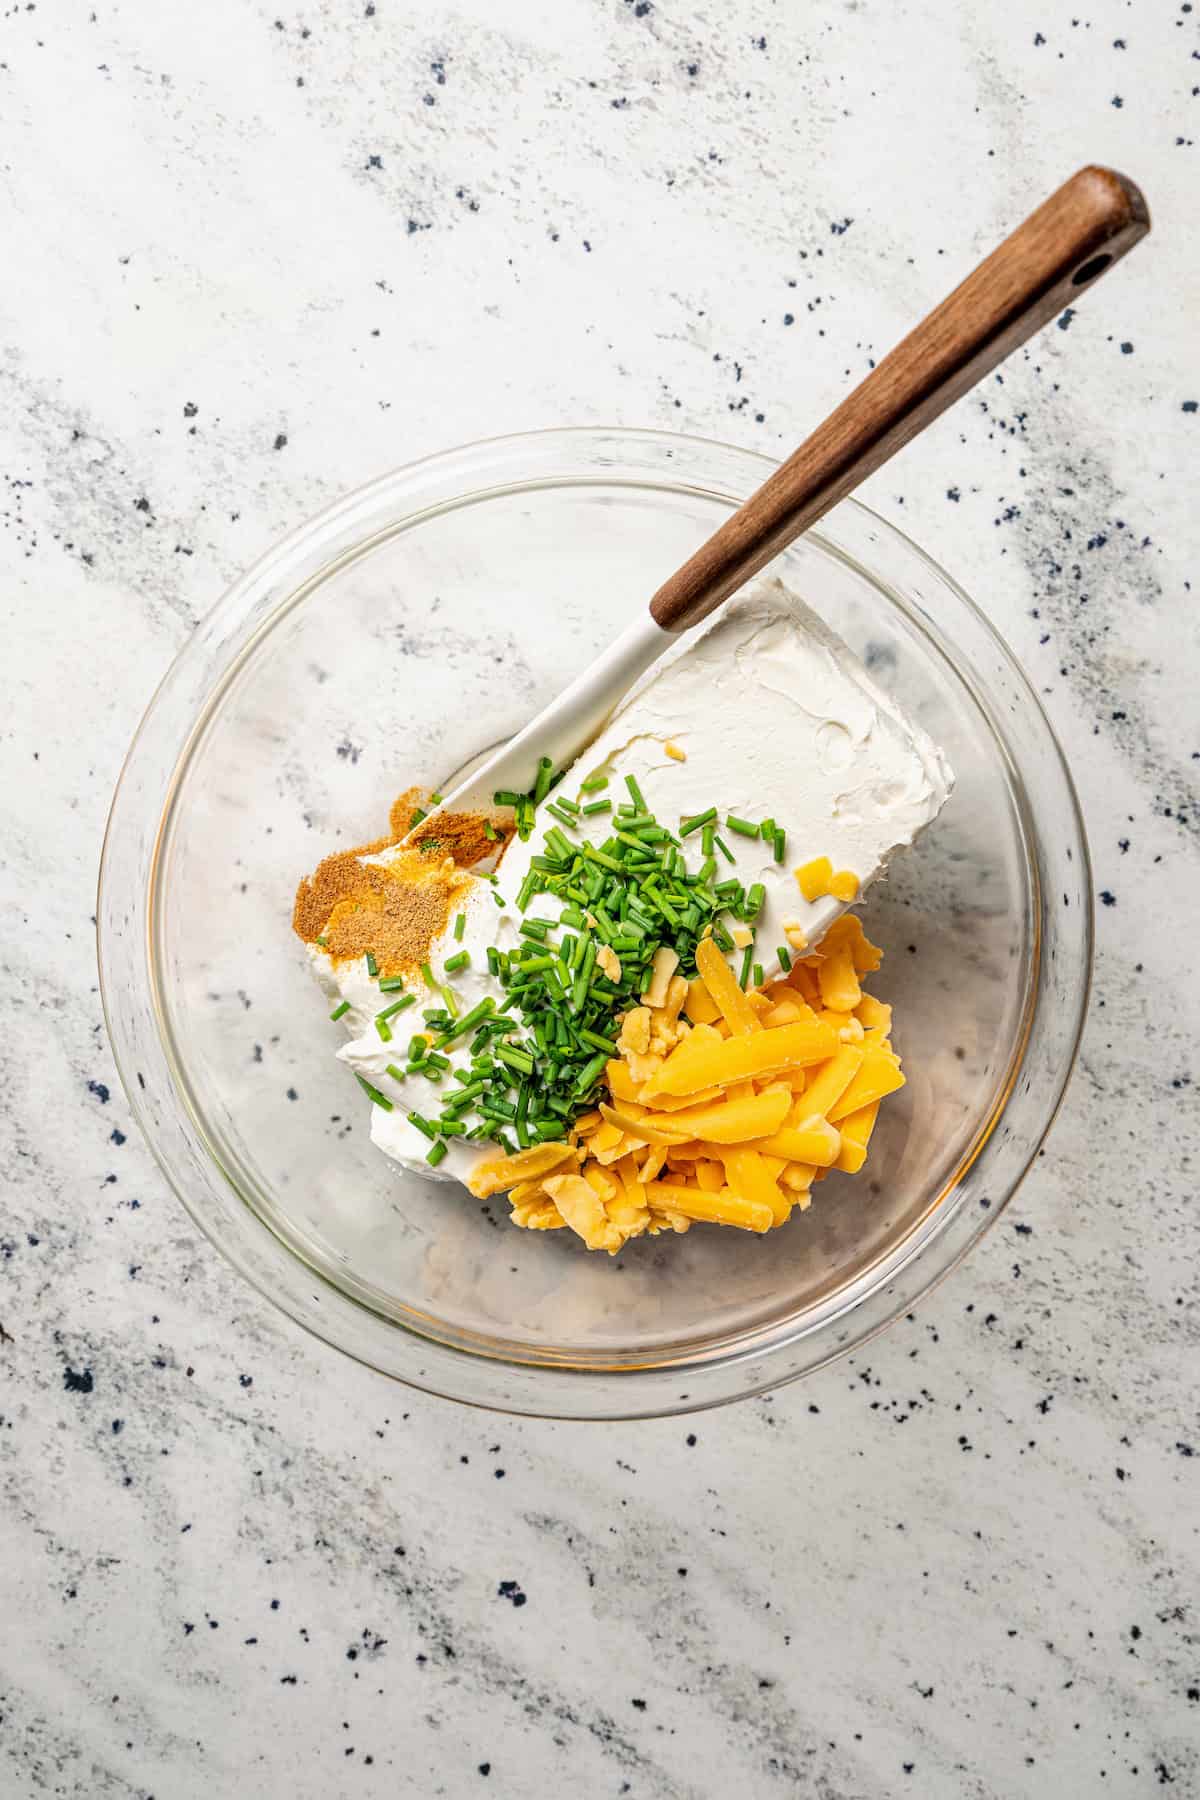
- Assemble. Stir the filling ingredients together in a bowl. Add about 2 teaspoons of filling to each pepper half, and sprinkle the tops with shredded cheese.
- Bake. Bake your cheese-stuffed peppers for 10 minutes at 375ºF. I like to switch on the broiler afterward and brown the tops for a minute or two. Then, this app is ready to serve!
Can I Use the Air Fryer?
Definitely! I love to use my air fryer to make a smaller batch of stuffed mini peppers for just the family. It’s quick and foolproof. Prepare the cream cheese stuffed peppers as instructed, and arrange them in your air fryer basket, leaving space between each pepper. Air fry at 380ºF for 8 minutes.

Tips and Variations
- Don’t overbake the peppers. Make sure not to overcook the peppers, especially if you pre-bake them, as they’ll become limp and soggy. They may need less time in the oven depending on the size.
- Wrap them in bacon. Because everything’s better with bacon, right? When time allows, I love to wrap these stuffed peppers with a piece of streaky bacon before I bake them, as I do with my bacon-wrapped stuffed mini peppers. Too good!
- Flavored cream cheese. You can use regular cream cheese, or play around with different flavors like chive, jalapeño, garlic and herb, vegetable, roasted red pepper flavor, etc. Depending on the kind you choose, you don’t even need to season it.
- Different cheese. Instead of cream cheese, fill these peppers with Boursin cheese, goat cheese, or whipped feta.
- Garnishes and mix-ins. Try mixing in cooked crumbled bacon, ground beef, Cajun spice, Everything Bagel Seasoning, or minced chilies, or give these cream cheese stuffed peppers a drizzle with hot sauce after baking
Frequently Asked Questions
It’s not mandatory, but pre-baking the pepper halves before you fill them does help to release some of the moisture and makes the peppers less crisp. It’s up to you!
Nope, for these mini stuffed peppers, baking under foil isn’t necessary. They’re in the oven for such a short amount of time, that the cheese needs all the time it can get to melt down and become gooey.
Serving Suggestions
These cream cheese stuffed peppers make excellent last-minute finger food. I’ll throw a batch in the oven when friends are over, and they’re ready to serve in minutes next to more easy appetizers like avocado hummus with crudites, baked battered shrimp, and grilled BBQ chicken pizza. Holidays, game day, you name it– they never disappoint.
On weeknights, the whole family loves these stuffed peppers as a side dish with chicken tenders or burgers. They make a fun veggie alternative to French fries!

How to Store and Reheat Leftovers
Refrigerate. Store any leftover cream cheese stuffed peppers airtight in the fridge for up to 4-5 days.
Reheat. Warm the stuffed peppers in a 350ºF oven until they’re hot throughout. You can also use your air fryer or the microwave.
More Appetizer Recipes
Pin this now to find it later
-
Prep. Preheat the oven to 375°F and line a baking sheet with parchment paper.
-
Season the bell peppers. In a large bowl, toss the bell peppers with olive oil, salt, and pepper.
-
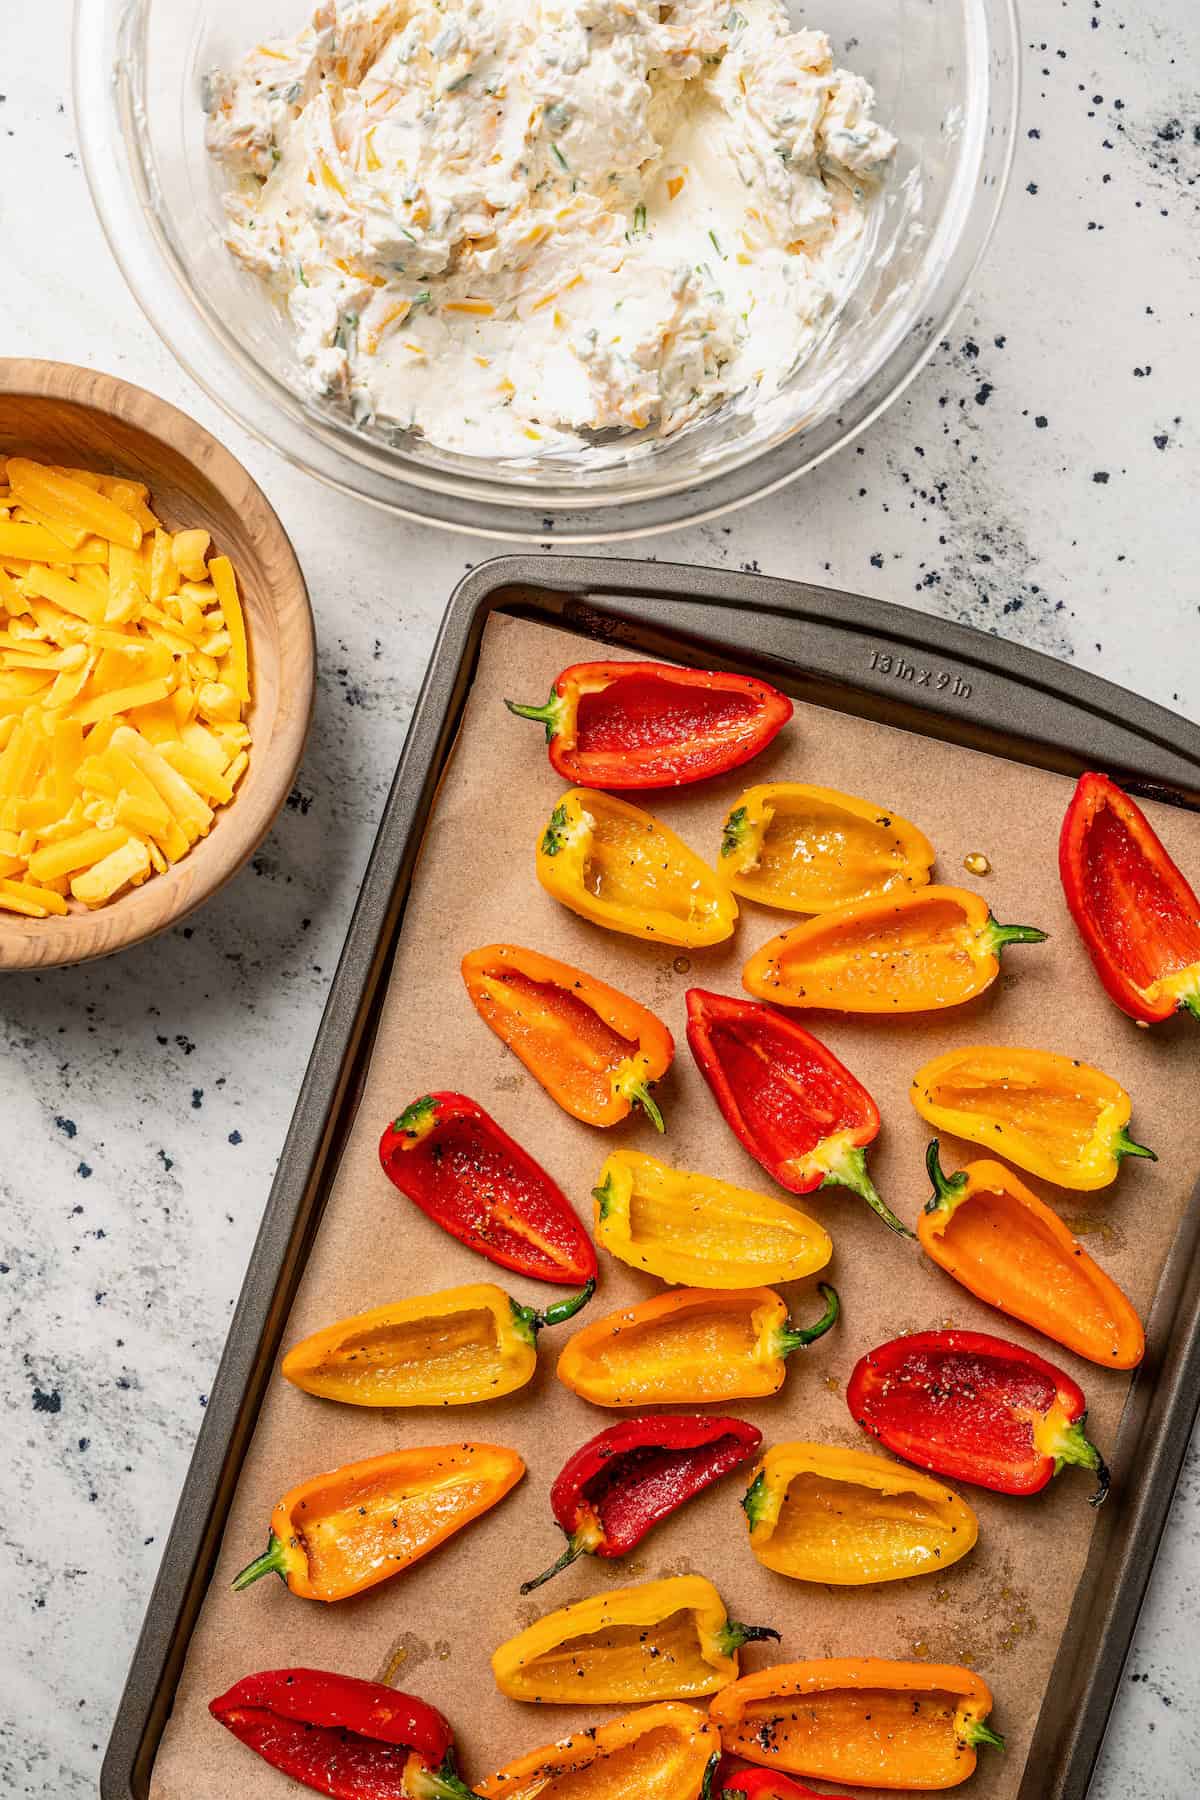
Prep-bake the peppers. If you like softer peppers, arrange the seasoned bell peppers on the baking sheet and bake for 5 minutes. You can skip this step if you want more of a crunch.
-
Make the filling. Stir together the cream cheese, sour cream, chives, garlic powder, and half of the cheddar cheese until well combined. Taste and season with salt and pepper if desired.
-
Assemble. Stuff each pepper with 2 teaspoons of the filling and re-arrange them on the baking sheet, filling-side up. Sprinkle the tops with the remaining cheddar cheese.
-
Bake. Bake for 10 minutes. Turn the oven off and then turn on the broiler. Broil the peppers for 1-2 minutes or until golden brown.
Serving: 1piece | Calories: 35kcal | Carbohydrates: 1g | Protein: 1g | Fat: 3g | Saturated Fat: 2g | Polyunsaturated Fat: 0.2g | Monounsaturated Fat: 1g | Cholesterol: 8mg | Sodium: 50mg | Potassium: 30mg | Fiber: 0.2g | Sugar: 1g | Vitamin A: 384IU | Vitamin C: 12mg | Calcium: 20mg | Iron: 0.1mg
Nutritional info is an estimate and provided as courtesy. Values may vary according to the ingredients and tools used. Please use your preferred nutritional calculator for more detailed info.


