

I have a new routine this winter (thanks to lockdowns). Every morning, I wake up just before the sunrise and try to guestimate if the golden hour will be worth putting on winter clothes and go outside where it is -20C.
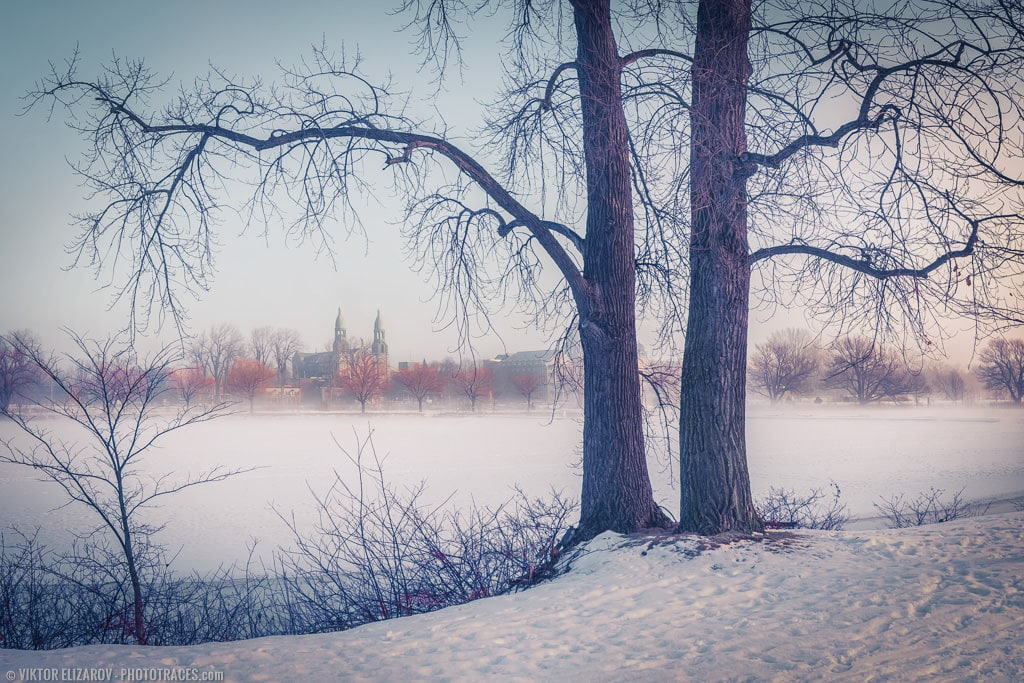
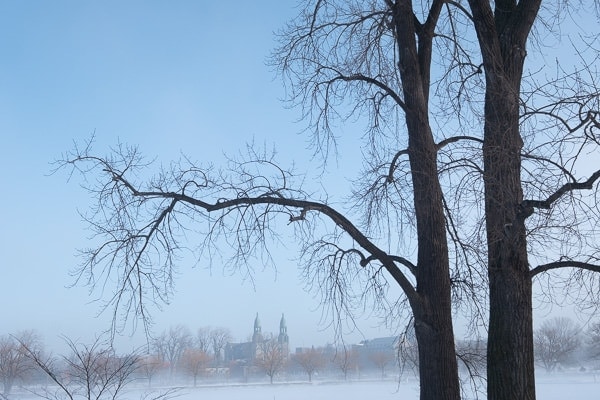
The morning I took the featured photo, I knew right away that sunrise would be amazing. The reason for that was thick fog with absolutely no wind.
Here, we rarely get fog due to constant strong winds coming from the Saint Lawrence river surrounding the Island of Montreal.
I got to appreciate and never miss foggy weather, which always offers unique photography opportunities.
This time, the fog lasted at least an hour after the sun appeared over the horizon. I had enough time to cover the big area and to take plenty of interesting photos.
Shooting
First, I wanted to take care of exposure. I knew in advance that bright snow and fog would fool the camera’s metering system, and I could not rely on it. Instead, I used the histogram to expose the scene properly.
I pointed the camera toward the scene and locked the exposure. Next, I activated the histogram and used the exposure compensation to boos the exposure by 1 1/3 stops. The histogram helped me not to overexpose the shot.
For more detailed information on how to photograph snow, please check my tutorial: How to Photograph and Edit Snowy Scenes
Here is the histogram of the final shot. It is exposed heavily to the right.

Second, I wanted to avoid the perspective distortion produced by ultra wide angle lenses.
I used the Fujinon 10-24mm f/4 lens. Instead of shooting at the wide end (10mm), I decided to use the long end of 24mm and create a wide-angle panorama.
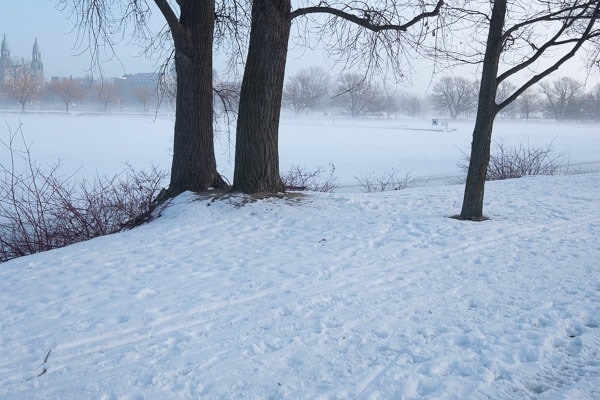
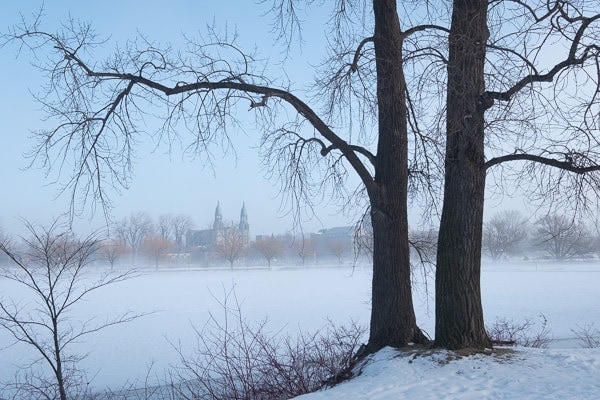
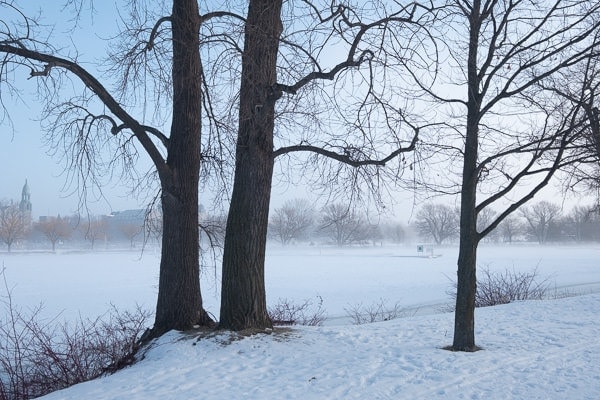
I took 6 shots in total trying to map an entire scene. Because of advances in Lightroom panorama stitching capabilities, I knew I could do it handheld without a tripod.
Below are 6 images I took with the goal to stitch them into a panorama in Lightroom:


Editing & Processing
It was a 6 RAW images panorama processing workflow.
To process the featured photo, I used my updated and restructured Winter Colors preset collection.
If you already own the Winter Colors Preset Collection, you can download the new version at no charge. You can login to the member’s area here.
Lightroom (75%) – 20min
Step #1 – Panorama Stitching
Before I could start working on the photo, I needed to stitch it into a panorama.
I selected the sequence of 6 images, right-clicked on one of them, and used the Photo Merge > Panorama command to activate the Panorama Module.
When the Panorama Module was activated, I tried different projection options and realized that the default Spherical Projection produced the best results.
I did not use the Boundary Wrap option because it produced the curved horizon.
I hit the Merge button.

Step #2 – Cropping
I use the Crop Overlay, and the Transform controls to straighten up and crop the panorama.
I kept the original 3:2 aspect ratio.

Step #3 – Lightroom Rapid Editing
Next, I moved to my standard preset based workflow I call Lightroom Rapid Editing.
I opened the Winter Colors Preset Collection and started to experiment with different looks, trying to find the most appealing one.
I use the Ice Pattern preset as a foundation for my editing.
Below, you can find the screenshot of the new, updated structure of the Winter Colors preset collection.
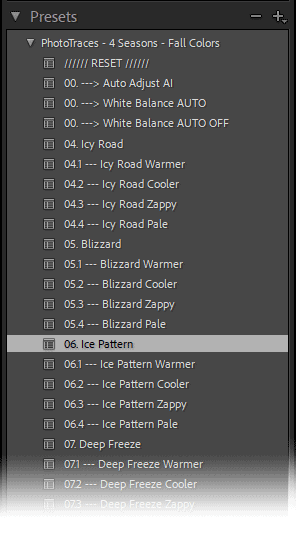
Now, each preset has 4 additional variations: Warmer, Cooler, Zappy, and Pale.
For example, I used the Ice Pattern variation for my editing. When I selected the Ice Pattern Cooler preset, I got an additional editing option inside the BASIC panel.

With the help of the AMOUNT slider, you can dial up or dial down the “cooling” effect.
In my case, I used Ice Pattern Cooler at 44%.
Next, I opened the TOOLKIT and applied the following adjustments:
05. Exposure —
09. Open Shadows+++
16. Clarity +
32. Vignetting ++
43. Midtone Contrast ++
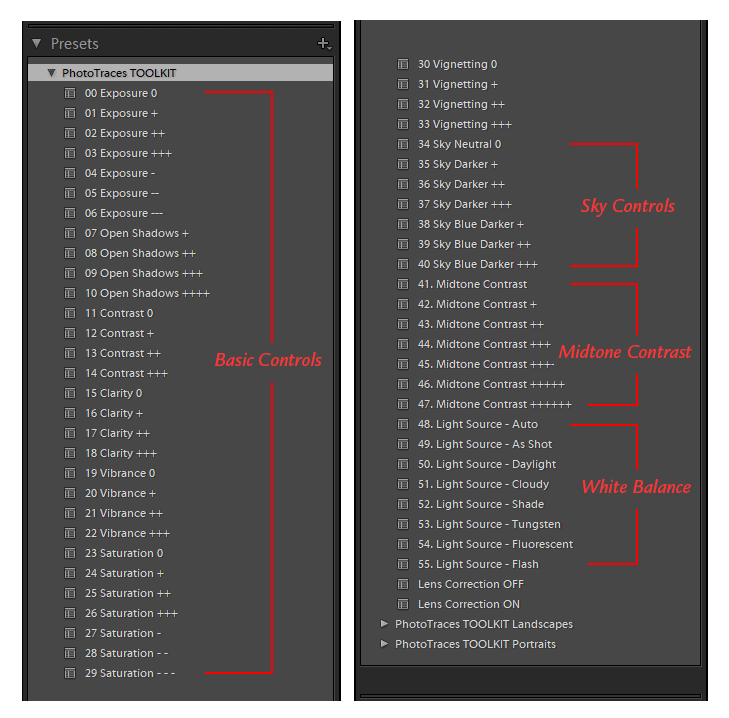
The Editing Formula: Ice Pattern Cooler (5, 9, 16, 32, 43)
Photoshop (25%) – 7min
Step #5 – Cleaning
I used the combination of the Clone Stamp and Spot Healing Brush tools to cover the distracting elements in the background and foreground.
The image was clean enough, so I did not have to do much.
Step #6 – Noise Removal & Sharpening
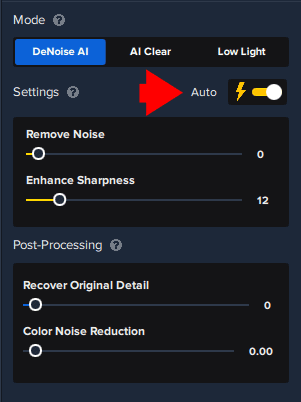
Typically, you need 2 different tools to remove noise and another to increase sharpness, but with the release of a brand new Topaz DeNoise plugin, you can complete both tasks in one step. I used the AUTO settings, and the plugin reduced the noise and increased sharpness in one step. Priceless.
To learn more about how I use Topuz Plugins in my photography check here: Topaz Software Review – How I use Topaz Plugins
Before & After Transformation

The fall season offers a multitude of opportunities for capturing stunning foliage photos. By following these 12 ideas and tips, you can enhance your photography skills and capture the beauty of autumn in all its glory.