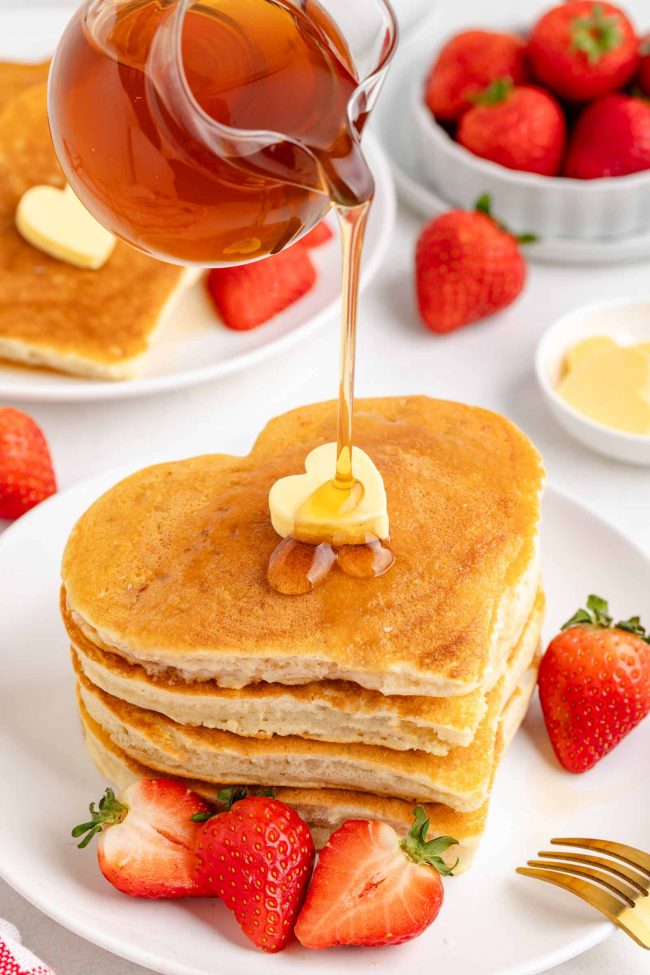
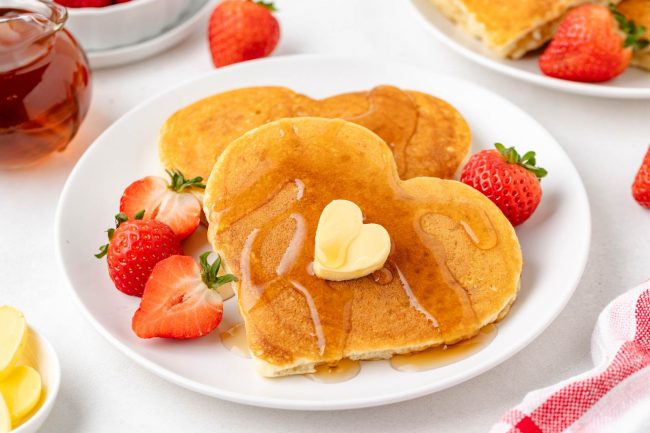
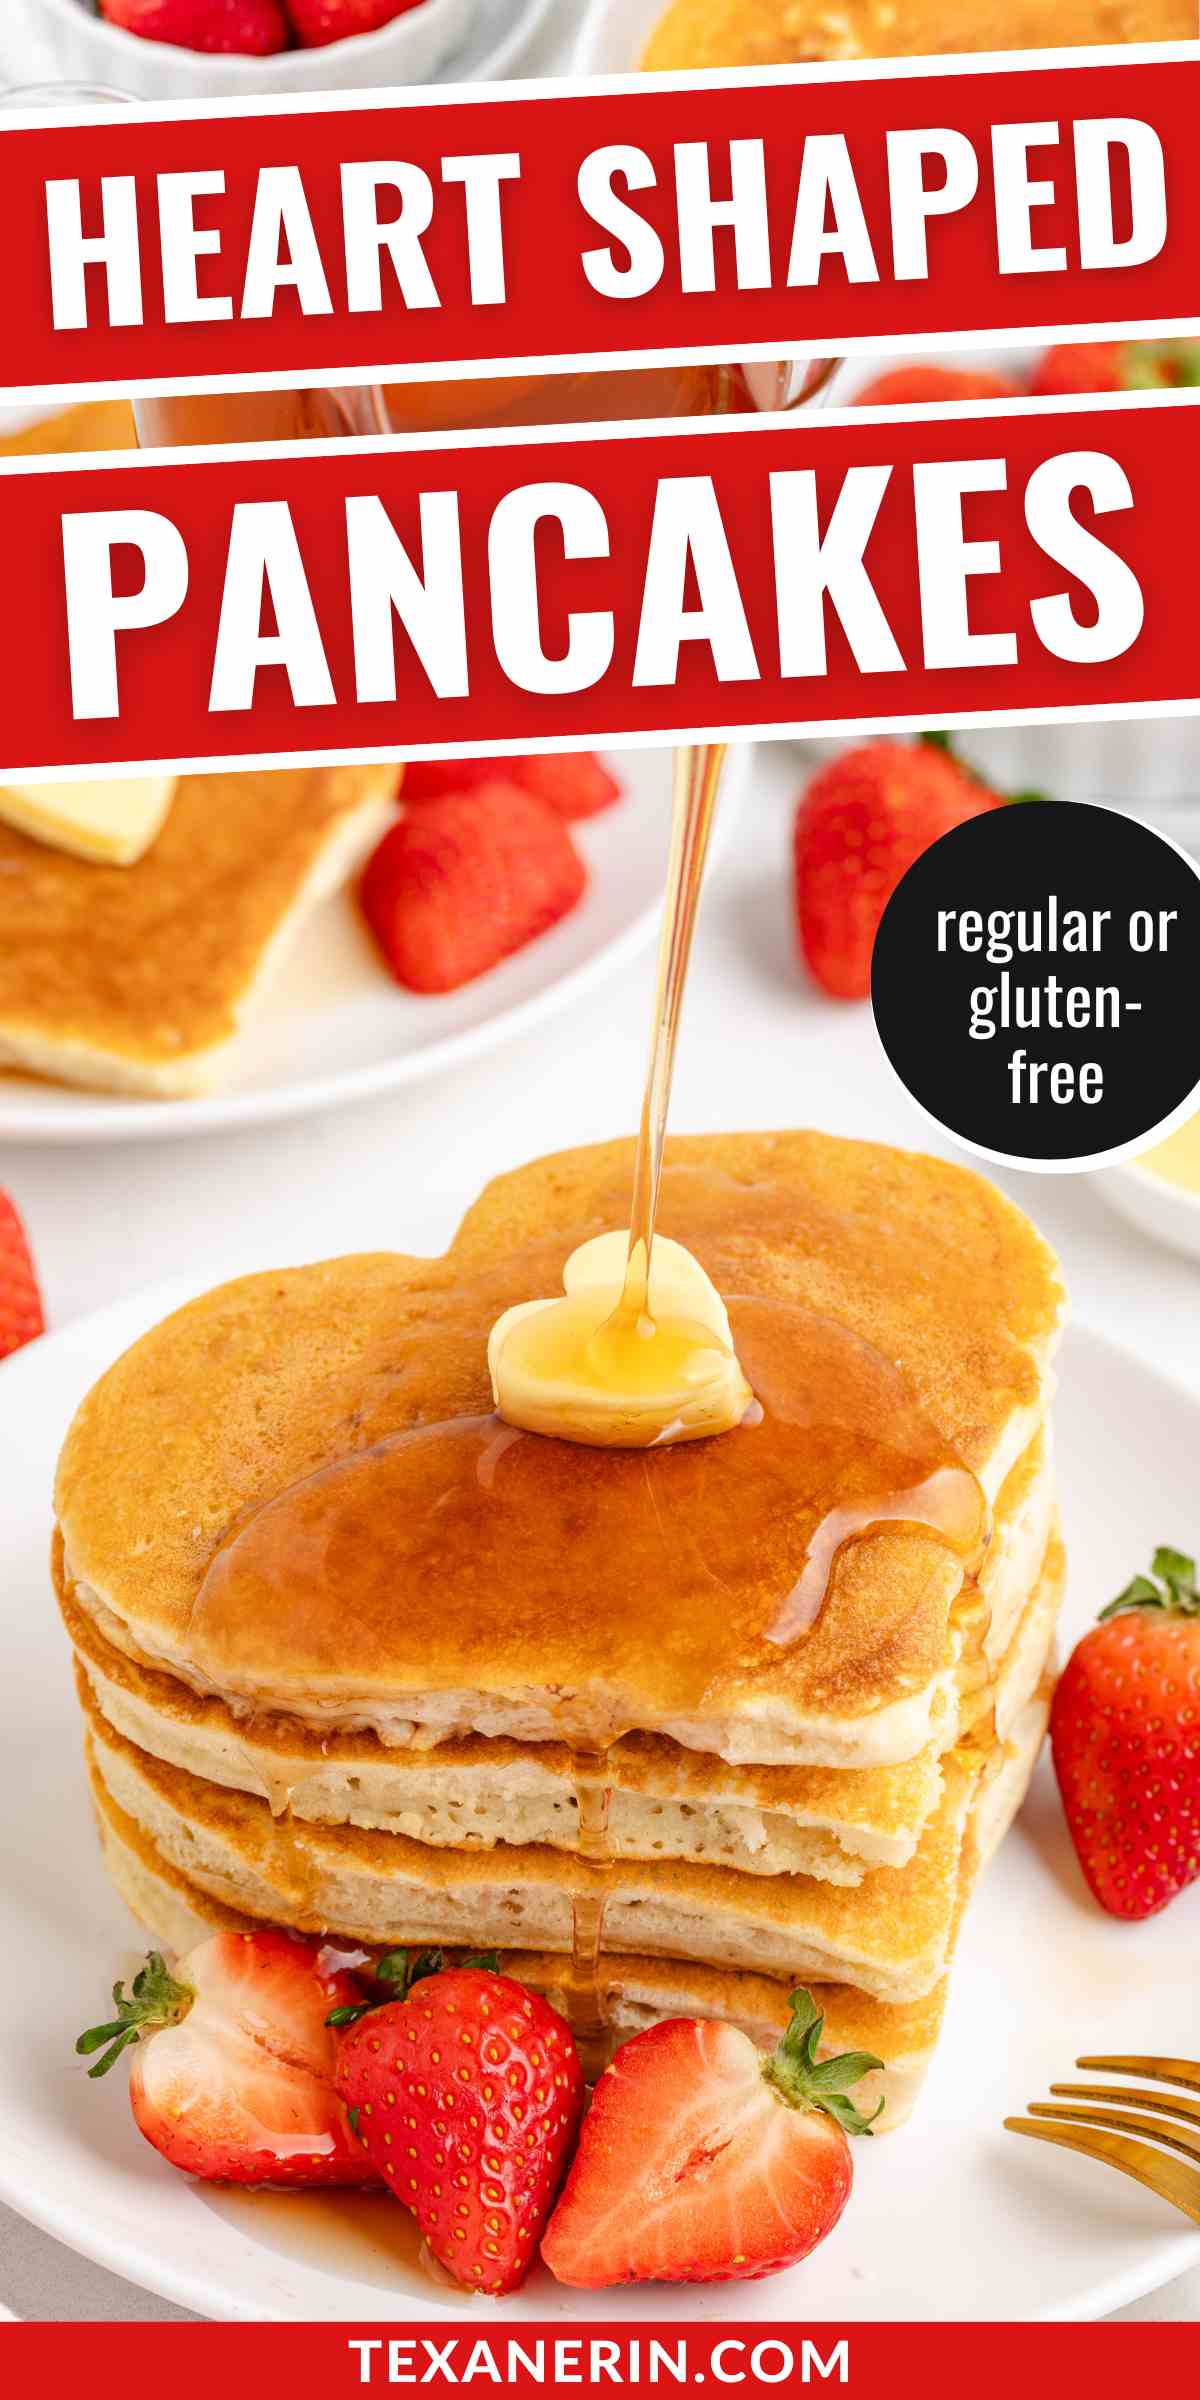
These heart-shaped pancakes are perfect for a special breakfast or brunch. They’re fluffy, flavorful, and easy to make. They can be made with or without dairy and with all-purpose or gluten-free flour.
Whether you’re celebrating Valentine’s Day, an anniversary, or just want to surprise someone with a thoughtful breakfast, these heart pancakes are a fantastic choice. They’re made using the same recipe as my pancakes without milk, but feel free to use whatever pancake recipe you’d like.
It’s a simple recipe that’s versatile and works well with both regular and dairy-free milk. Just don’t use buttermilk, as that would require adjusting the baking powder and adding baking soda for balance. Stick with regular or plant-based milk, and you’re all set for success!
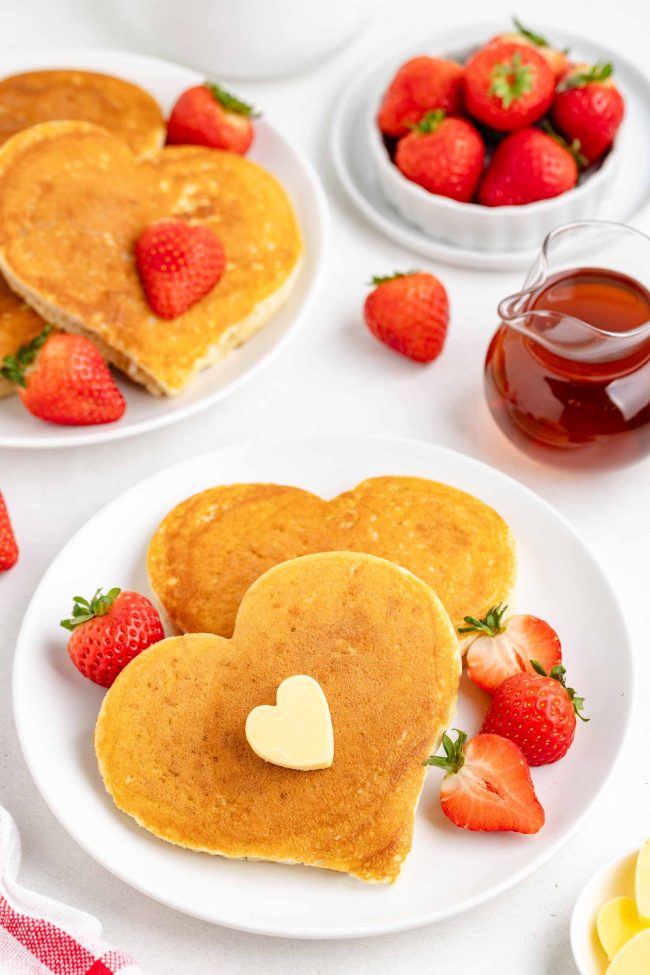
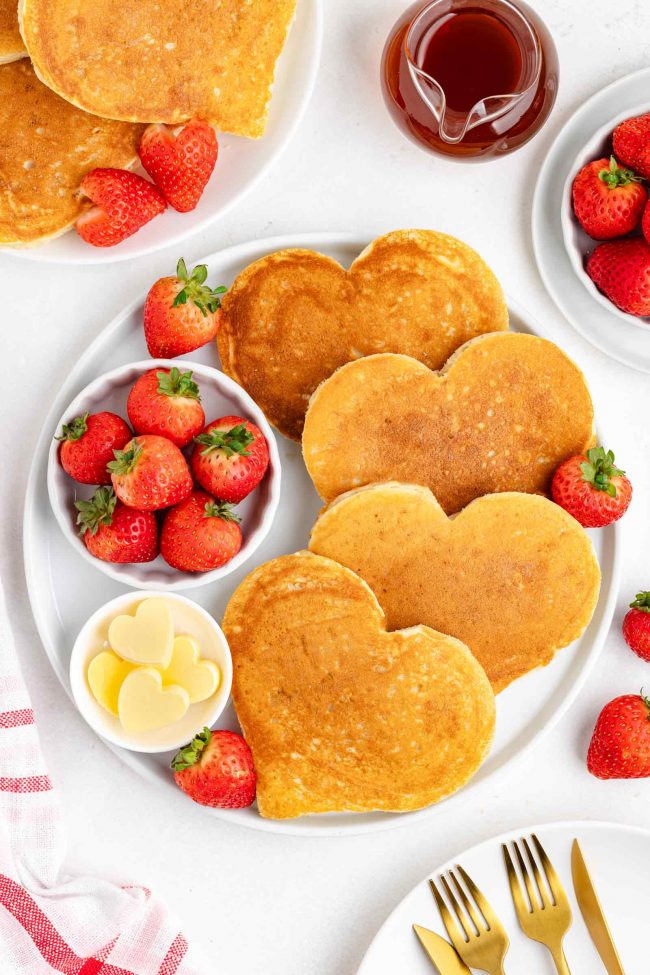
Not only are these pancakes delicious, but using heart-shaped cookie cutters or pancake molds turns them into the perfect Valentine’s Day breakfast treat.
Ingredients
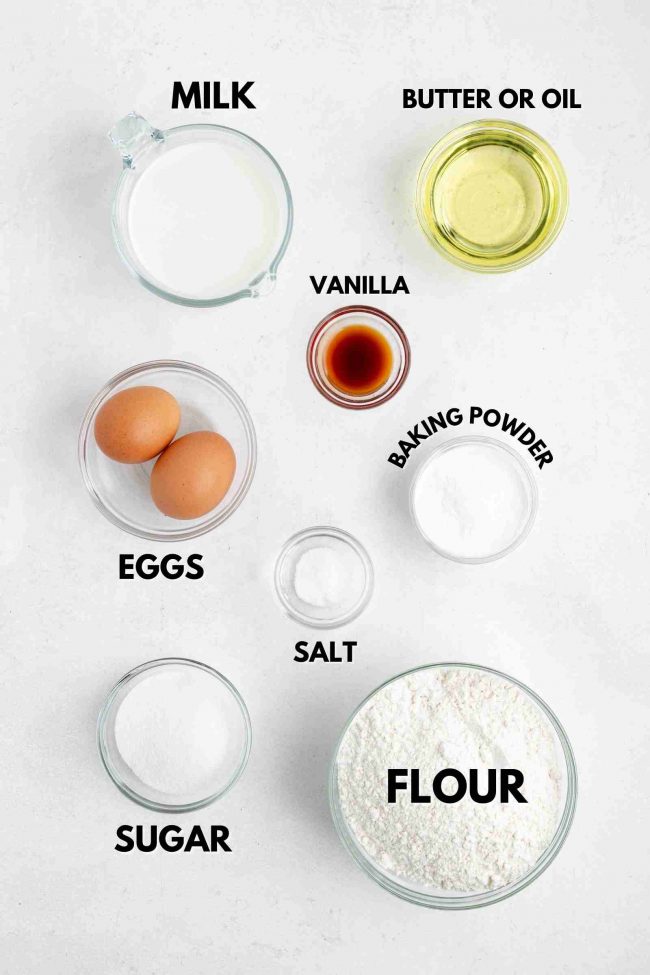
You’ll need just a few basic pantry staples to whip up these pancakes. Here’s what you’ll need.
- Milk – use any kind of milk, regular or dairy-free. Water also works! Almond, soy, oat, or cow’s milk all work just as well as dairy milk. The only milk I don’t recommend is canned coconut milk as it’s too thick. If you want to use that, use half coconut milk and half water.
- Oil or butter – I prefer the flavor with butter, but a neutral-tasting oil works well, too. If you’re making dairy-free pancakes, stick with oil or a vegan butter alternative.
- Eggs – no sub here, unfortunately.
- Vanilla extract – adds depth of flavor and a hint of sweetness that makes these pancakes irresistible.
- Flour – you can use all-purpose flour or a 1-to-1 gluten-free baking blend, which I talk about below. Don’t use bread flour, pastry flour, or other alternatives.
- Sugar – a little sweetness in the batter enhances the overall flavor, even if you plan to drench your pancakes in syrup.
- Baking powder – 3 tablespoons may seem like a lot, but it ensures super fluffy pancakes! For best results, use aluminum-free baking powder.
- Salt – just a pinch to balance the flavors.
Can I use any pancake recipe or a pancake mix?
Yes, you can use any pancake recipe or even a pancake mix to make heart pancakes! If you already have a favorite recipe or prefer the convenience of a mix, go ahead and use that.
Just make sure the batter isn’t too thin, as it may not hold its shape as well. If you’re using a mix, follow the package instructions for the best results.
Don’t forget to grease the molds or cookie cutters for easy release and perfectly shaped hearts!
How to make them
You just mix together the dry and wet ingredients in separate bowls.
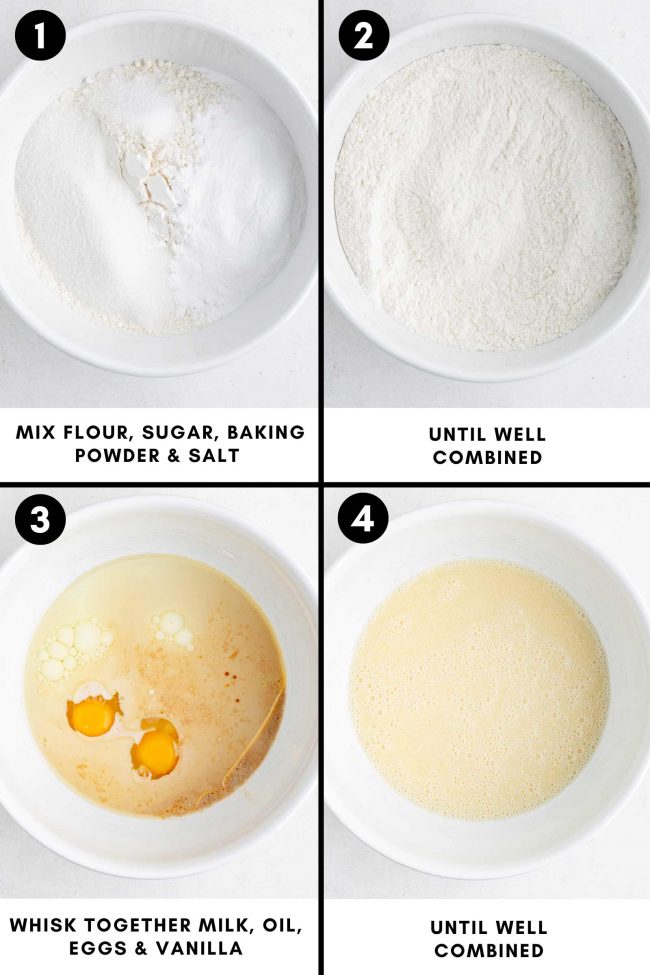
Mix them together and then cook.
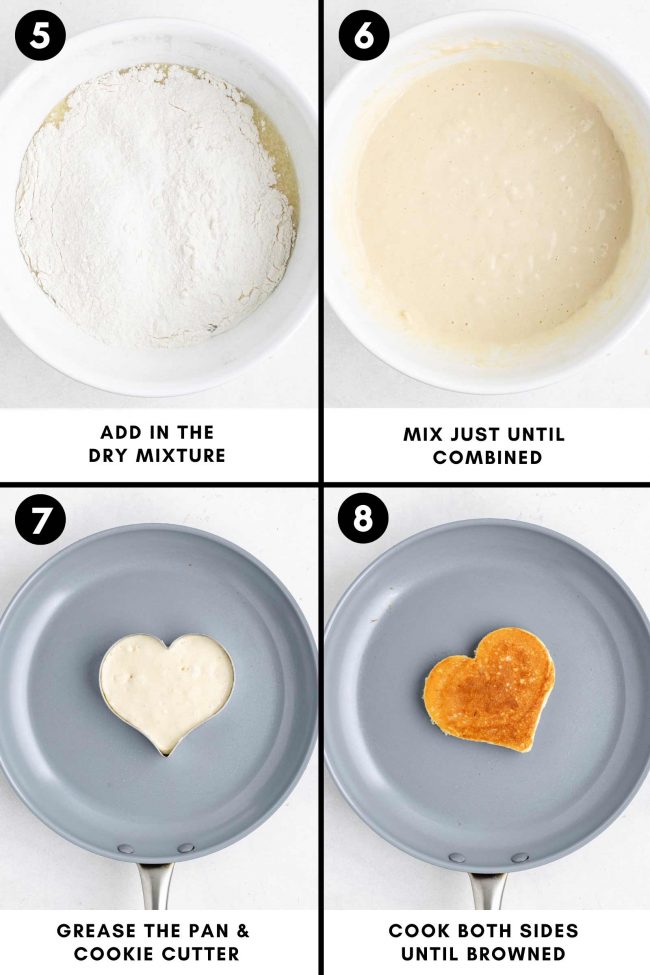
You’ll find plenty of detailed tips below to help you create the perfect heart shape.
As an Amazon Associate, I earn from qualifying purchases. For more info, see my disclosure.
Pancake mold vs. cookie cutters
When making heart-shaped pancakes, you can use either pancake molds or cookie cutters, but there are some key differences and safety considerations to keep in mind.
Pancake molds like these heart-shaped pancakes molds, are specifically designed for cooking on a griddle or pan, so they often come with a non-stick coating and a handle to make flipping easier.
Both my photographer and I used regular heart cookie cutters without an issue, and I think they still came out looking great.
Cookie cutters do require more care during use. Here are some tips for using them safely and effectively.
- Use only metal cookie cutters – plastic cutters can melt on the hot griddle, creating a mess and a potential safety hazard.
- Grease the cutters well – to prevent the pancake batter from sticking, coat the inside of the cookie cutter with cooking spray or a thin layer of oil.
- Handle with care – metal cookie cutters can get extremely hot during cooking. Use tongs or a heat-resistant glove to safely remove the cutter from the pancake.
- Keep the griddle temperature moderate – excessively high heat, which you shouldn’t be using to cook pancakes in the first place, may scorch the pancake batter and make it harder to release from the cutter.
- Work quickly – metal conducts heat fast, so pour the batter in and remove the cutter as soon as the shape is set (usually 1-2 minutes). This prevents overheating the cutter and ensures clean edges.
Don’t have either?
You can use a squeeze bottle filled with pancake batter to make heart shapes directly on the pan. If you don’t have a bottle, a spoon works.
Pour the batter slowly into a heart shape. It doesn’t have to be perfect, and any uneven edges can be cleaned up with a spatula.
You can also cook regular round pancakes and then use a knife to carefully cut out heart shapes. This is an easy option, especially if you’re making pancakes for kids and want a quick solution.
How to store and freeze
Refrigerate leftover pancakes in an airtight container for up to 3 days to keep them fresh. To extend their shelf life, freeze pancakes by placing them in a single layer on a baking sheet.
Once they’re solid, transfer them into a freezer-safe bag or container. This method helps preserve their texture and prevents them from sticking together.
Frozen pancakes will stay good for up to 2 months. When you’re ready to enjoy them again, reheat the pancakes in a toaster, oven, or microwave.
The microwave is definitely the best option! Simply heat them for 20–30 seconds, depending on your microwave’s power.
You can also reheat pancakes in a toaster by placing them directly into the toaster slots without the need for additional preparation. You can toast them as you would regular bread, and they’ll heat up in about 1-2 cycles, depending on the thickness of the pancakes. This method works best for pancakes that are not too thick and ensures they get a slight crispiness while staying warm on the inside.
For the oven, reheat at 350 °F (175 °C) for about 5–10 minutes.
Topping ideas
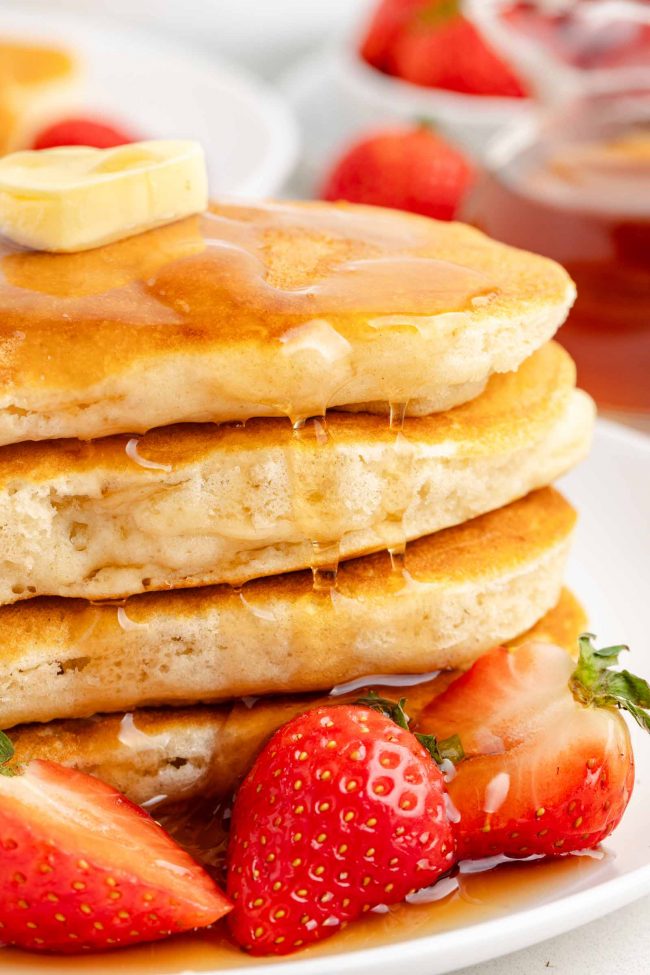
These pancakes are great on their own, but if you want to jazz them up a bit, here are a few ideas.
- Fresh fruit or fruit sauce – strawberries, raspberries, and blueberries are my favorite, but almost any type of fruit works well here. Blueberry Sauce, Strawberry Preserves or Cherry Preserves would also be great!
- Whipped cream – add a dollop or pipe it on for a classic touch.
- Chocolate – the homemade chocolate sauce in this Iced Mocha Latte is super easy and would be great with these pancakes. Or you could drizzle some melted chocolate on top for extra indulgence.
- Powdered sugar – a light dusting adds a sweet finish. The pancakes don’t need the extra sugar, but it does make them look prettier if you’re going for something classy-looking.
Healthier pancake options
Looking for a healthier option? Skip the pancake recipe below and try one of these healthier recipes!
These Banana Pancakes are sweetened with bananas and made with oat flour, making them a more wholesome alternative.
My Paleo Pancakes are grain-free and paleo-friendly and use almond flour for a nutritious twist.
My favorite dinner option when I lived in Sweden (I was an exchange student there for a year in high school and college) – Easy Swedish Pancakes! These are thin and delicate and made with oat flour.
Troubleshooting
Here are some common issues and how to fix them.
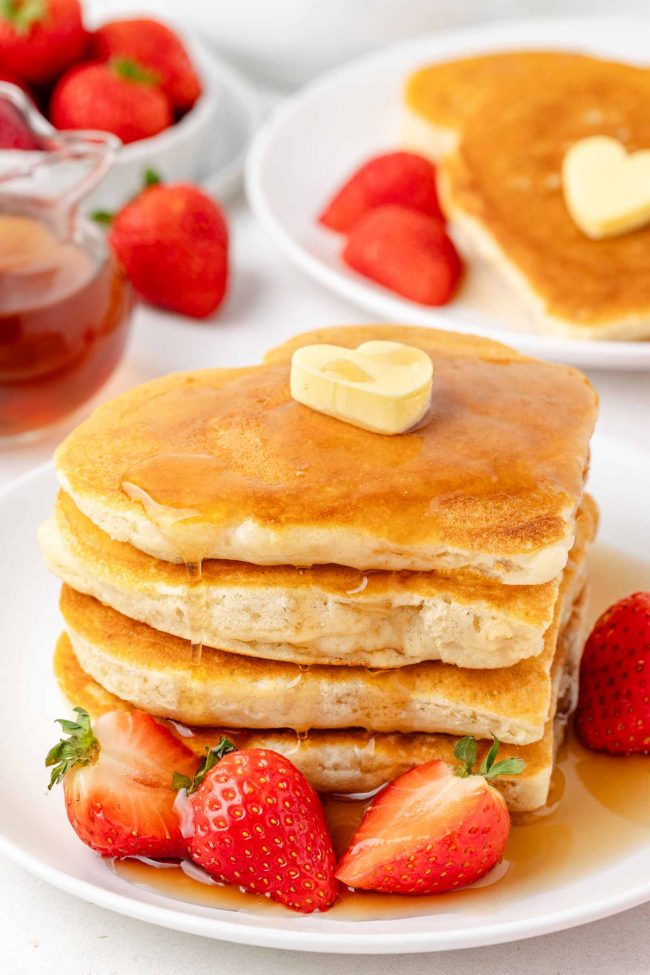
- Pancakes are too thick or too thin – adjust the batter consistency by adding more liquid if it’s too thick or more flour if it’s too thin.
- Pancakes are not cooking evenly – make sure the heat is set to medium-low and that the cooking surface is evenly heated.
- Pancakes are too dry – avoid overmixing the batter and check that you’re using the right amount of liquid for a fluffier pancake.
- Pancakes are too soggy – ensure you’re using the right amount of butter or oil on the griddle, as too much can make them soggy.
- Pancakes are stuck to the pan – make sure the pan is properly heated and lightly greased before pouring the batter.
- Pancakes are undercooked on the inside – lower the heat to cook pancakes evenly and prevent burning the outside while leaving the inside raw.
Please use a scale!
Using a scale ensures that your pancakes come out properly. If your pancakes are too thick, it’s almost definitely because you packed your cups when measuring.
If you don’t have a scale, fluff up the flour in the bag or container using a spoon. Then use that spoon to scoop the flour into your measuring cup. Use a knife or anything with a straight edge to level the flour across the top of the measuring cup.
Gluten-free option
These pancakes are fantastic with Bob’s Red Mill 1-to-1 Gluten-free Baking Flour. Nobody could tell the difference between the two versions.
If you don’t want to use that specific flour, then you need to use another one that’s meant as a 1-to-1 sub for all-purpose flour. Oat, coconut, almond, buckwheat, etc. flours WILL NOT WORK.
I’m putting that in bold for the folks who go ahead and make these pancakes with coconut flour and then ask why they were dry. 😉
But as always, I can’t say the result would be as perfect as with the mix I used. All brands are different, and so are the final outcomes. So I recommend going with Bob’s or using a pancake base that already calls for the gluten-free flour that you already have on hand.
I hope you’ll enjoy these heart-shaped pancakes! I’d love to hear your thoughts in the comments below. Thanks for reading! 🙂
❀
- Prep Time:
- Cook Time:
- Ready in:
- Yield: eight 4.5″ pancakes
Ingredients
- 1 1/2 cups (355 milliliters) milk of choice or water
- 1/2 cup (120 milliliters) neutral-tasting oil or 1/2 cup (113 grams) melted, warm butter (use oil or vegan butter for dairy-free)
- 2 large (50 grams each, out of shell) eggs
- 2 teaspoons vanilla extract
- 2 1/4 cups + 2 tablespoons (297 grams) all-purpose flour or for a GF version, use 2 1/4 cups + 2 tablespoons (328 grams) Bob’s Red Mill 1-to-1 Gluten-free Baking Flour
- 1/4 cup (50 grams) granulated sugar
- 3 tablespoons (not a typo) aluminum-free baking POWDER
- 1 teaspoon salt
Directions
- In a large mixing bowl, whisk together the milk, oil, eggs, and vanilla extract.
- In a medium mixing bowl, mix the flour, sugar, baking powder, and salt. Add the dry ingredients to the wet ingredients and stir until just combined. Some lumps are fine. Avoid overmixing.
- Place a non-stick skillet or griddle over medium-low heat (I used 3 out of 9, but stoves vary, and you may need higher heat). Grease lightly with cooking spray or butter.
- Lightly grease the inside and bottom of a metal heart-shaped cookie cutter (mine was 4.5″ / 11.5 cm) or heart-shaped pancake mold to prevent sticking. Place on the skillet.
- Hold it down and pour in pancake batter. You don’t want it to be especially thick – it should be as thick as regular pancakes. Continue holding down the cookie cutter for about 20-30 seconds or until the bottom of the pancake has hardened a bit. If you don’t hold the cutter down, the batter may spread under the cutter.
- Cook until you see bubbling under the surface, about 2-3 minutes, and you see that the edges are set enough for the pancake to be flipped. Carefully remove the cookie cutter (use tongs if it’s hot) and flip the pancake. Cook for another 2-3 minutes on the other side until golden brown.
- Re-grease the cookie cutter and pan between each pancake. Repeat with the remaining batter.
- Refrigerate leftover pancakes in an airtight container for up to 3 days or freeze for up to 2 months.
Notes
- Use any kind of milk, regular or dairy-free, or water. Almond, soy, oat, or cow’s milk all work just as well as dairy milk. The only milk I don’t recommend is canned coconut milk because it’s too thick and it’ll add coconut flaavor. If you want to use that, use half coconut milk and half water.
- Please use a scale to measure the flour! If your pancakes are too thick, it’s almost definitely because you packed your cups when measuring. If you don’t have a scale, then here’s how to measure the flour: fluff up the flour in the bag or container using a spoon. Then use that spoon to scoop the flour into your measuring cup. Use a knife or anything with a straight edge to level the flour across the top of the measuring cup.
- Using aluminum-free baking powder is important! If you use regular baking powder, there might be some metallic taste. Some people have experienced it, while others haven’t. If you’re worried about using 3 tablespoons, one commenter has used 2 tablespoons and said they were still fluffy!

