

Do you want to know my favorite snow photography tips to improve your winter photography?
The winter season offers landscape and travel photographers unique opportunities that cannot be replicated.
Here, in Montreal, we have long winters with plenty of snow. As a rule, I can shoot snowy landscapes from the middle of December until the end of March. And today, I want to share with you how I approach winter photography.
Since shooting and editing winter landscapes presents a different set of challenges, I have separated this article into two parts. First, we tackle the challenges of shooting and, then, we take on the challenges of post-processing.
Snow Photography Tips: Shooting
The main challenge of photographing snowy landscapes is the predominantly white color.
The white tends to fool the camera’s metering systems by making it believe that the scene is much brighter than it actually is. To compensate, the metering system lowers the exposure and, as a result, we get underexposed photographs with ugly grey snow.
Below are my favorite tips and techniques on how to properly expose snowy landscapes.
01. Shoot in RAW
The RAW format gives you a much broader latitude to correct your errors in post-processing. The logic here is simple: you try to collect as much information from the scene as possible and decide what to do with it later.
Related: RAW vs JPEG

02. Use Exposure Compensation
This is my favorite technique—the one I always use when shooting snowy landscapes.
Since I know in advance that my camera’s metering system will be deceived by the abundance of white snow, I set the exposure compensation value between +1 and +2 stops for all my shots.
I tend not to tweak the exposure compensation value for every shot and consider the +1 value to be a reliable middle ground for most shots. I find that it is much simpler to do the final fine tuning in post-processing.


03. Do Not Trust Your Camera or Your Eyes
When shooting winter landscapes, selecting the proper exposure is always a fine balance. The aim is to ensure the snow in your photos is as white as possible without being pure white (clipped). As soon as any given pixel in your photograph turns white, it no longer carries any information and it is impossible to recover any data from it during editing.
As you already know, you cannot trust the metering system when shooting snowy scenes. But, at the same time, you cannot rely solely on your eyes when looking at your camera’s LCD screen or electronic viewfinder because it is not possible to distinguish pure white from almost pure white.
The math is the only truth here.
Related: Perfect Exposure With Every Shot
You must check the histogram, which is the graphical representation of the pixels distributed in the image, to see if your image contains pure white pixels.


04. Bracket All Your Shots
Bracketing all your winter shots serves two main purposes. First, it gives you an opportunity to select the image with the right exposure if you miscalculated the exposure value or if your camera was fooled by the brightness of the scene.
Related: Bracketing in Photography
Second, it allows you to use the HDR editing technique in case the scene’s dynamic range exceeds the dynamic range of your camera sensor. When you cannot capture the entire range of light in one shot, you can always combine the bracketed shots into the HDR image.
05. Use the Lens Hood
First, I always recommend keeping the lens hood on at all times to protect the fragile and expensive glass from accidental damage. But, when shooting the snow, the lens hood is also a very effective tool for reducing the glare from the snow.

Winter Photography Tips: Editing
Editing snowy winter scenes has its own unique difficulties and hurdles. The main issue is the predominance of one color (white), making most winter photographs monochromatic. Creative options are more limited with snowy winter landscapes than colorful scenes of autumn landscapes.
I developed the Winter Colors Collection as part of my Lightroom preset library. Each preset in the collection was designed to overcome the various challenges of editing snowy landscapes and give you more artistic possibilities to choose from.
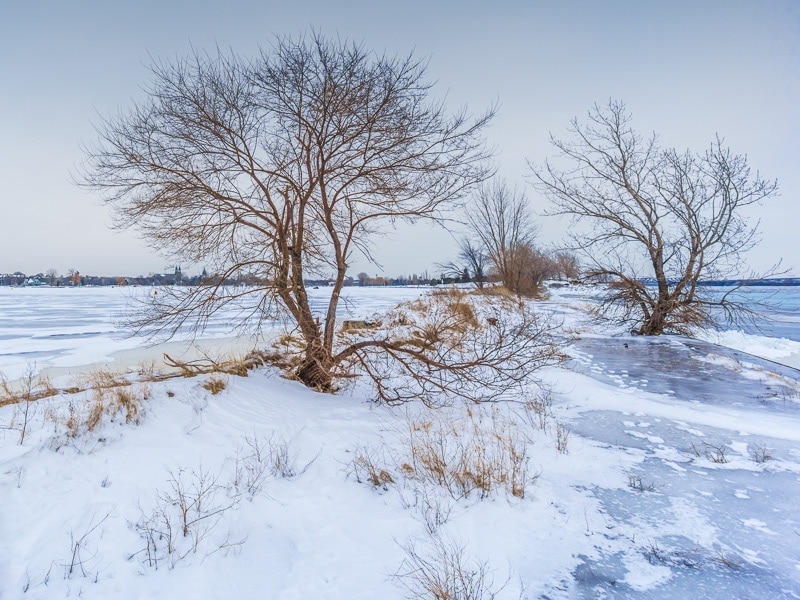
06. Remove Blue Color Cast
When you shoot sunny winter scenes with the open sky, it is practically guaranteed that the snow will have an unnatural blue color cast in the shadowy areas. This is because the scenes have two light sources: the sunlight and the skylight. When they mix together, they produce natural light. But, in the shadowy areas, the sunlight is shielded, making the skylight the principal light source. As a result, it shifts the natural light toward the blue spectrum.
The most common way to eliminate the blue color cast is to adjust the color balance in the camera before shooting or later in post-processing. I am not too fond of this option because, by shifting the color balance toward warmer tones, you eliminate the blue color cast in shadow areas while also introducing a yellow cast in open areas that makes the snow yellowish.
My solution is to desaturate the blue colors in the photograph while boosting the other colors.
I have the Crisp Morning preset in the Winter Colors Collection that does exactly that.


(Preset: Crisp Morning)
07. Intentionally Introduce the Color Cast
For artistic purposes, try to introduce the color cast to simulate the warm colors of the sunset—for example, when the snow never appears to be pure white.
My Winter Colors Collection has three presets that introduce various color casts to natural winter scenes.

(Preset: Ice Pattern).

(Preset: Candle Light).
08. Revive Gloomy Overcast Scenes
On winter days when the two main sources of light—the sun and the sky—are shielded by overcast clouds, the landscape tends to be at its most boring and bland without a hint of any colors. My solution is to be very aggressive with saturation and contrast. The goal is to revive any hidden colors and emphasize the snow’s texture and the ice.
I created the Snowflake preset specifically for overcast winter shots. But, if you use it on a photograph with a wide-open sky and a blue color cast, the result will be horrendous.

(preset: Snowflake)
09. Use Black & White Treatment
Because of the monochromatic nature of winter landscapes, it is very effective to use black and white conversion. This works with pretty much any snowy scene. You discard the color information from the image and concentrate on the tonal range instead. Using contrast and clarity adjustments, you can be much more aggressive in your editing.

(Preset: Lifeless)
10. Use Duotone Treatment
The duotone technique is when you introduce a second color to a black and white image. The technique was widely used during the printing press era to save money on production by using only two colors instead of four. These days, the duotone technique is mostly used for artistic purposes.
Lightroom can easily achieve the duotone effect by converting a photo to black and white and then introducing a second color using the Split Toning tool.
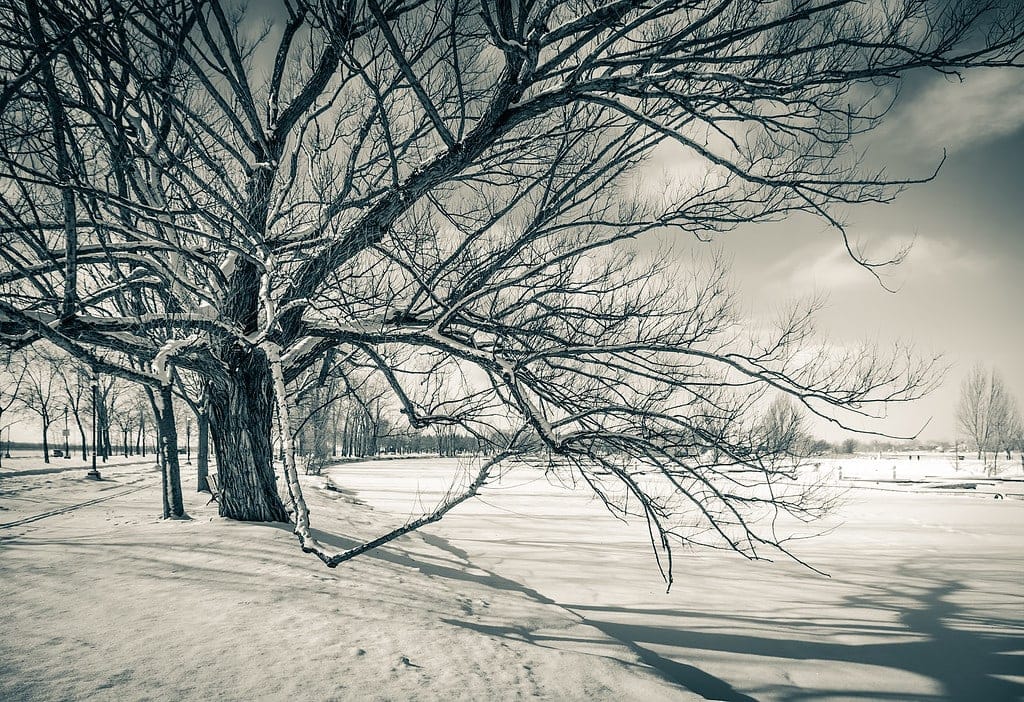
(Preset: Cold Fingers)

(Preset: Rough Edges)

“Winter Colors”
Lightroom Preset Bundle
Lightroom workflow bundle includes Look Presets, Adjustment Presets, Opacity Presets, Reset Presets, Editing Formulas..
Snow Photography Tips | Conclusion
Snow photography is a fantastic way to capture the beauty of nature. With simple shooting and editing tips and practice, you can create stunning photographs of your winter landscape.