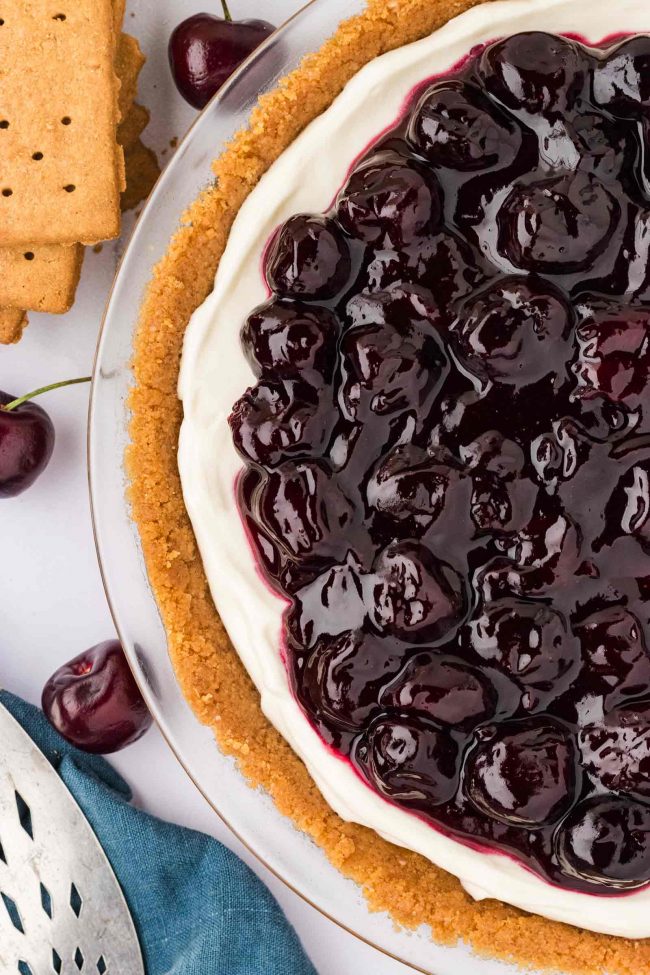
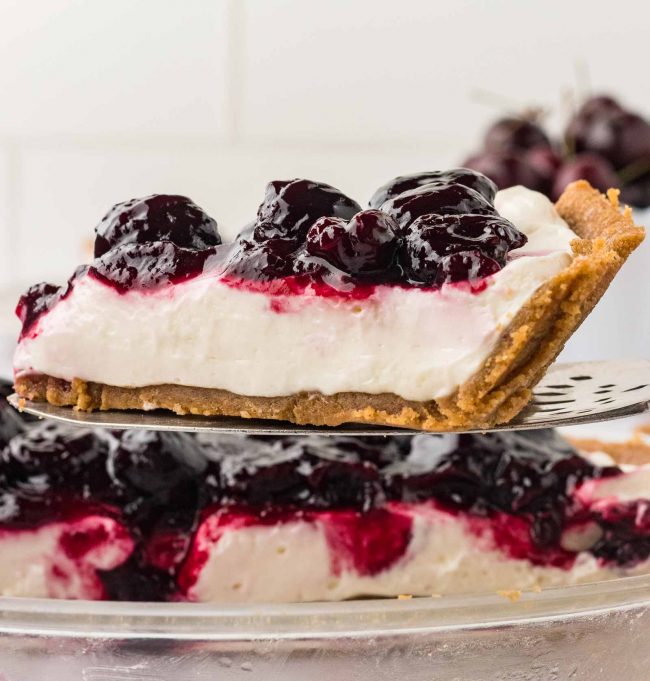
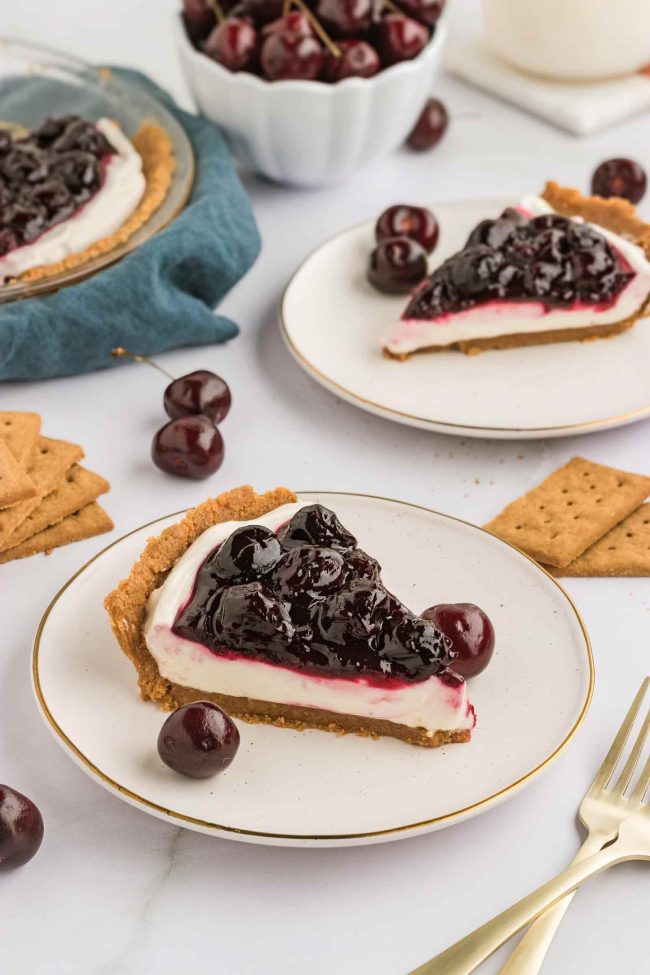
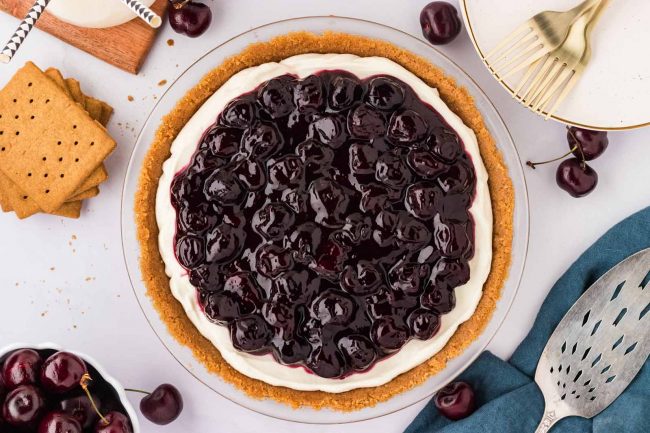
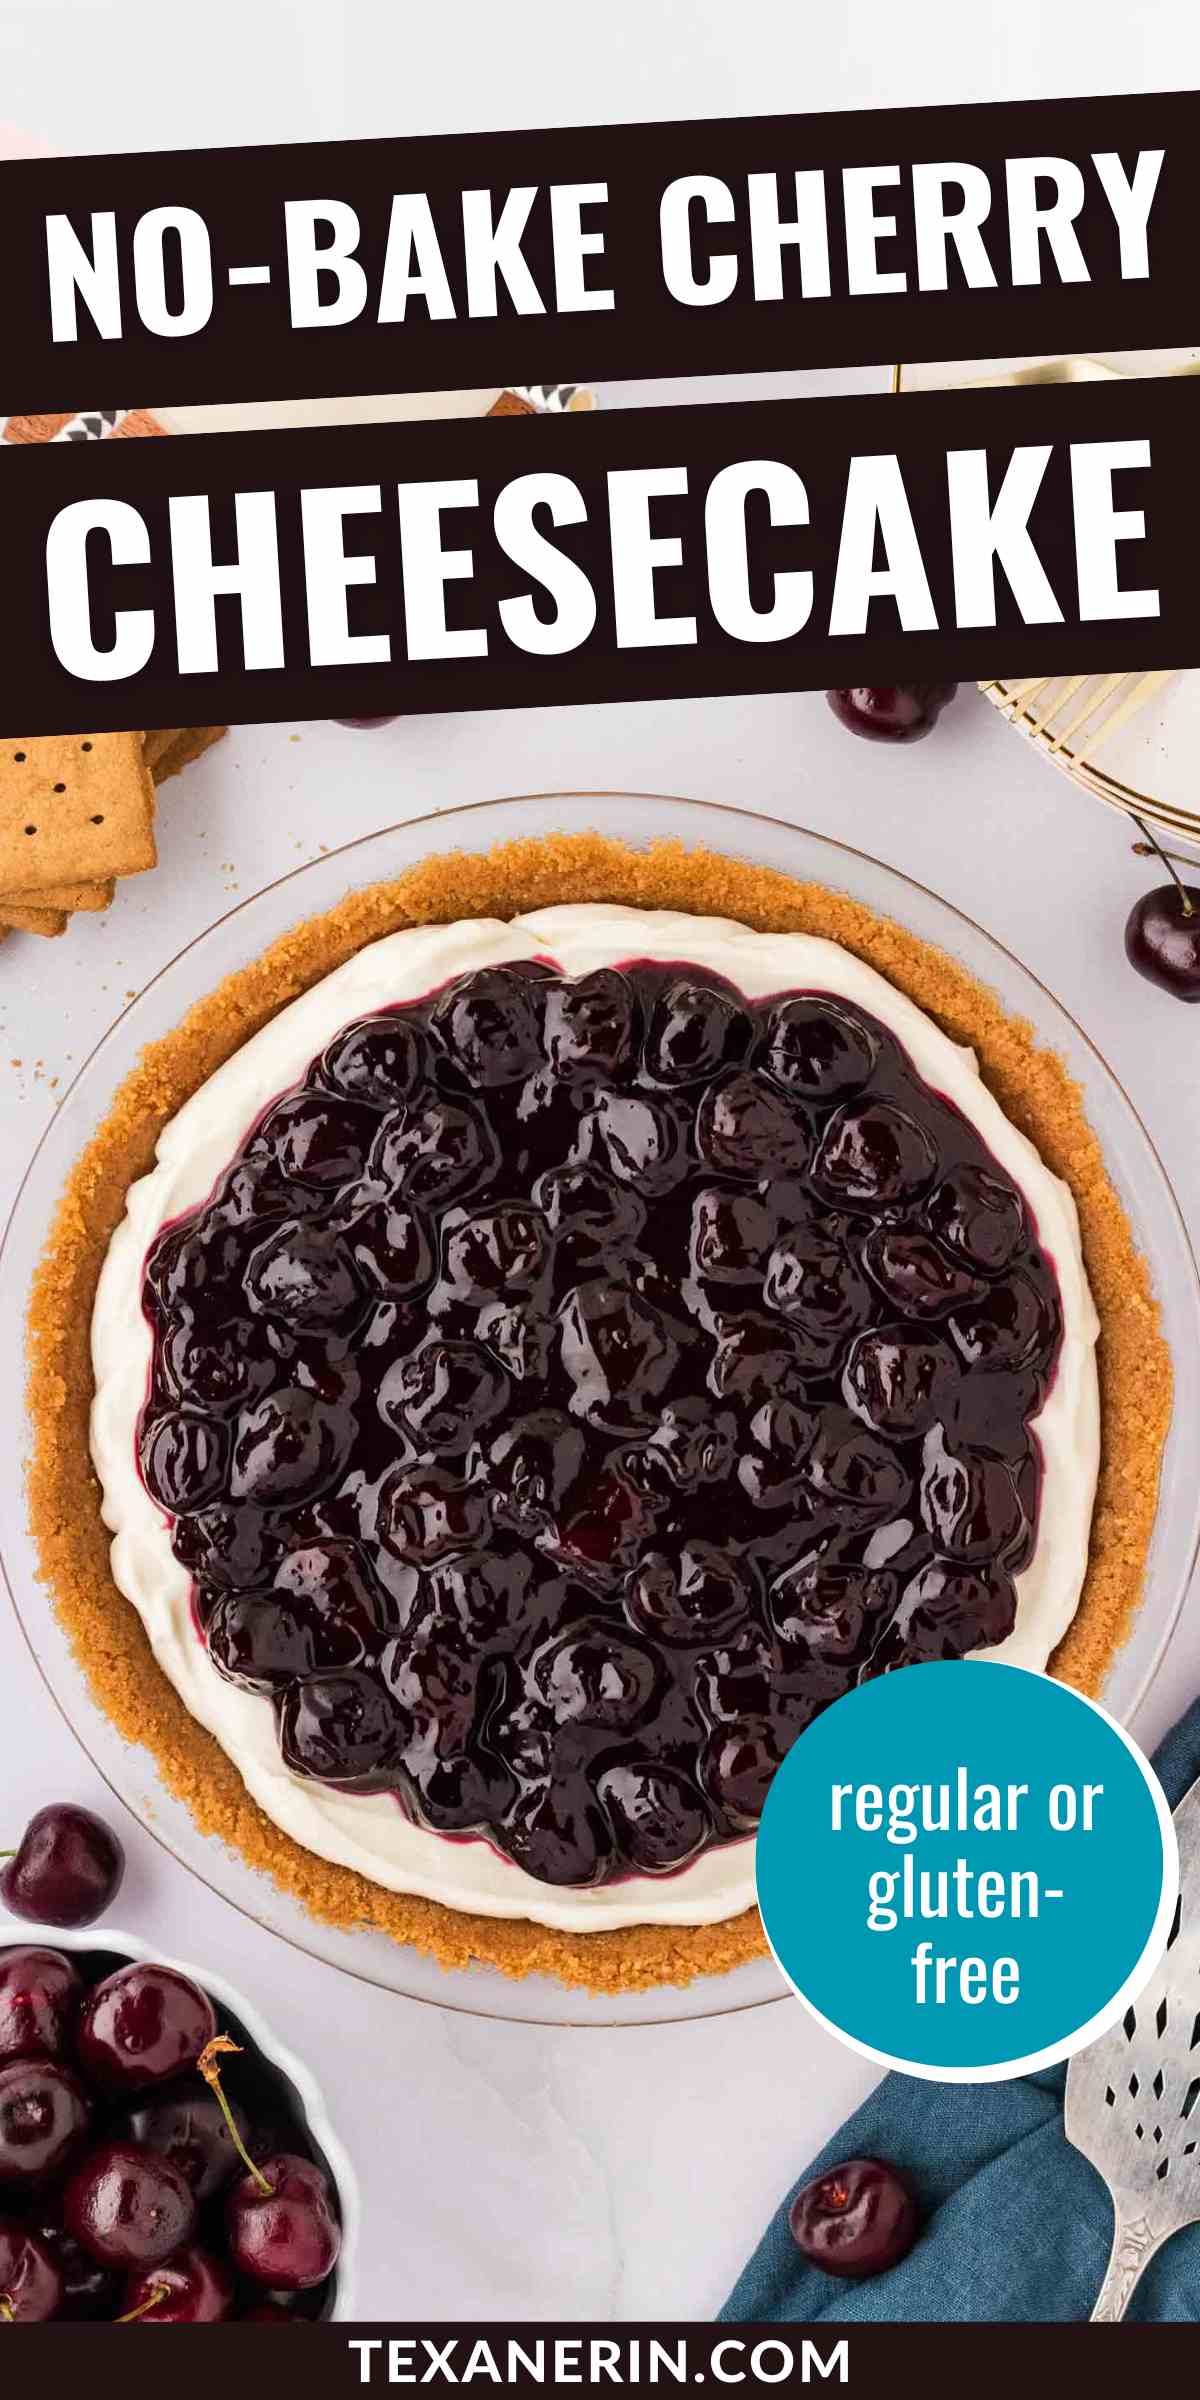
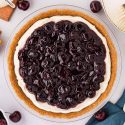
This no-bake cherry cheesecake has an easy creamy cheesecake filling, homemade cherry topping, and a delicious graham cracker crust that can be made traditionally or gluten-free. Plus, it’s prepared in a 9″ (23 cm) pie pan and can be made ahead of time, making it great for July 4th and other holidays.
I posted this Tart Cherry Pie the other day and wanted to share a much simpler no-bake recipe today.
This cheesecake uses a half batch of the filling recipe from the pie as a topping. I also used sweet cherries instead of tart cherries because as I said in the tart cherry pie post, tart cherries can be hard to find.

All of the other no-bake cherry cheesecake recipes seem to use store-bought cherry pie filling, which is made with tart cherries. You can definitely use that here, if you’d like. You’d need a 12.5-oz can.
So if you’re wondering why my cherry topping is so dark compared to the other recipes for no-bake cherry cheesecake – that’s why. Tart cherries have a much redder color.
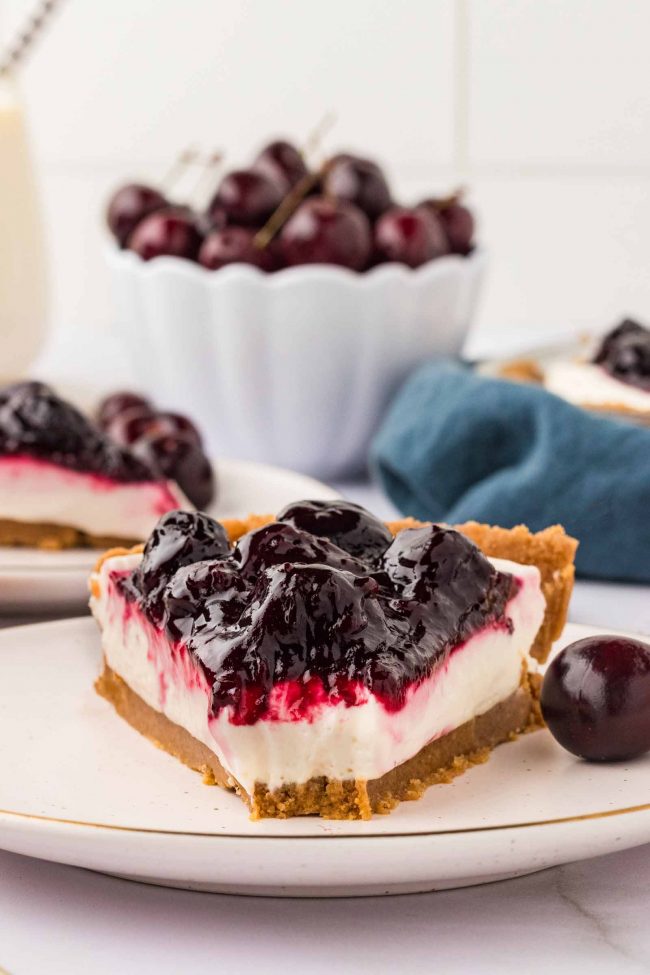
Ingredients
Here’s an overview of what you’ll need for this recipe.
If you have access to frozen tart cherries, then you should use 1/2 cup (100 grams) granulated sugar for the cherry topping instead of 1/3 cup. If you’d like to use fresh tart cherries, check out my Tart Cherry Pie post where I talk about the changes you’d need to make.
But remember that you only need a half batch of the filling to use as topping for this cheesecake. And also note that I omitted the butter in the cherry filling/topping for today’s recipe.

How to make the crust
You can buy graham cracker crumbs or just make your own with graham crackers using a food processor.
I’ve also tried making crumbs in a Blendtec, but that quickly turned the graham crackers into powder. And you don’t want powder! Just crumbs.
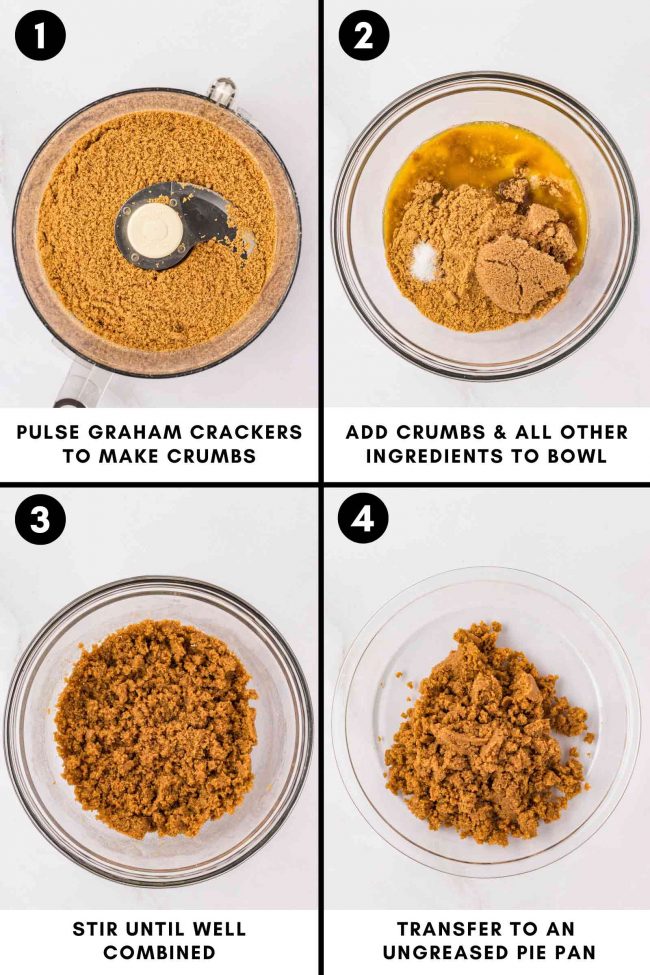
Once the crust has been pat into the pie pan, I like to freeze it. This ensures that the crust stays as fresh as possible until you’re ready to use it.
You can also refrigerate it. It doesn’t get soggy or anything.
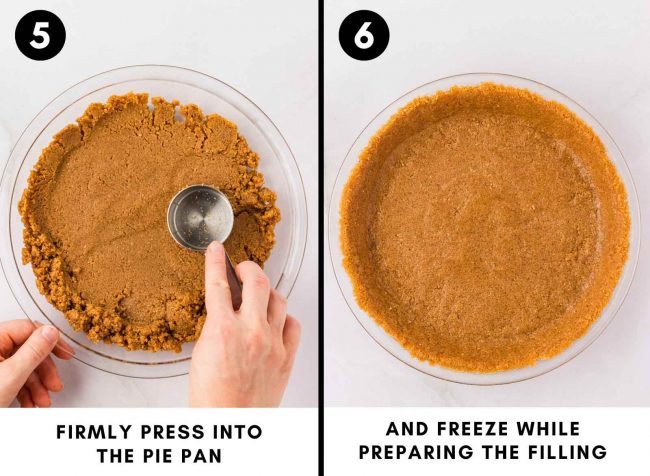
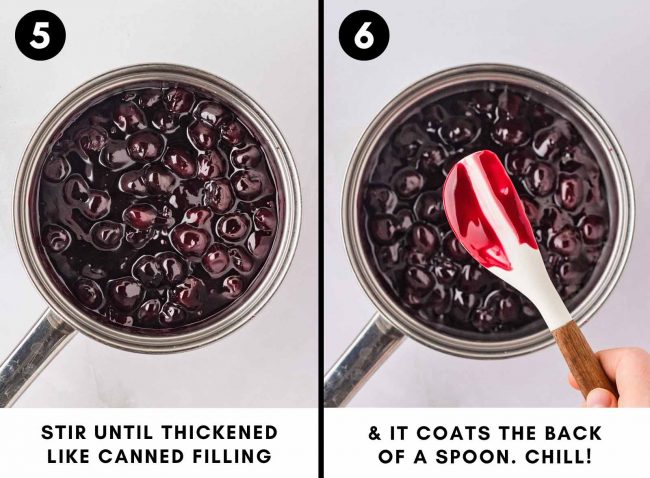
How to make the cherry topping
As I’ve said before, you can use store-bought cherry pie filling, but this recipe is really easy, uses frozen cherries, and only takes a few minutes of active prep time.

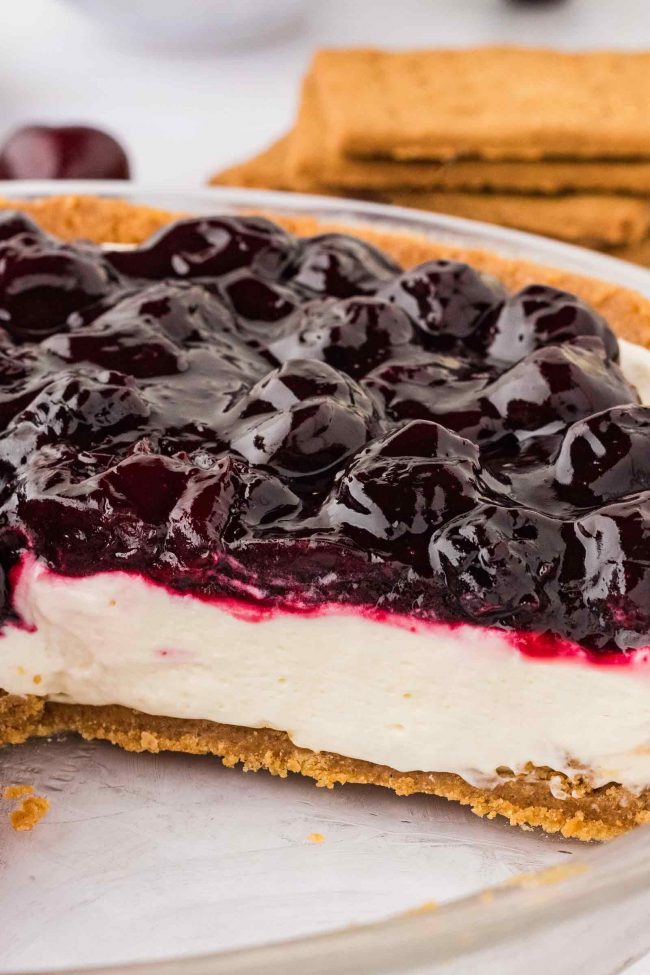
Definitely make sure to let it chill thoroughly before spooning onto the cheesecake! And the cheesecake really needs to be set before you add it.
The first time I made the cheesecake, I wasn’t thinking and put on the cherry topping right after transferring the cheesecake filling to the pie crust. It was delicious but perhaps a bit too messy!
How to make the no-bake cheesecake filling
Some recipes have you add the heavy cream to the cream cheese and sugar mixture and then beat. I did that for my 4th of July Fruit Pizza and the the frosting on my Independence Day Cake, but I find it a bit too risky for this recipe.
It works great for frosting, but as a cheesecake? I’ve read a lot of recipe reviews, and it seems to sometimes work, sometimes not.
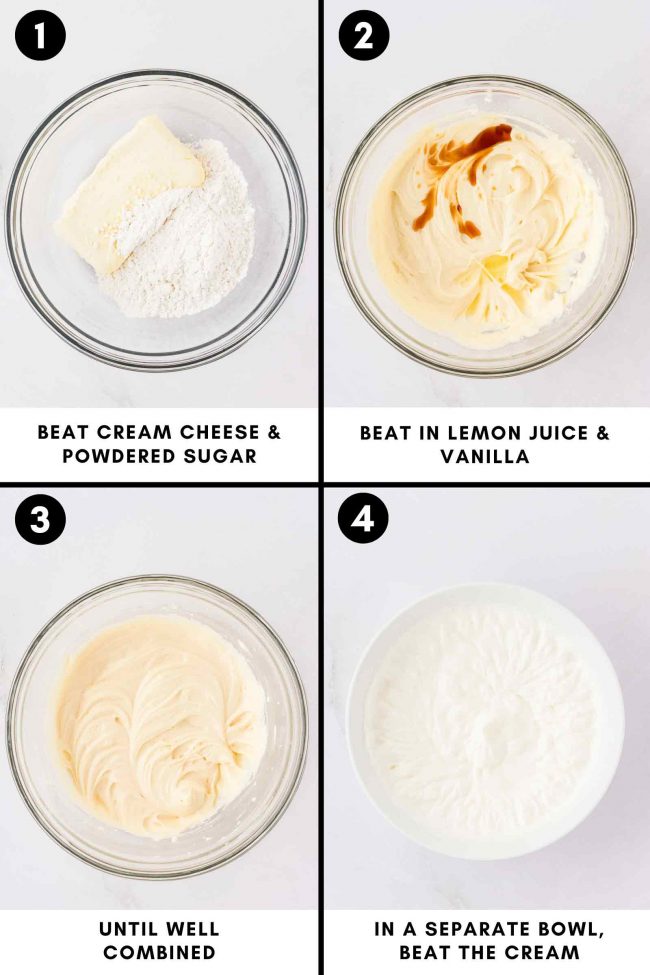
To make the filling for this recipe, you beat everything together but the heavy cream. Then you whipp that separately, and fold it into the cream cheese mixture.
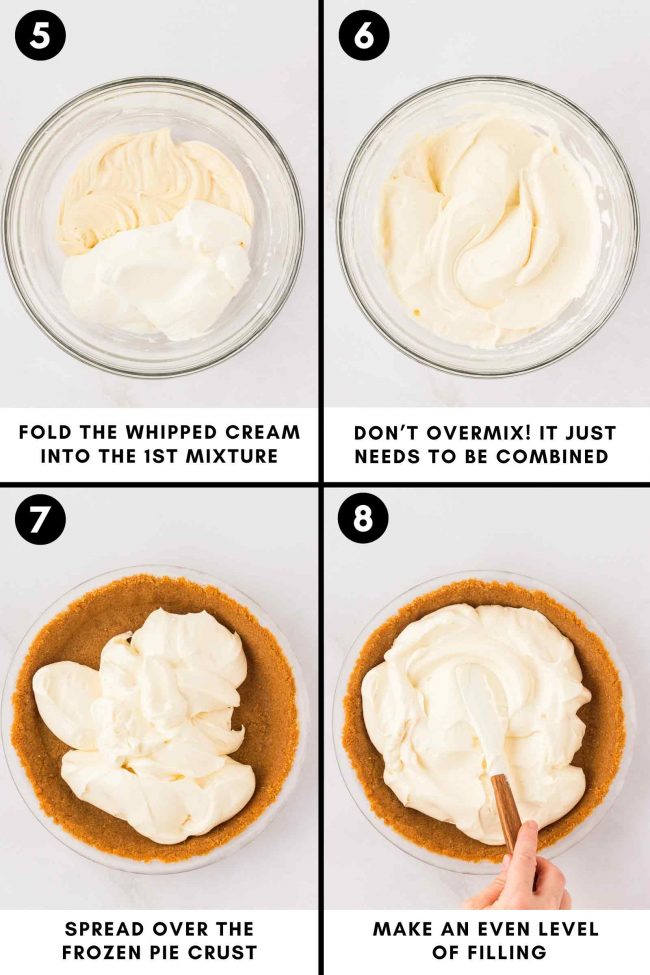
The result is a light, airy, no-bake filling.
How to make in advance
You can make the crust and refrigerate it for up to 3 days or freeze it for up to 2 months.
Once the cheesecake filling is made, it should be spread over the crust. So don’t make it, refrigerate it, and then spread over the crust.
Once you’ve added the filling to the crust, the pie can be refrigerated for up to 2 days. Longer is okay, but your crust may start to get soft.
To put together the entire cheesecake in advance, see the freezing section below.
How to store
To store the cheesecake, I recommend placing the pie pan in a large springform pan. Then you can cover the springform tightly with plastic wrap or foil.
If you place plastic wrap or foil directly on the cherry topping, it will stick to it.
Refrigerate for up to 3 days.
Please keep in mind that no-bake cheesecakes need to be kept cool or they start to get very, very soft, and you won’t be able to cut it.
So you won’t want to bring this to a BBQ and have it sit out. If you have a cooler and put in some ice packs, that should be fine.
How to freeze
You have a few different ways you can freeze this.
- Ideally, you’d freeze the cherry topping separately. Then let it thaw, stir, and then spread over the defrosted cheesecake.
- If you’ve already added the topping, allow the cheesecake to set in the refrigerator for at least 4 hours or overnight. This ensures the filling is firm enough to handle freezing.
- To prevent the cherry topping from sticking to the wrapping, place the cheesecake in the freezer uncovered for about 1 hour or until the topping is slightly firm. Remove the cheesecake from the freezer.
- Wrap the entire cheesecake, pan and all, tightly with plastic wrap. Make sure the wrap is in direct contact with the surface of the cherry topping to minimize air exposure. For extra protection against freezer burn, wrap it again with a layer of aluminum foil or place it in a large, airtight freezer bag.
- Place the wrapped cheesecake in the freezer. It can be stored for up to 2 months, but it’s best to enjoy it within the first month for the best taste and texture
- Remove the cheesecake from the freezer and unwrap it. Place it in the refrigerator to thaw slowly. This process can take anywhere from 8 hours to overnight.
- For convenience, you can slice the cheesecake before freezing. This way, you can thaw individual slices as needed without defrosting the entire cheesecake.
Can I bake the crust?
No-bake graham cracker crusts use more fat than baked graham cracker crusts. The butter hardens in the fridge, which helps prevent the filling’s moisture from seeping into the crust.
If you plan on serving this the same day of making, it’s no problem. But I wouldn’t fill a baked crust with filling and then let it sit overnight or even longer in the fridge.
I’ve seen that some recipes say this is fine to do, but I haven’t tried it. So I can’t say for sure.
Can I use a different type of crust?
Store-bought graham cracker crusts are already baked, so read above where I talk about using a baked crust.
A no-bake Oreo crust would also work great!
I wouldn’t use a flaky pie crust, though. I don’t think that suits this filling and topping.
Gluten-free option
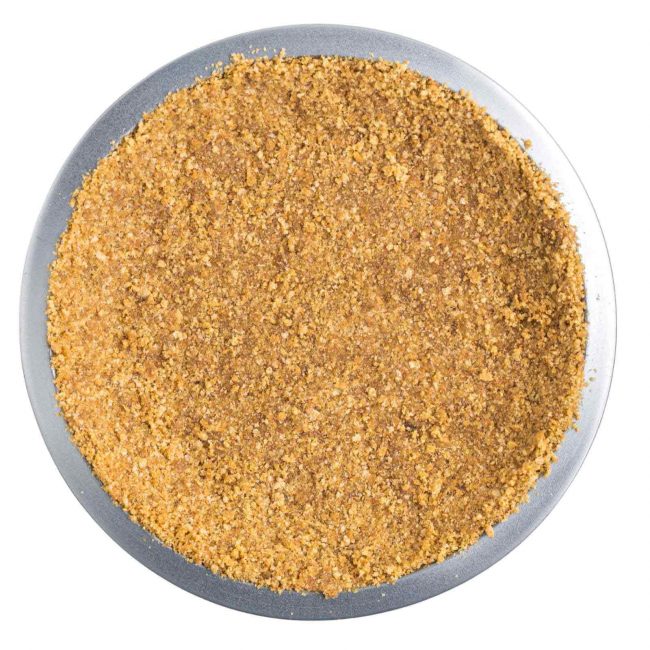
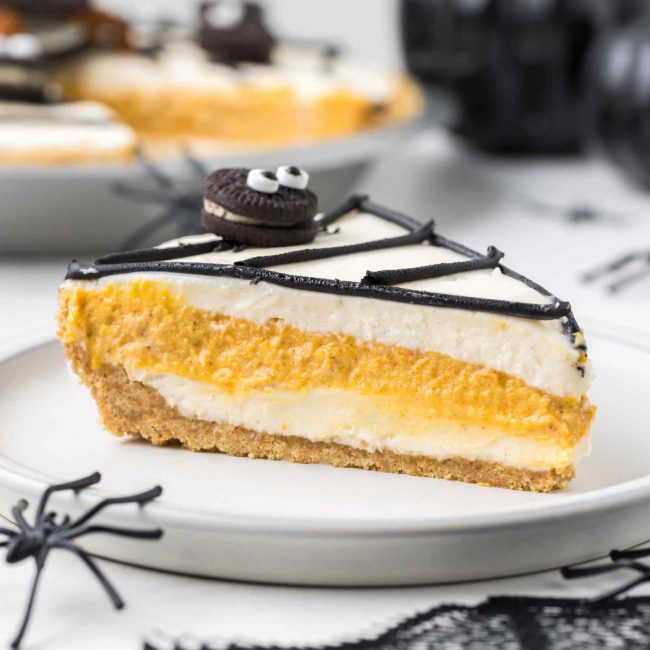
If using regular graham crackers, your crust will look like the one in my Spider Pie. That pie uses the same crust as this no-bake cherry cheesecake, but with regular graham crackers.
Here’s a photo:
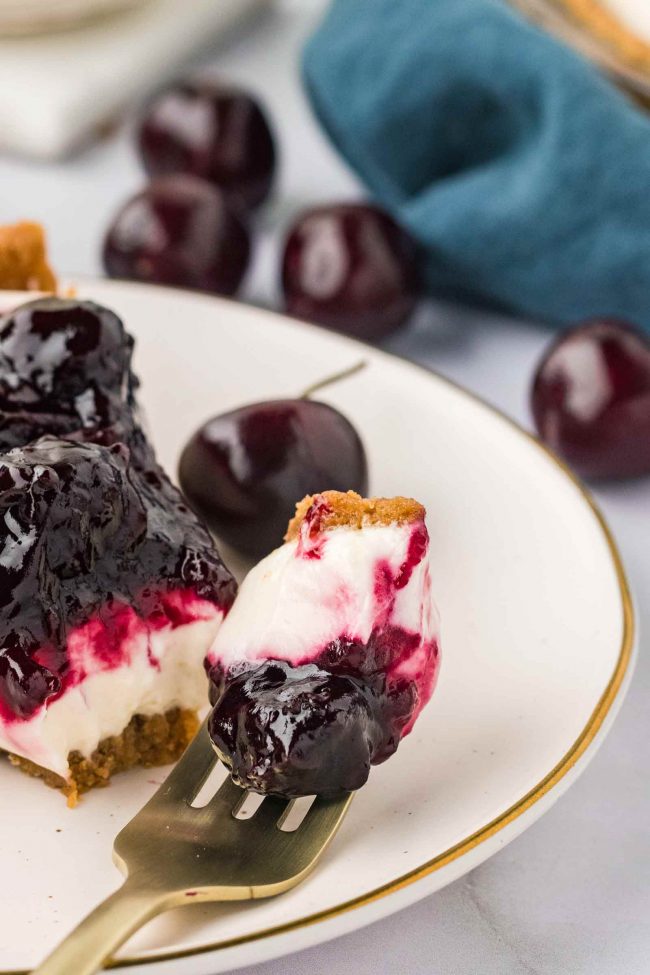
And this is what it looks like with no-bake cheesecake filling in there. So, you can see that it cuts nicely, even with regular graham crackers.
My photographer used Pamela’s Gluten-free Honey Grahams, and I’ve also tested this recipe with them. I actually had to make the crust mixture a second time because we couldn’t stop eating it.
The only downside is that they’re quite expensive, and you need almost a whole box.
They’re $4.99 per box right now on Amazon. That’s 67 cents per ounce.
I’ve also made the crust with Honey Cinnamon Seed & Nut Flour Sweet Thins from Simple Mills, and the result is just as tasty.
Sadly, they’re even more expensive at $1.07 per ounce on Amazon.
Buying everything to make homemade graham crackers, spending the time on making them only to crush them up for this crust isn’t a great option, either. But you can certainly do that, if you’d like.
Another option is to use the oatmeal cookie crust option in this Gluten-free Cheesecake Crust recipe and not bake it. But! I have no idea if you’d be able to easily remove the crust from the pan or if it’d stick.
I remember needing to make another third or half batch of the crust whenever I made it because it was so delicious when mixing it up. Nobody could resist it.
If anyone has tips on where to buy Pamela’s or Simple Mills at a not-so-painful price, I’d love to hear them. 🙂
That’s it. I hope you’ll enjoy this cheesecake if you try it out! Thanks for reading.
❀
- Prep Time:
- Cook Time:
- Ready in:
- Yield: 12 slices
Ingredients
- 1 pound (453 grams) frozen pitted sweet cherries
- 1/3 cup (66 grams) granulated sugar
- 1/16 teaspoon salt
- 1 1/2 tablespoons (14 grams) cornstarch
- 1 tablespoon water
- 1/2 teaspoon vanilla extract
- 1/2 teaspoon almond extract
- 1 1/2 cups (180 grams) graham cracker crumbs (from about 12 full sheets of regular graham crackers; see notes for gluten-free)
- 1/4 cup (50 grams) brown sugar
- 1/8 teaspoon salt
- 6 tablespoons (84 grams) unsalted butter, melted
- 8 ounces (225 grams) cream cheese, room temp
- 3/4 cup (90 grams) powdered sugar
- 1 teaspoon freshly squeezed lemon juice
- 1/2 teaspoon vanilla extract
- 3/4 cup (177 ml) cold heavy whipping cream
For the topping:
For the crust:
For the filling:
Directions
- In a 1-quart saucepan over medium-high heat, stir together the cherries, sugar and salt.
- Stir very frequently and carefully until the cherries start to release their juice. This only took 5 minutes (but this will vary on your pan size, type, etc). You do not need to add any liquid!
- Once it’s hot and the cherries have released their juices, mix together the cornstarch with the water in a small bowl.
- Turn the heat to medium and continue stirring very frequently until the mixture has thickened and coats the back of a spoon. It’ll thicken a bit more as it cools. This will take about 2-3 minutes. You’ll hear bubbling going on under the surface. You might start to get some bubbles around the edges. If it starts simmering before it thickens, turn the heat off. You don’t want to let it simmer too long. If you overcook cornstarch, it’ll cause stuff to break down.
- Remove the saucepan from the heat. Stir in the vanilla extract and almond extract.
- Place on a wire rack to cool completely, about 1 hour. Then refrigerate until cold, about 2-3 hours. You can also chill it overnight or up to 3 days.
- In a medium mixing bowl, stir together the graham cracker crumbs, brown sugar and salt until well combined.
- Stir in the butter until well combined.
- Press onto the bottom and up the sides of an ungreased 9” (23 cm) pie pan. Pat it as evenly as possible. Freeze the crust while you prepare the filling. Once frozen, you can place it in a large Ziploc bag for up to 2 weeks.
- Using a hand mixer or a stand mixer with a paddle attachment, beat the cream cheese and powdered sugar until smooth and creamy.
- Beat in the lemon juice and vanilla until combined.
- In a separate medium or large mixing bowl, use a hand mixer or a stand mixer with the whisk attachment to beat the heavy cream. Start on low so it doesn’t fly everywhere, and gradually increase the speed to high. Continue beating until you have stiff peaks. But don’t overmix, or it’ll break down into butter or can turn the filling soggy later on.
- Gradually fold the whipped cream into the cream cheese mixture.
- Transfer the cheesecake filling to the frozen crust and evenly smooth it out.
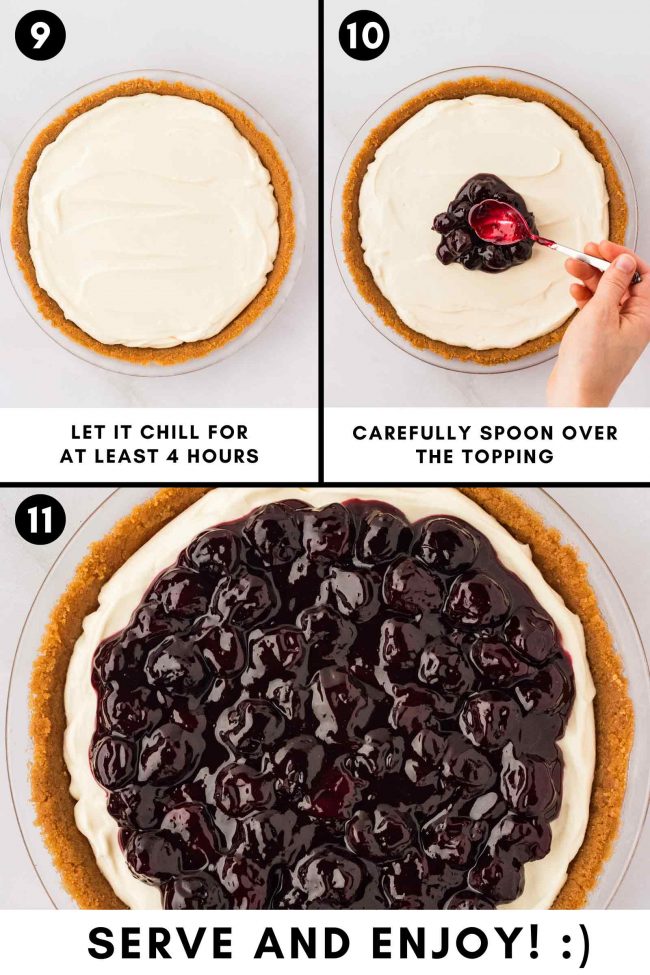
- Chill for at least 4+ hours before topping it with the cherry filling.
- There won’t be enough cherry topping to cover the entire surface of the filling, so start adding it in the center and then start making your way toward the edge of the pie.
- The best thing to do is place the pan in a large springform pan. Then you can cover the springform tightly with plastic wrap or foil. If you place plastic wrap or foil directly on the cherry topping, it will stick to it. Refrigerate for up to 3 days.
Prepare the topping:
Prepare the crust:
Prepare the filling:
How to store:
Notes
- For a gluten-free version, I’ve tested this recipe with Pamela’s Gluten-free Honey Grahams and Simple Mills Honey Cinnamon Seed & Nut Flour Sweet Thins in place of regular graham crackers with amazing results. Use the same amount (180 grams or 6.3 ounces
- If you’re outside the US or Canada, you probably have cream cheese in small tubs designed for spreading on toast, rather than the brick-style available in North America. To get the 8 ounces (225 grams) needed for this recipe, buy a 300-gram package of cream cheese. Store brands from Aldi, Lidl, and similar stores work just as well as Philadelphia. Place the cream cheese in the center of a clean tea towel or cheesecloth (not just a paper towel), and gently squeeze out the excess liquid until you have 225 grams of cream cheese.

