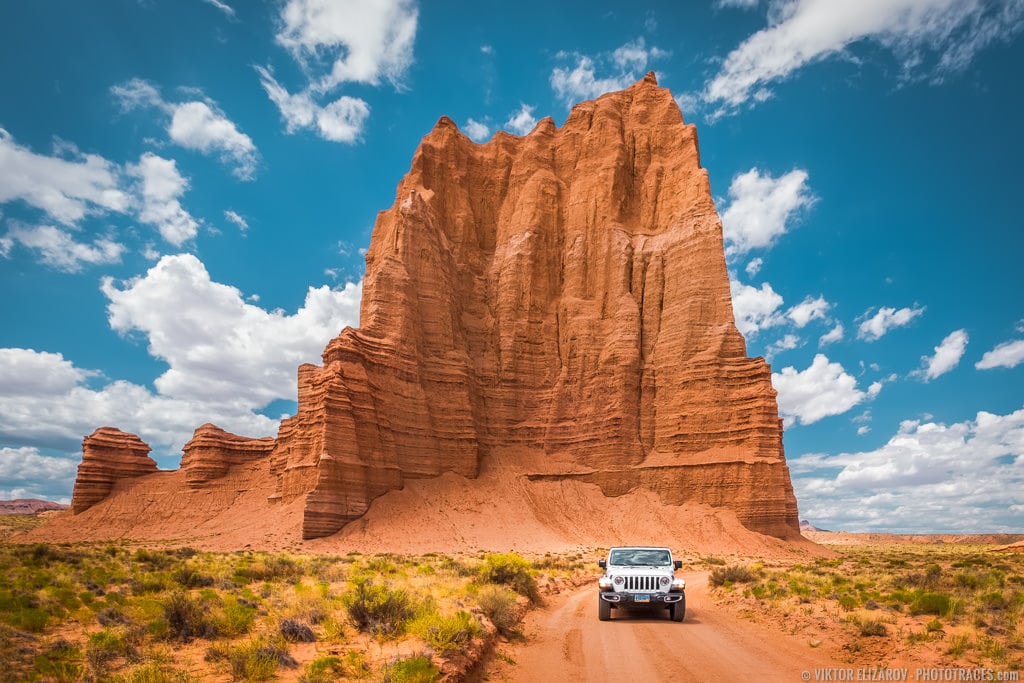
The Capito Reef National Park is the least visited national park in Utah. The main reason for such low popularity is its remoteness. It is far from major Las Vegas, Phoenix, and Denver international airports. But in the last 3-4 years, it has become my favorite place to explore during National Parks road trips.
The Capitol Reef area that attracts me the most is the Cathedral Vally, the most remote and secluded area of the park.
There are no paved roads in the Cathedral Vally, and you need a high-clearance vehicle to explore it. Plus, to enter the valley, you need to ford the local river. Did I mention that the clay roads of the valley become unpassable when it’s wet?
There are plenty of stunning spots in the valley, and I featured some of them already on my blog:
- Cathedral Valley Aerial View (Utah)
- Lower South Desert Outlook (Utah)
And today, I am excited to preset to you the Temple of the Sun rock formation located deep in the Cathedral Valley desert area. Actually, it is a binary rock formation, one called the Temple of the Moon and another Temple of the Sun. The latter is bigger and prettier.
My initial intention was to capture both temples in one shot, but I never managed to achieve compelling composition with both rock formations. So I decided to present them separately.
Here is the Temple of the Sun. Make sure to bring Capitol Reef National Park Map with you to find the temples.

Shooting
The Temple of the Sun is surrounded by a desert area of the Cathedral Valley. I knew in advance that my composition’s main object of interest would be the Temple, but I needed to place another object of interest in the foreground or middleground.
Please read my dedicated tutorial here: The Concept of Foreground, Middleground, and Background in Landscape Photography.
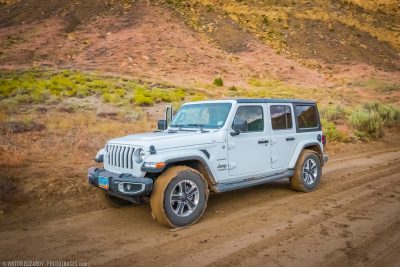
Since I struggled to find the secondary natural element for my composition, I decided to use my Jeep as such an element. Plus, it created another level of contrast between the natural and manmade compositional elements.
The next challenge was perspective distortion.
We all know that to avoid perspective distortion, we need to have the camera sensor plane perpendicular to the earth’s plain. But in my case, it was impossible. If I kept my camera straight, I could not fit the enormous rock into the frame, even at the widest focal length of 10mm.
The only way for me to compose the shot was to tilt the camera upward. This results in an effect known as “converging verticals,” where perfectly parallel lines in real life appear to converge in the photograph. The effect is also known as “leaning buildings” when the buildings appear to lean or fall backward.
Since I could not capture the scene distortion-free in-camera, I knew I would need to fix it later in Lightroom.
My article here discusses how to deal with perspective distortion: How to Straighten a Photo in Lightroom.
I used the tripod but did not have to bracket my shots. After checking the histogram in my Fuji XT2, I could see that capturing the entire range of light in one shot was possible.
Editing & Processing
To process the featured photo, I used my brand new Travel Pro Kit workflow.
The Travel Pro Kit is a collection of Lightroom presets, profiles, and editing adjustments that allow you to edit photos fast without touching the program’s editing tools. In total, the Travel Pro Kit has 7 components.
To learn more about the Travel Pro Kit’s components, check here.

Lightroom (80%) – 20min
It was a single RAW processing workflow.
Step #1 – Fixing Perspective Distortion
The first step was to fix perspective distortion.
I use the Transform Panel’s sliders, the Vertical, and the Aspect to fix the “leaning buildings” effect.

Step #2 – Composition Improvement
I used the Crop Overlay tool to straighten the photo, making sure the horizon was straight.
I kept the original aspect ratio of 3:2, but I made composition tighter.

Step #2 – Lightroom Rapid Editing
Next, I moved to my standard preset based workflow I call Lightroom Rapid Editing.
First, I applied the 01. Napa preset from the Travel Pro Kit – Landscapes Collection to the original image.
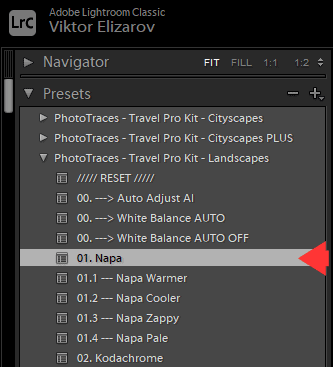
I liked the effect the preset produced, but I realized it was too strong.
I jumped to my opacity preset collection Travel Pro Kit – Landscapes Collection PLUS and applied the Napa preset at 80% strength.

Next, I opened the TOOLKIT and applied the following adjustments:
09. Open Shadows +++
12. Contrast ++
20. Vibrance ++
34. Sky Neutral 0
45. Midtone Contrast ++++
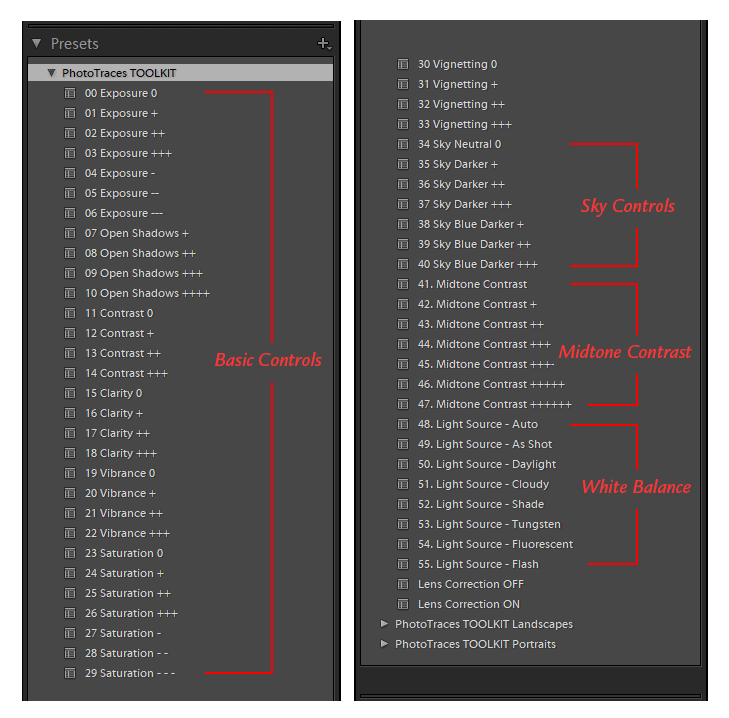
The Editing Formula: Napa 80% (9, 12, 20, 34, 45)
Photoshop (20%) – 5min
Step #4 – Cleaning
I did not have to do much in Photoshop. All I had t do is to remove distracting debris from the road with the help of the Spot Removal tool.
Step #5 – Noise Removal & Sharpening
Since I took the photo at a base ISO of 200, it did not have excessive digital noise. The goal was to remove the noise from the sky’s area and apply mild sharpening to the rock formation and foreground elements.
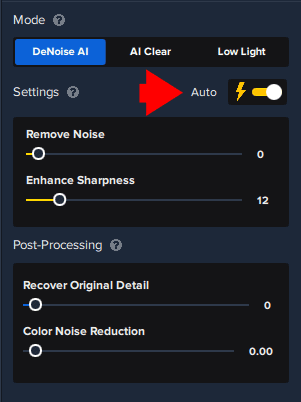
Typically, you need 2 different tools to remove noise and another to increase sharpness, but with the release of a brand new Topaz DeNoise plugin, you can complete both tasks in one step. I used the AUTO settings, and the plugin reduced the noise and increased sharpness in one step. Priceless.
To learn more about how I use Topuz Plugins in my photography check here: Topaz Software Review – How I use Topaz Plugins
Before & After Transformation

