Tiramisu ice cream with silky mascarpone, ladyfinger cookies, and espresso is the perfect summer treat! Especially if you’re a coffee lover like I am. This homemade ice cream is ultra-creamy, and the taste is spot-on. There’s even a touch of liqueur.
Plain and simple, this stuff is DELICIOUS. If you’re looking for more parlor-style ice cream recipes, try my homemade chocolate chip cookie dough ice cream and strawberry cheesecake ice cream.
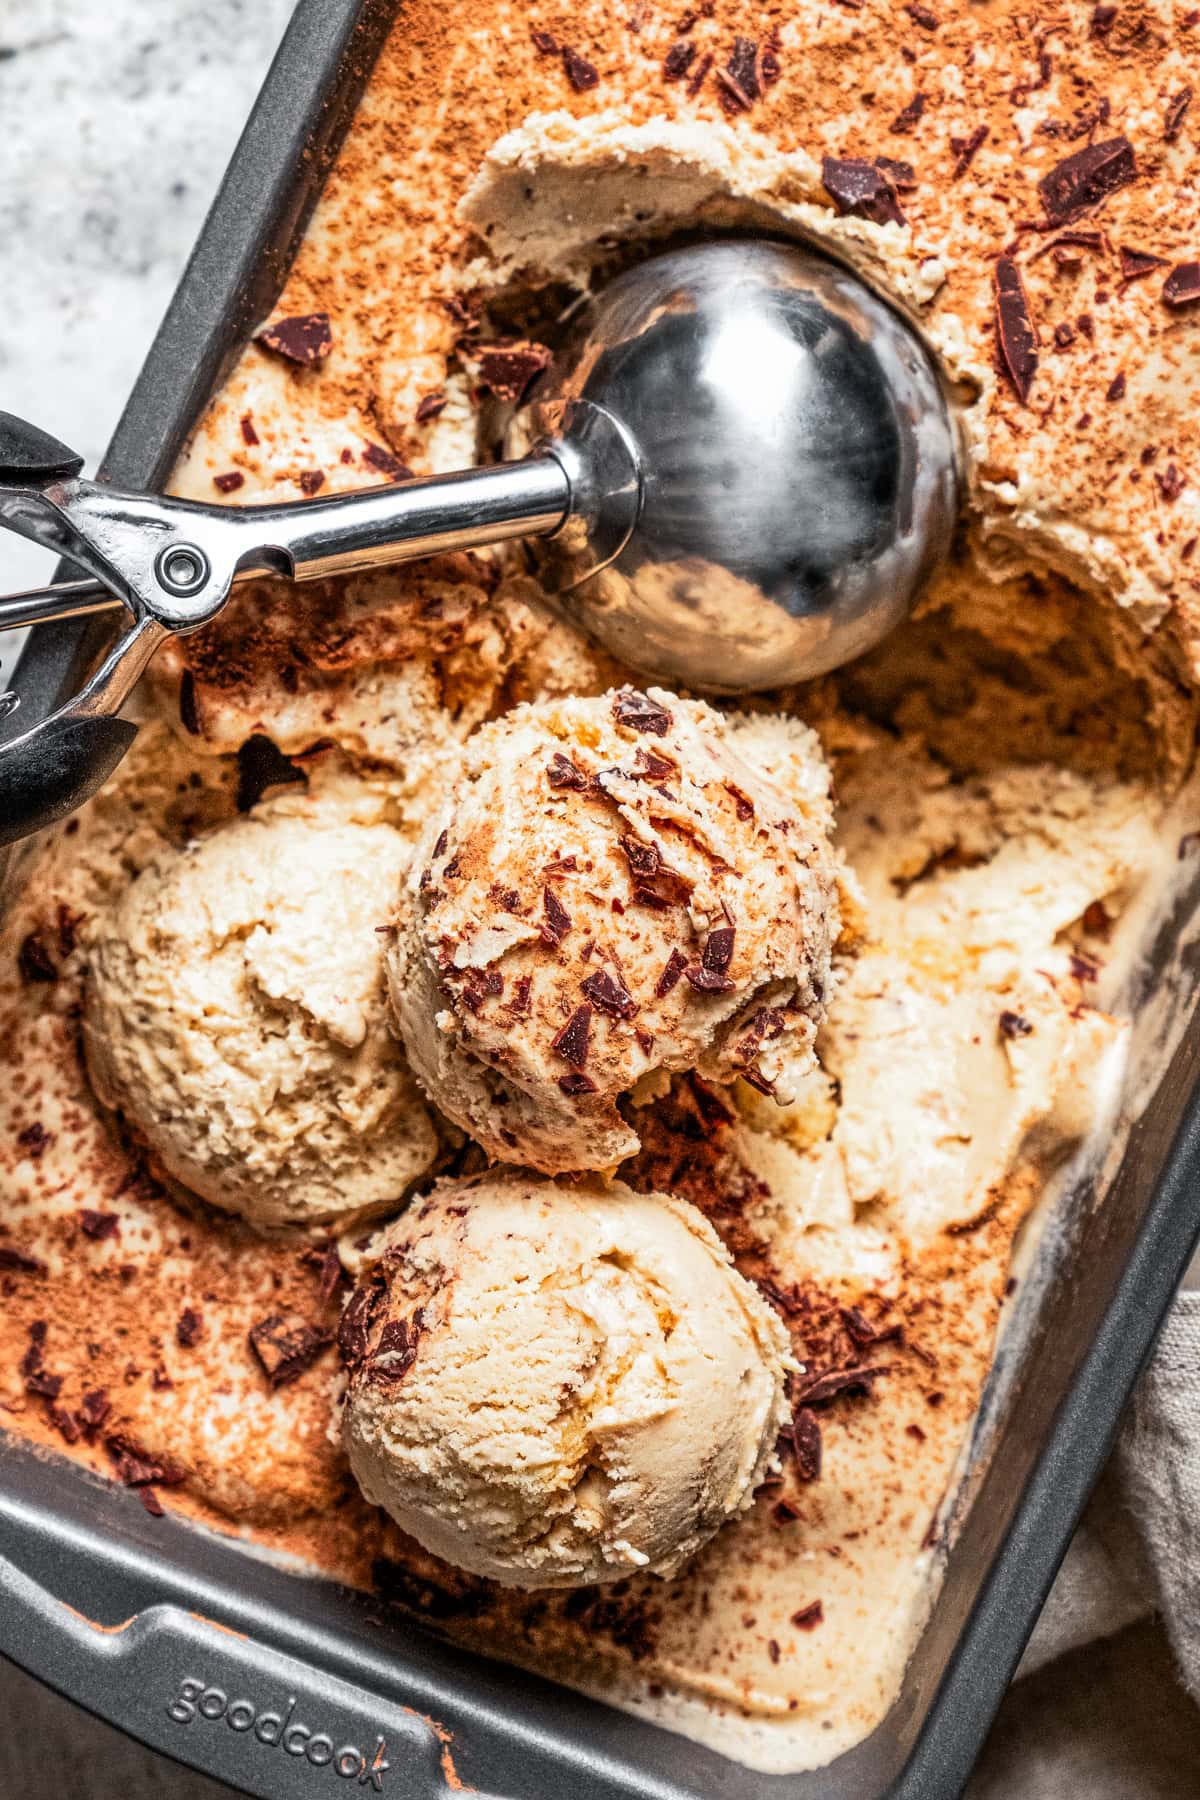
This homemade tiramisu ice cream is some of my best work. It took a bit of trial and error, but it came out so soft and creamy, filled with all the flavors I love in a classic tiramisu. There are hints of chocolate and espresso, with a touch of boozy amaretto, and of course, I got my hands on some mascarpone cheese. You’ll need an ice cream maker for this one, but it’s seriously the best!
Why You Should Make Tiramisu Ice Cream (Like, Right Now)
It’s super easy. Even though this recipe calls for an ice cream maker, there’s no need for a custard base, which usually involves eggs. It’s Philadelphia-style ice cream, so there’s no egg involved at all.
It tastes just like the real thing. With a little kitchen magic, the ice cream maker transforms the ingredients into a tiramisu and a scoop of the creamiest ice cream. There are no funny add-ins, and I barely had to lift a finger!
The creaminess is off the charts. I can’t get over the texture of this homemade ice cream. It’s melt-in-your-mouth soft, cool, and velvety. The sweet coffee and chocolate flavors contrast the tangy mascarpone perfectly. I don’t think I could find better in any ice cream parlor.
What Does Tiramisu Taste Like?
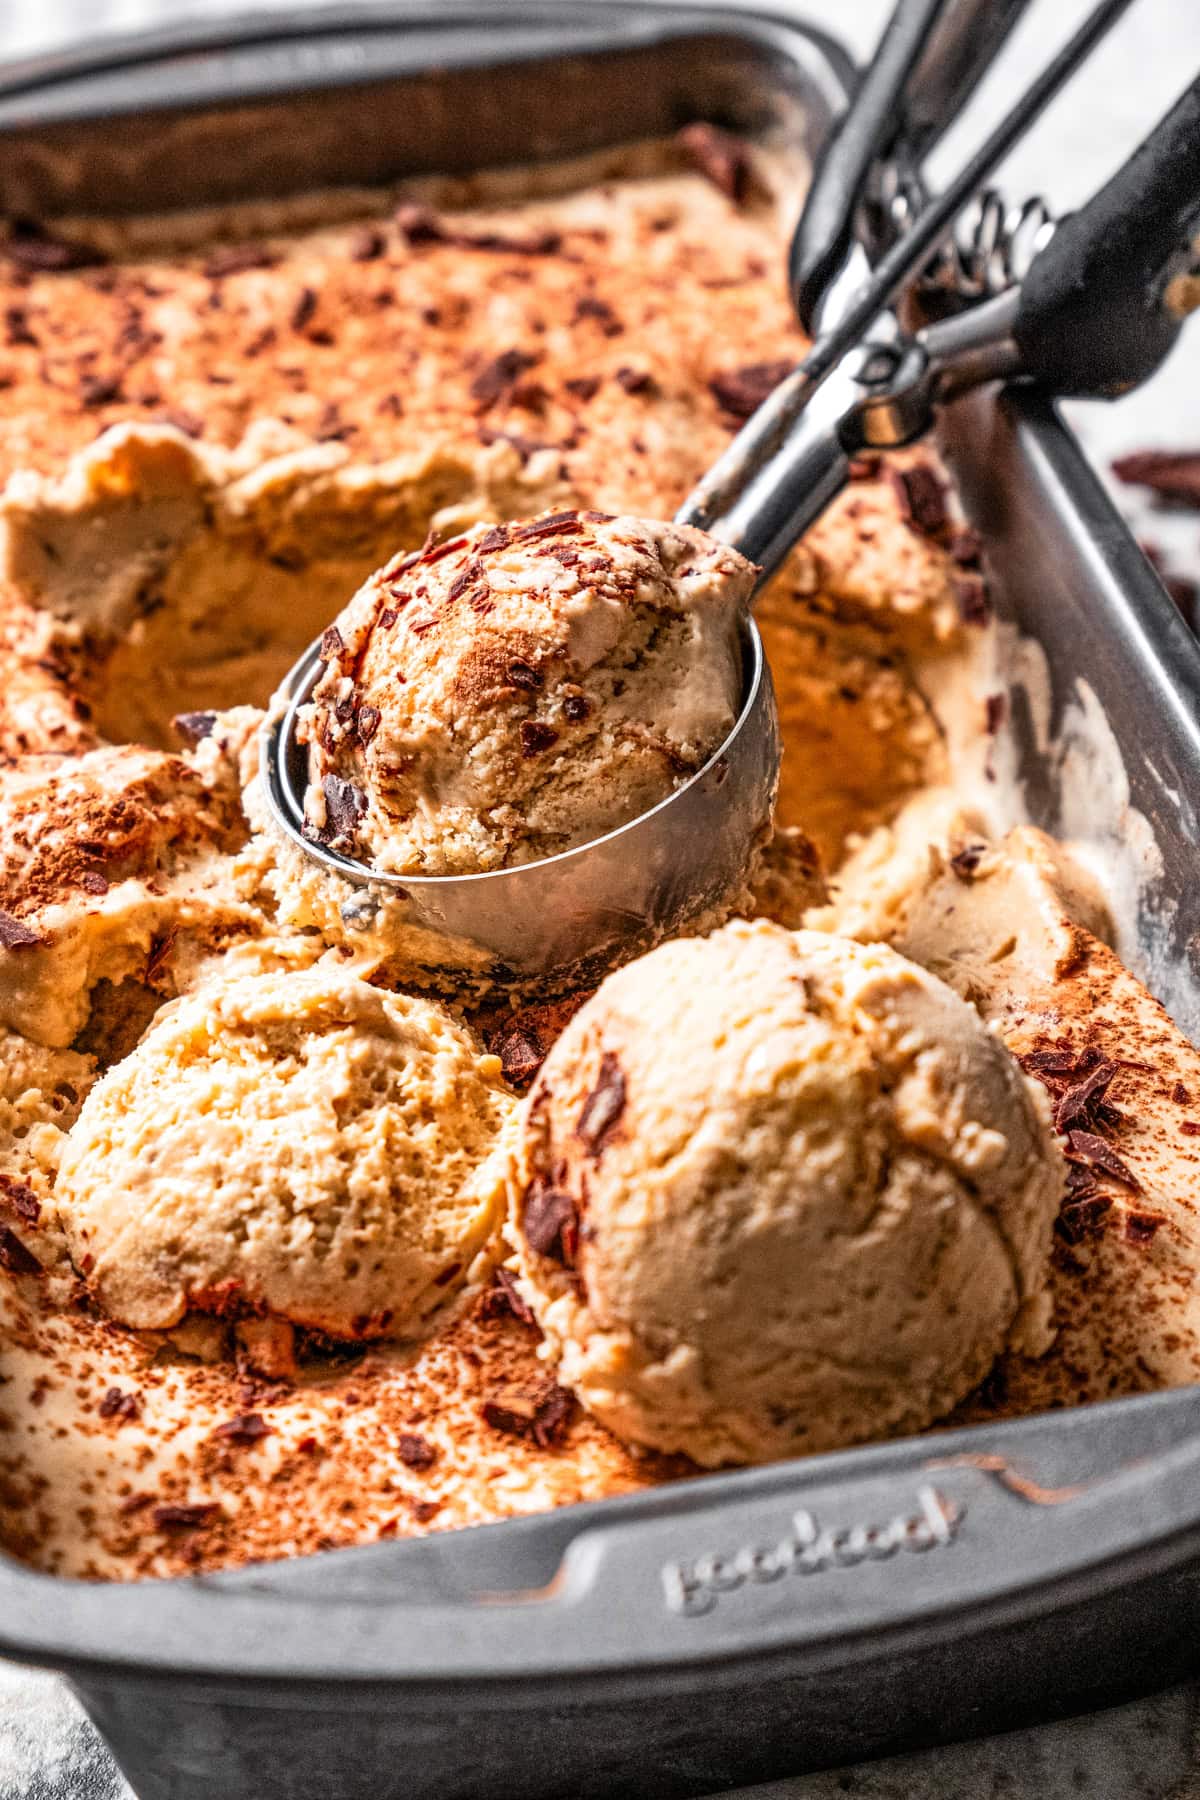
A bite of tiramisu is pretty much as close to heaven as you’ll get. If you’ve never had this Italian dessert before, picture softened espresso and liqueur-soaked vanilla cookies layered with tangy mascarpone cream and dusted with cocoa. It’s a boozy, no-bake dessert where all the coffee-cocoa flavors mingle, and everything gets soft and fluffy in the cream.
It was no easy feat fitting all of THAT into a scoop of ice cream, but I’m happy to say it worked. This tiramisu ice cream tastes just like the real deal.
Ingredients You’ll Need
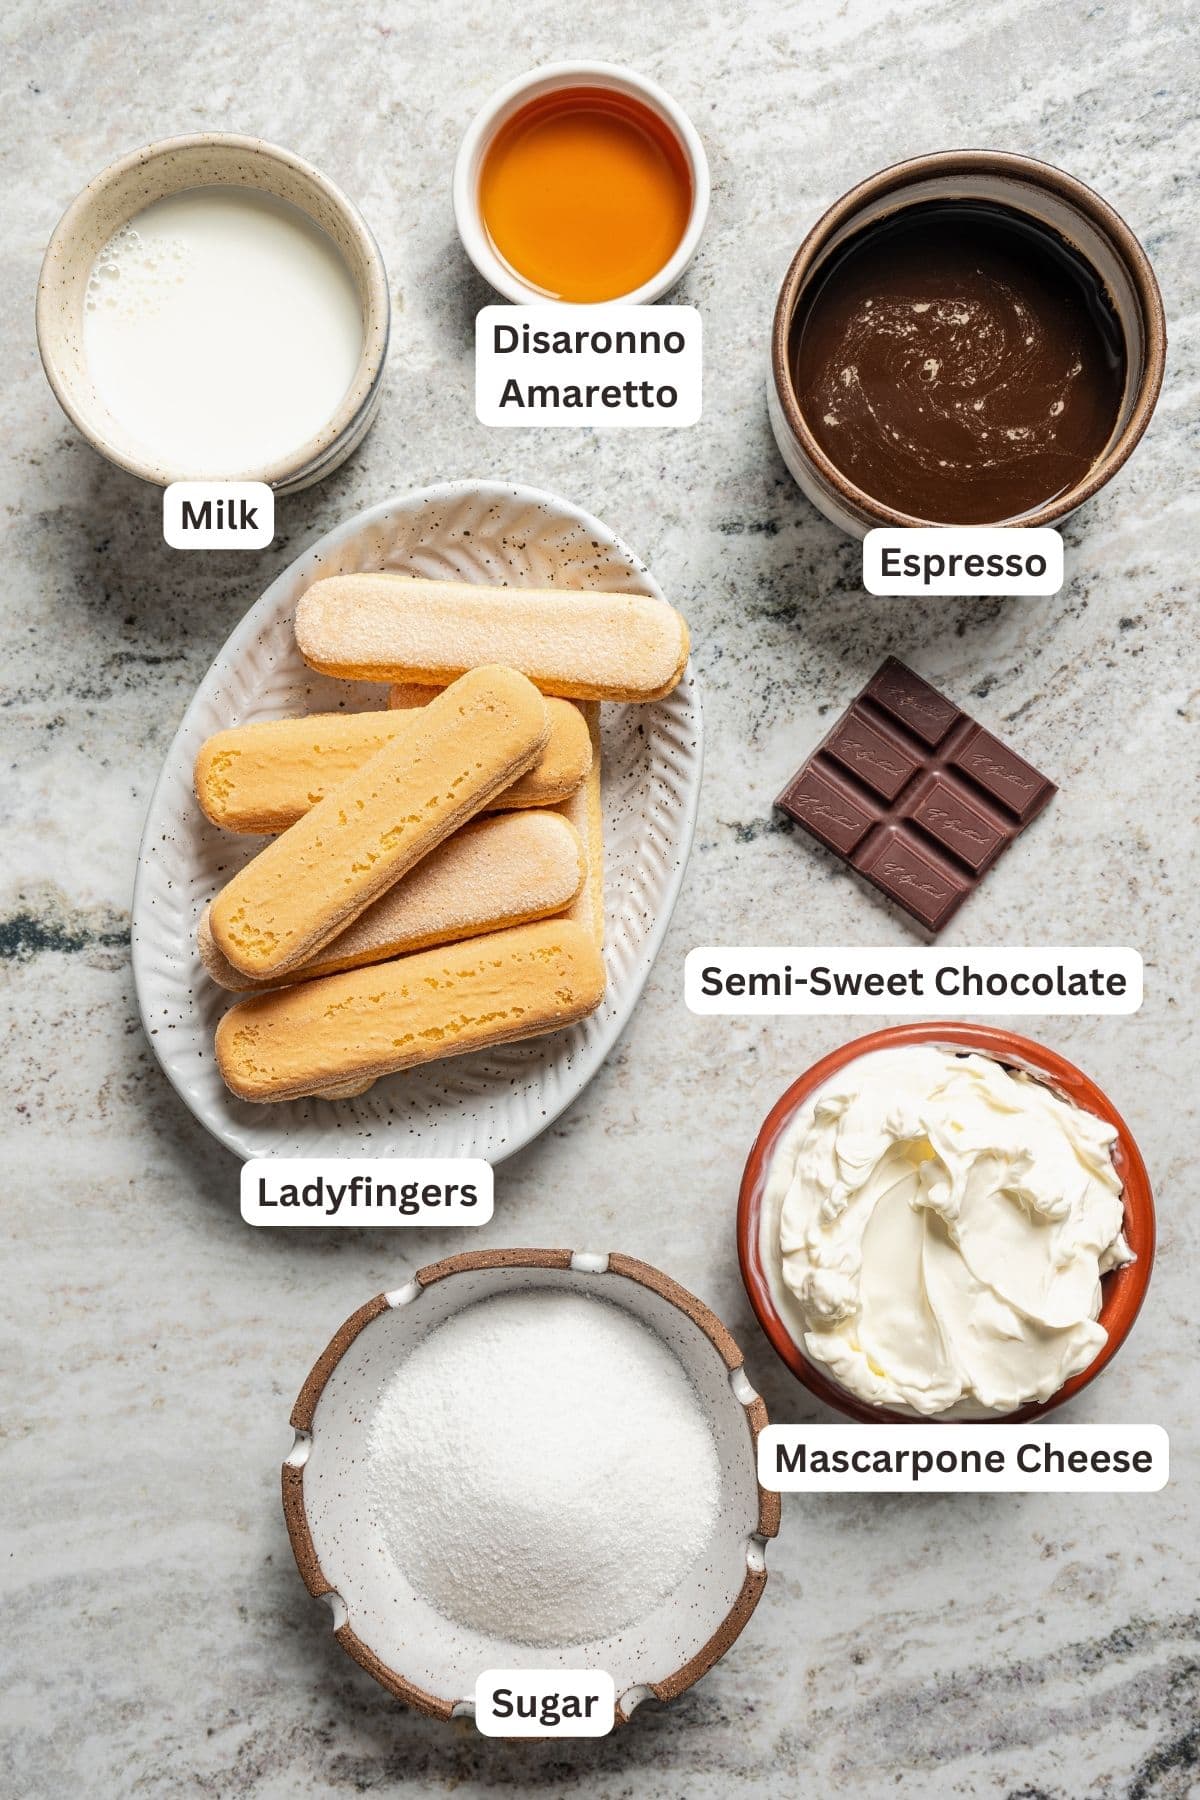
We’re basically taking the ingredients you’d use to make tiramisu, and making ice cream instead! Below are some notes. Scroll down to the recipe card for a printable ingredients list with full recipe details.
- Mascarpone Cheese – This is a type of soft Italian cheese. It’s tangy and mild, with a flavor like cream cheese. An 8-ounce block of cream cheese also makes a good substitute for mascarpone in this recipe.
- Milk – I highly recommend using whole milk. The higher fat content is the key to authentically rich, creamy homemade ice cream.
- Liqueur – I add a splash of Disaronno Amaretto to my ice cream, but you can use any liqueur you like. Brandy, dark rum, or a coffee liqueur, like Kahlua or Tia Maria, are all great options that bring out the tiramisu flavor. Of course, you can also skip the booze if you’re keeping it alcohol-free.
- Sugar – Granulated sugar works best here.
- Espresso – Any brewed espresso, whether you use a machine or instant espresso powder. You can also use regular coffee or instant coffee.
- Chocolate – I stir semi-sweet chocolate into the fresh espresso for a delicious mocha-inspired flavor. So good!
- Ladyfingers – These are sweet, spongey biscuits that are long and thin, like a finger. If you can’t find them, you can leave them out or substitute them with Graham crackers.
How to Make Tiramisu Ice Cream
While it’s not quite as quick as my original blender ice cream, this tiramisu ice cream is worth cracking out my ice cream maker. Here are the steps:
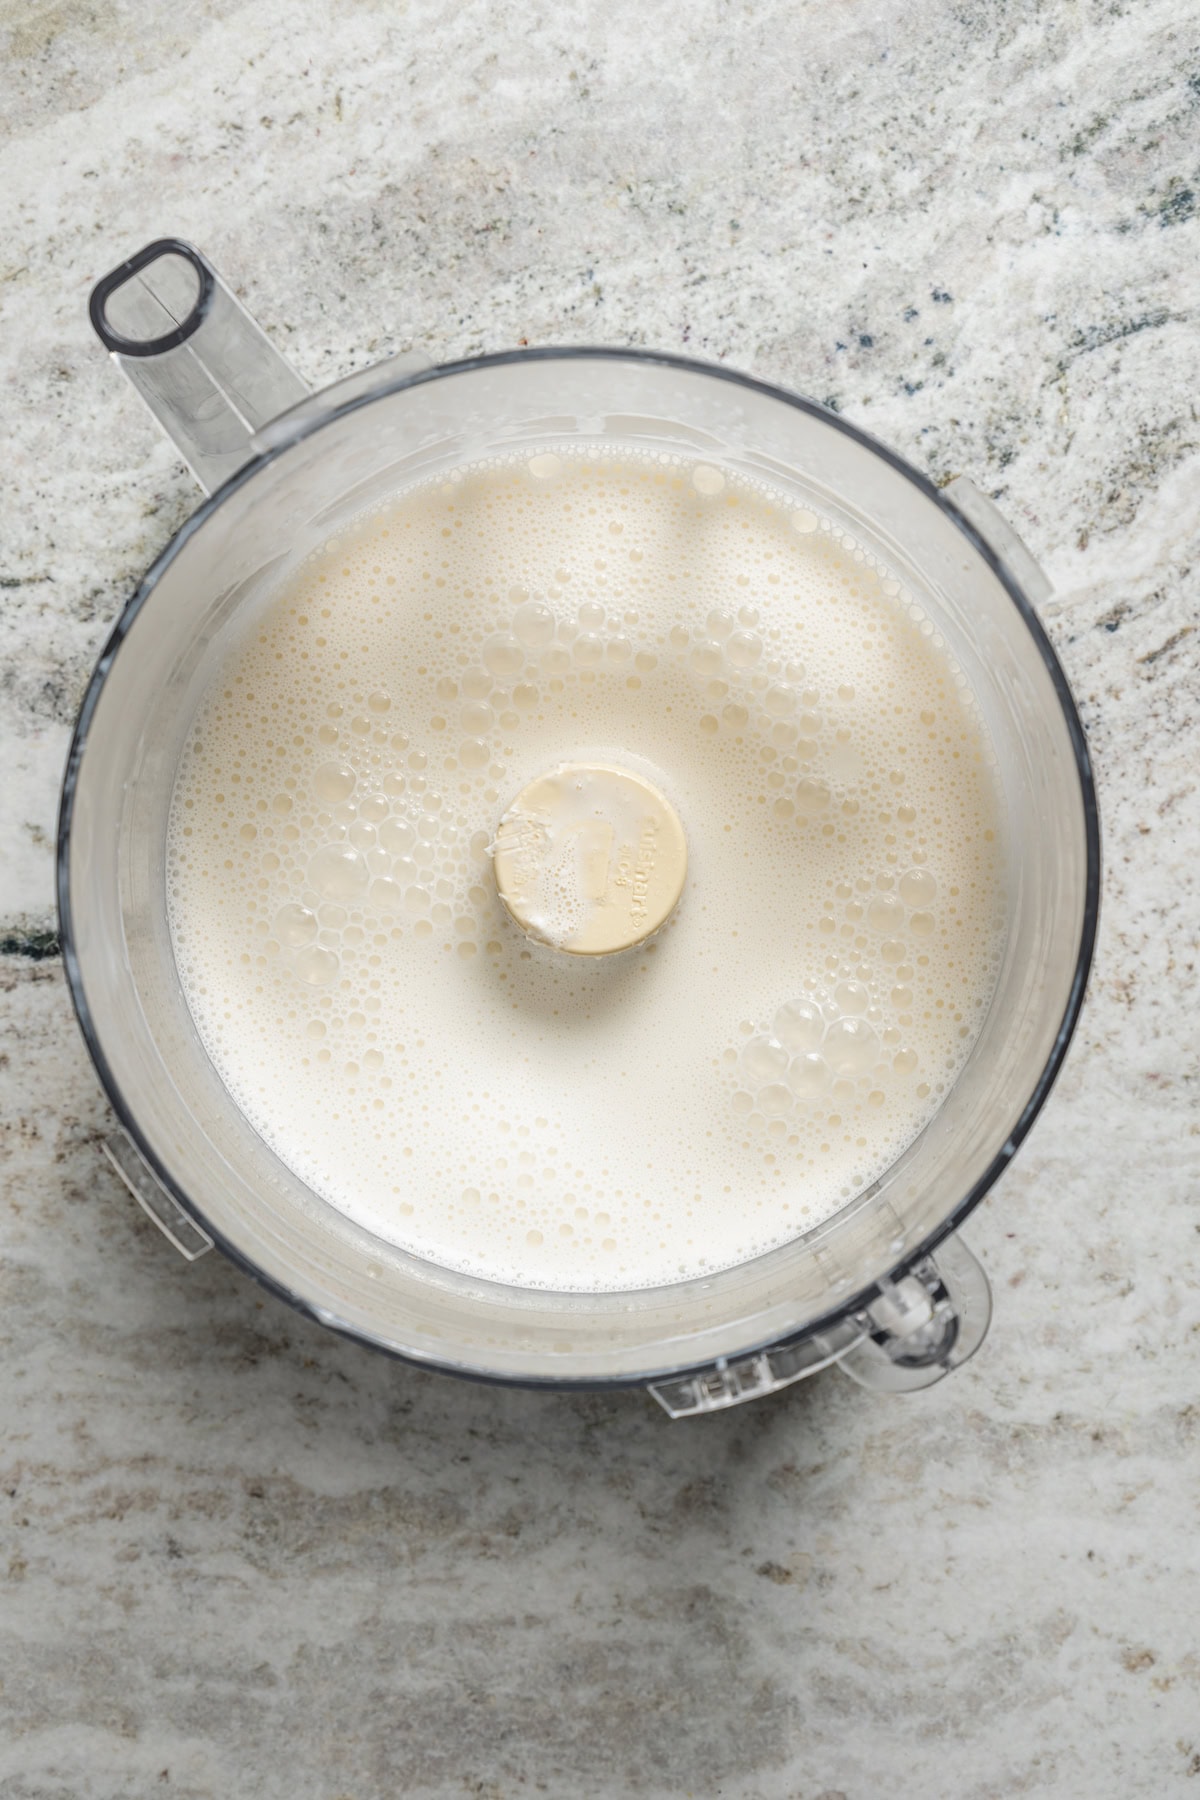
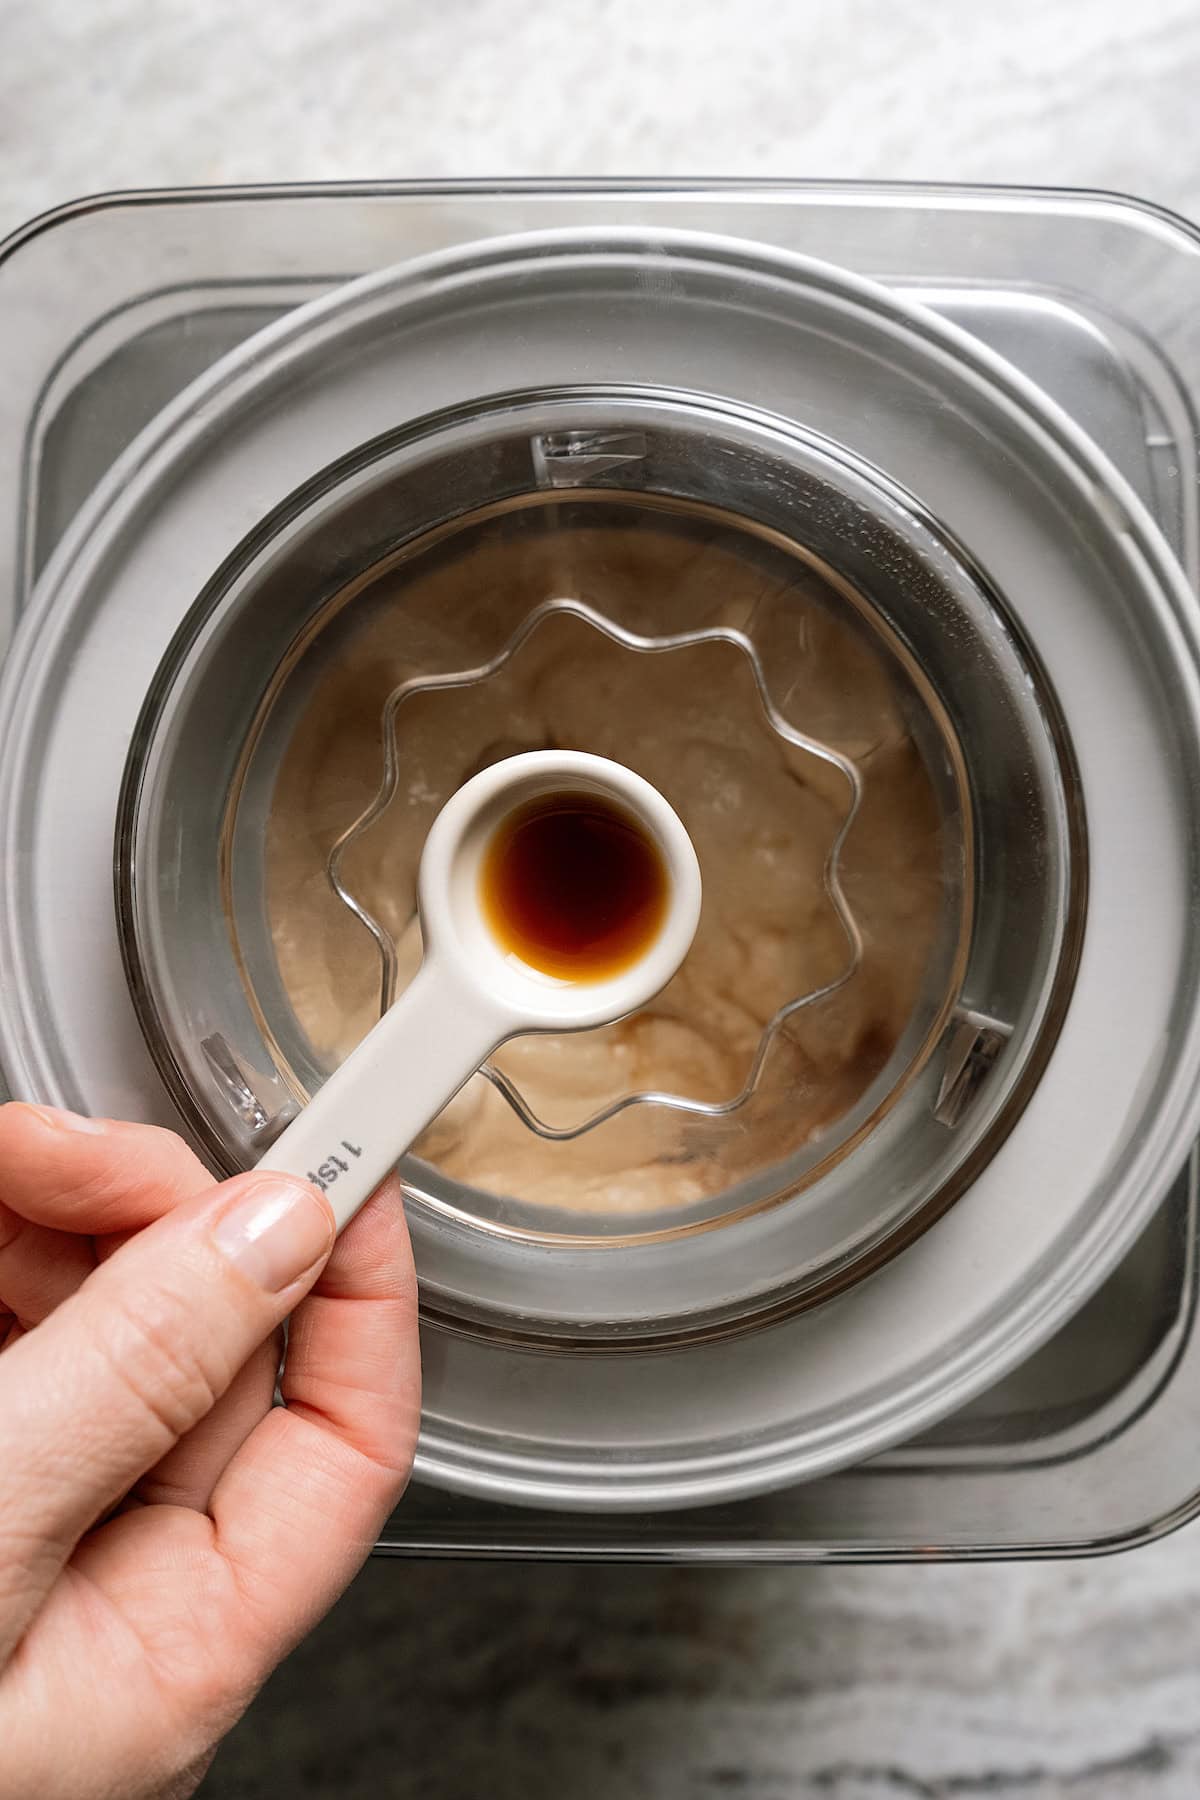
- Blend and chill the ingredients. You’ll start by blending the mascarpone cheese with milk, liqueur, sugar, and a pinch of salt. Afterward, place the puree into the fridge for an hour.
- Churn. Pour out the ice cream mixture into your ice cream maker. Set it to freeze according to the manufacturer’s instructions.
- Combine. Meanwhile, brew your espresso and stir in the chocolate to melt. Wait until the last few minutes of churning, and drizzle the espresso into the ice cream. If you’d like, break up and drop in the ladyfinger cookies.
- Freeze. Scoop your tiramisu ice cream into an airtight container and place it into the freezer. It’ll need to chill for at least 4 hours, enough to firm up so that you can scoop it.
Can I Make This Without an Ice Cream Maker?
While it won’t have the same ultra-creamy texture, you can make a version of this tiramisu ice cream without an ice cream machine. I recommend following the directions for my cottage cheese ice cream, which uses a blender.
In this case, I’d blend the ingredients as usual, adding in the espresso (make sure to let it cool off a little first). Fold in the lady fingers by hand, and transfer the mixture to an airtight container. Place the ice cream into the freezer for the full 4 hours, or overnight. You might notice that your non-ice cream maker version is a little softer and icier.
If you’re looking for a delicious no-churn homemade ice cream to try, you might like this no churn mango ice cream!
Recipe Tips
- Use full-fat ingredients. There’s a time and a place to carb-watch, but homemade ice cream isn’t one of them. The best, creamiest texture relies on the high fat content in whole milk and full-fat mascarpone. In a nutshell: higher fat = less water. Less water = less ice crystals, and creamier ice cream.
- Know your ice cream machine. Not all ice cream makers run the same. Be sure to read through your owner’s manual to get yourself acquainted with how yours works.
- Give the ice cream enough time to freeze. Once it’s out of the ice cream maker, your tiramisu ice cream will still need at least 4 hours in the freezer to fully set, otherwise it will be very soft. I usually leave it in there overnight before scooping.
Serving Suggestions
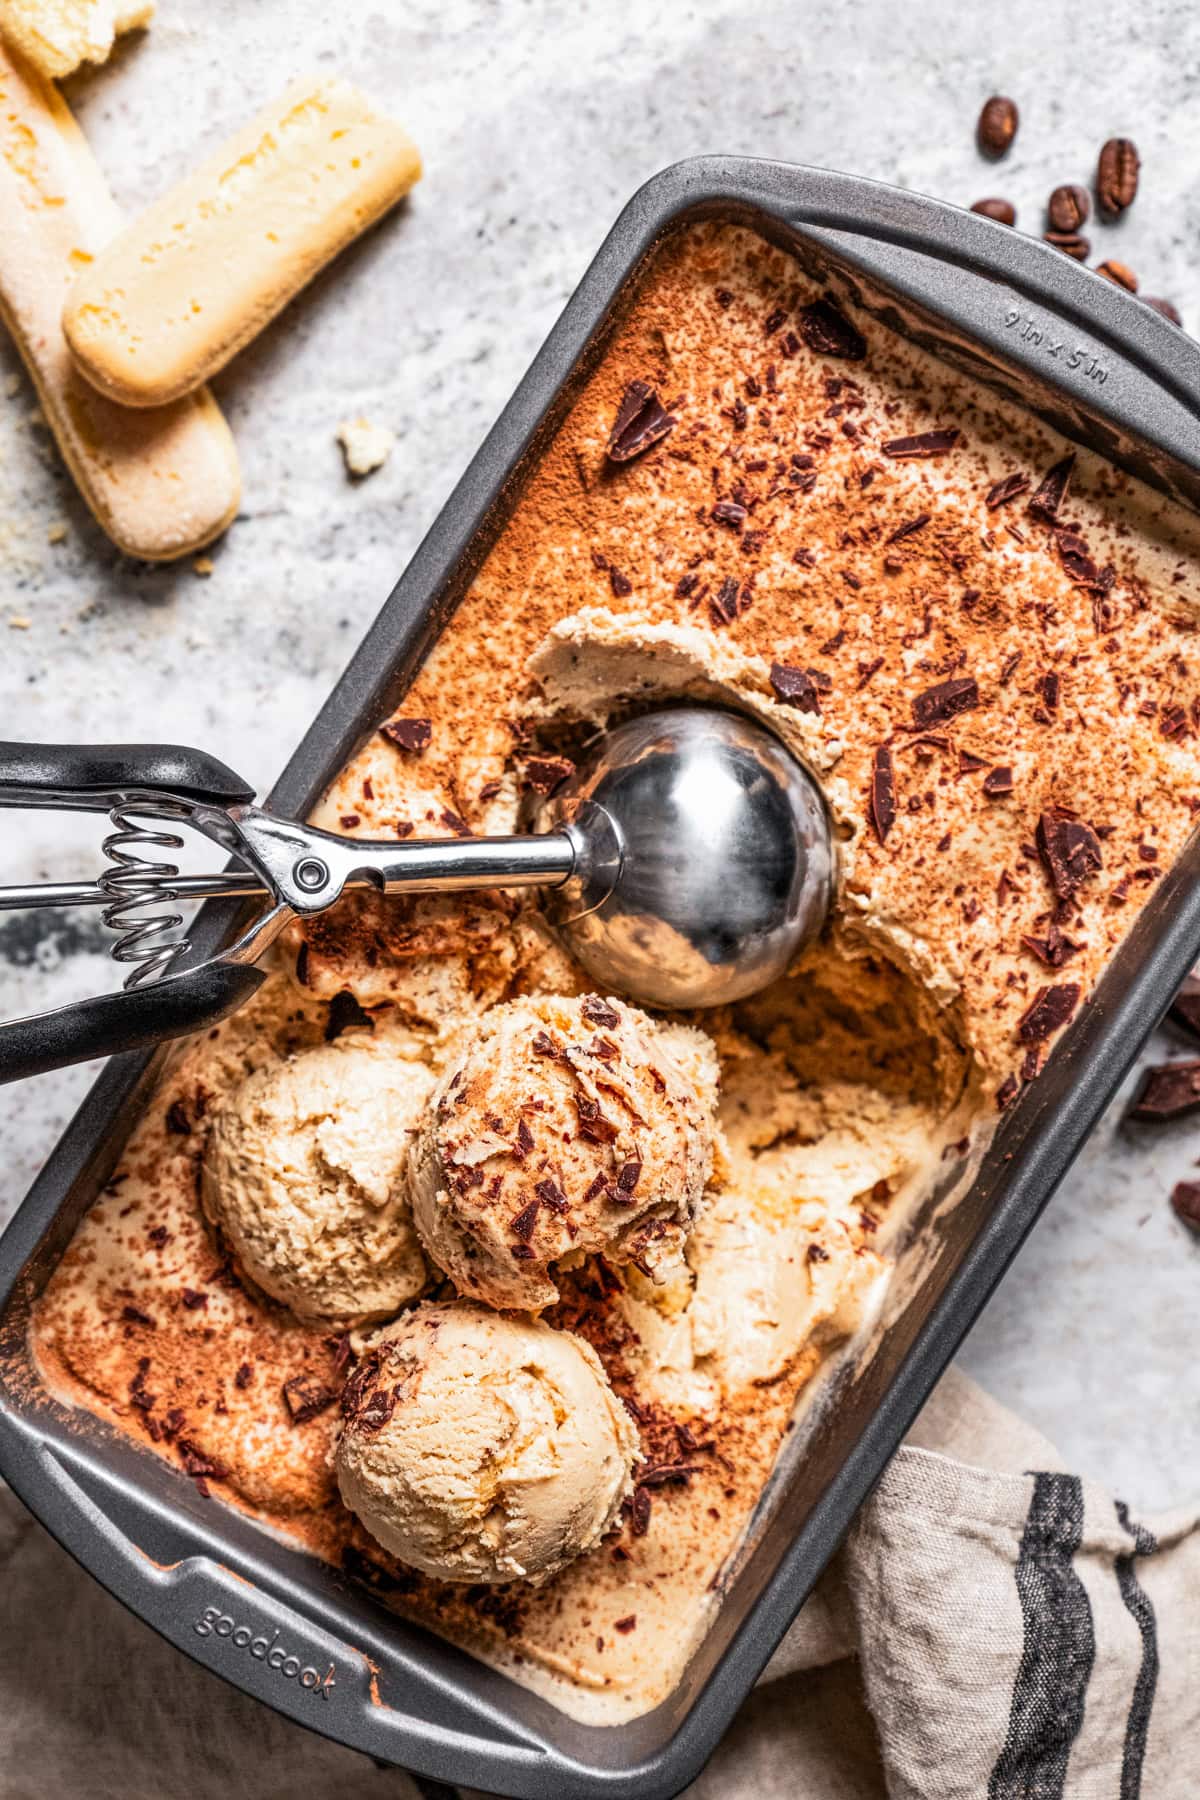
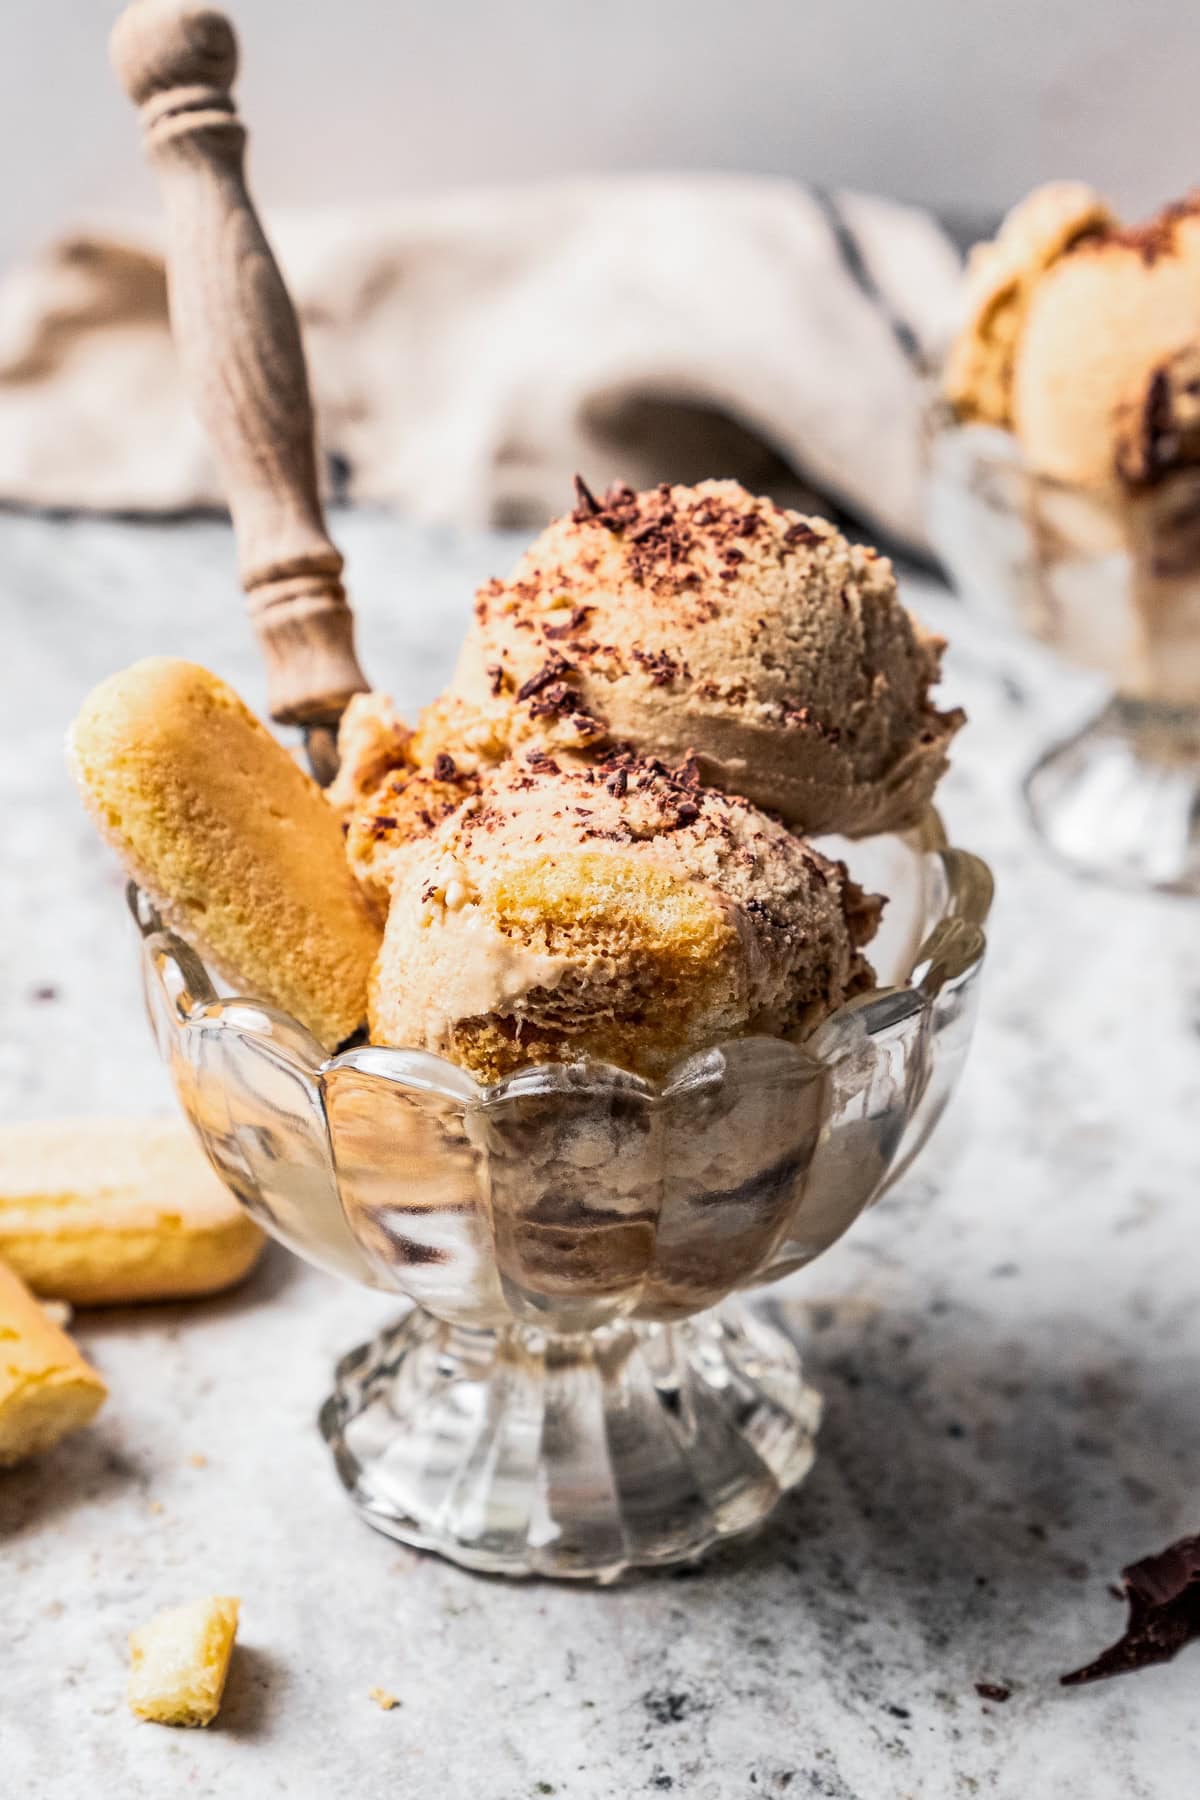
Just like a real tiramisu, I’ll serve this ice cream topped with cocoa powder and chocolate shavings. And, just like ice cream, it’s delicious drizzled with fudge sauce or caramel and topped with whipped cream, in a cone, or without one.
If you’re feeling especially indulgent, serve a scoop of tiramisu ice cream over a fudgy chocolate brownie garnished with champagne strawberries. You can thank me later!
How to Store Homemade Ice Cream
To prolong the shelf life of homemade ice cream, I’ll place a piece of cling wrap over the ice cream and press it directly against the surface. It’s a handy trick that helps to keep it from icing over. Properly stored, your tiramisu ice cream should last up to 1 month in the freezer.
More Easy Ice Cream Recipes
Pin this now to find it later
-
Blend the ingredients. In a food processor, or blender, bring together the mascarpone cheese, milk, amaretto, sugar, and salt. Puree until the mixture is blended and smooth.
-
Chill. Place the mixture in the fridge for an hour.
-
Churn. Pour the mixture into an ice cream maker and process according to the manufacturer’s instructions.
-
Brew the espresso. In the meantime, prepare the espresso and finely chop up the chocolate square. When the espresso coffee is done, drop in the chocolate bits and stir until melted.
-
Combine. In the last 5 minutes of freezing, and while the ice cream is churning, pour the espresso into the ice cream one teaspoon at a time. When you are finished with the espresso, drop in the ladyfingers, one at a time (optional).
-
Freeze. Turn off the machine and transfer the ice cream to an airtight container. Place the ice cream into the freezer for another 4 hours, or until firm. Top with cocoa powder and chocolate shavings before serving.
Calories: 169kcal | Carbohydrates: 15g | Protein: 3g | Fat: 10g | Saturated Fat: 6g | Polyunsaturated Fat: 0.2g | Monounsaturated Fat: 0.5g | Cholesterol: 38mg | Sodium: 31mg | Potassium: 51mg | Fiber: 0.1g | Sugar: 11g | Vitamin A: 338IU | Vitamin C: 0.02mg | Calcium: 55mg | Iron: 0.3mg
Nutritional info is an estimate and provided as courtesy. Values may vary according to the ingredients and tools used. Please use your preferred nutritional calculator for more detailed info.


