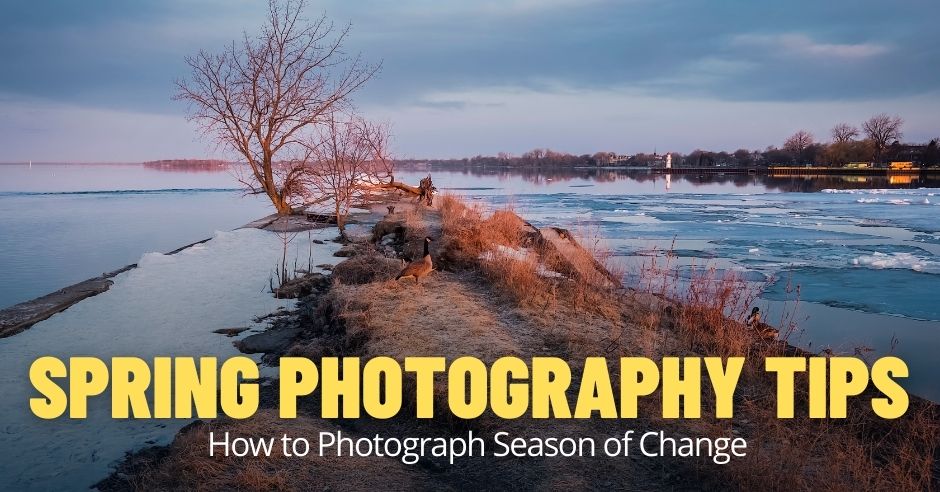
Every season of the year presents its own challenges and opportunities. As photographers, we need to recognize and adapt.
The most rewarding time of the year for any landscape photographer, in my opinion, is the fall season—a time when you do not have to look for opportunities because they present themselves everywhere.
Winter is the most distinct time of the year. It is a time when landscape photographers can capture unique, snowy landscapes.
Spring is the most challenging season for capturing landscapes, especially early in the season. This is a time when the snow melts and exposes lifeless and colorless scenes. It takes some extra effort on our part to create something exciting and unique.
Here are a few tips to help you deal with the challenges of photography in the spring.
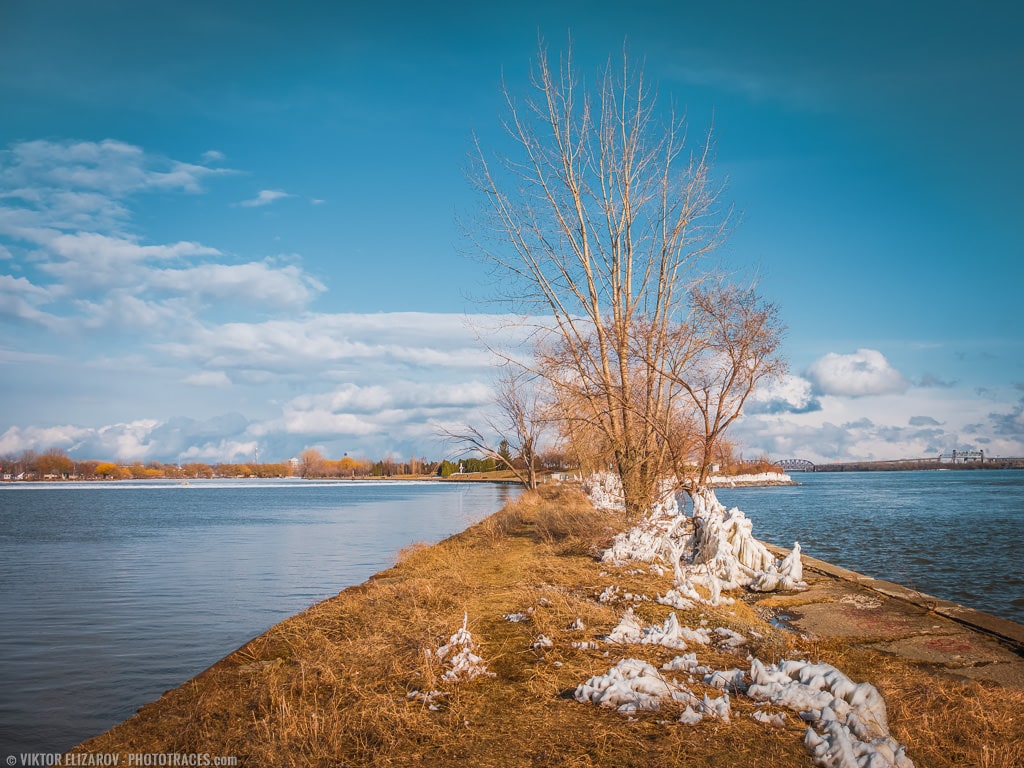
1. Look for Snow Patterns
Before snow completely melts, the remaining patches of white form distinctive contrasting patterns against the dark ground. Use these patterns as the main elements of your composition.
2. Look for Ice Transformation on Rivers and Lakes
Snow melts relatively quickly; it often takes only one rainy day to dissolve it entirely.
On the other hand, ice tends to stay much longer on rivers and lakes. You can find fascinating formations and patterns in the early days of spring when the ice cover changes daily.
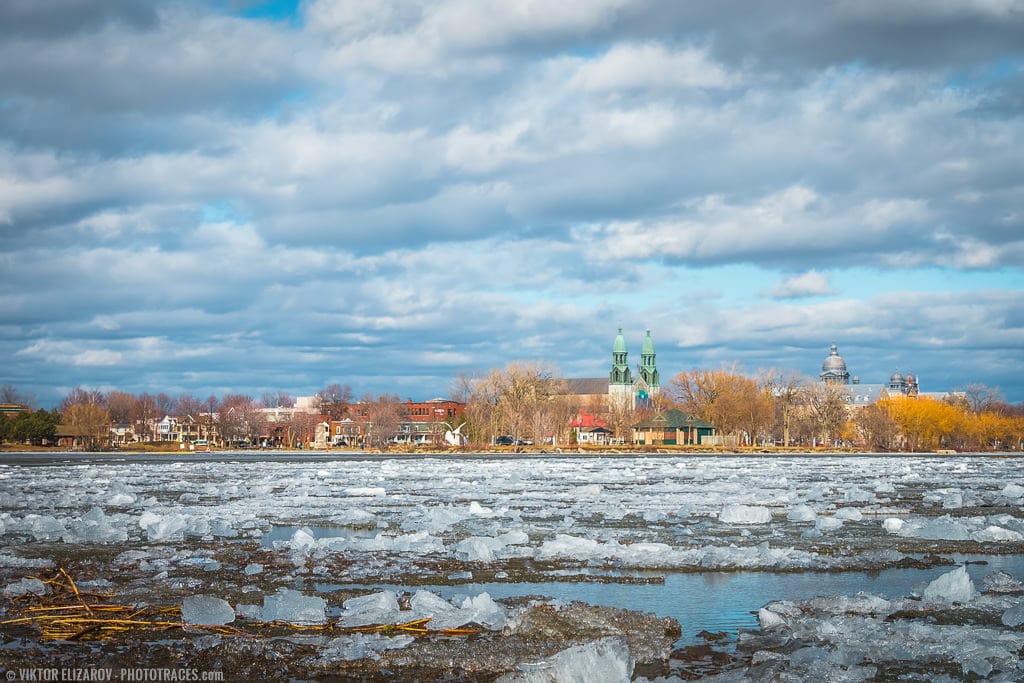
I am lucky to live just a few hundred meters from one of the biggest rivers in the world—the Saint Lawrence River. One of my favorite activities in the spring is to observe and photograph the havoc created by the fast-running water and the breaking ice. Day after day it creates some of the most unbelievable and gorgeous decorations.
3. Look for Waterfalls and Streams
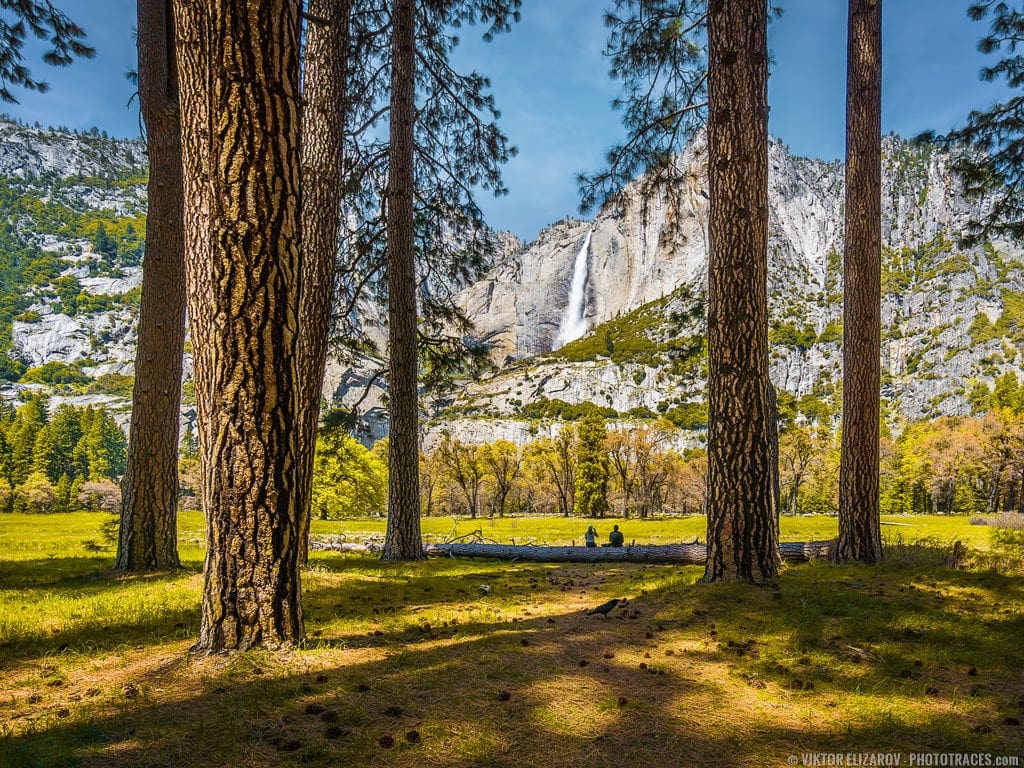
Spring is a time when waterfalls and streams are at their fullest. Sometimes, it is the only time of the year when certain streams and waterfalls are filled with water. Make sure you don’t miss this rare opportunity!
For example, Yosemite’s waterfalls typically dry out during the summer but flow freely in the spring, which makes springtime the most gratifying time of the year for stunning landscape photography throughout the park.
4. Embrace the Fog
Foggy weather is a blessing for spring landscape photography. It not only masks the emptiness and colorlessness of spring landscapes, it also brings a sense of mystery and serves as a powerful element in the composition.
Here in Montreal, we do not see a lot of foggy days during the year because of the strong winds. Spring gives me plenty of opportunities to compliment my landscapes with misty scenes that create truly unique captures.

5. Embrace Rainy Skies
Do not be discouraged by gloomy, rainy days. Sometimes, a stormy sky can become the focal element of the composition by adding drama and uniqueness to otherwise boring scenes.

6. Look for Colors
As spring progresses, colors appear everywhere from tree blossoms to flower blooms. But, at the beginning of spring when the blooms have not yet opened, this can be challenging.
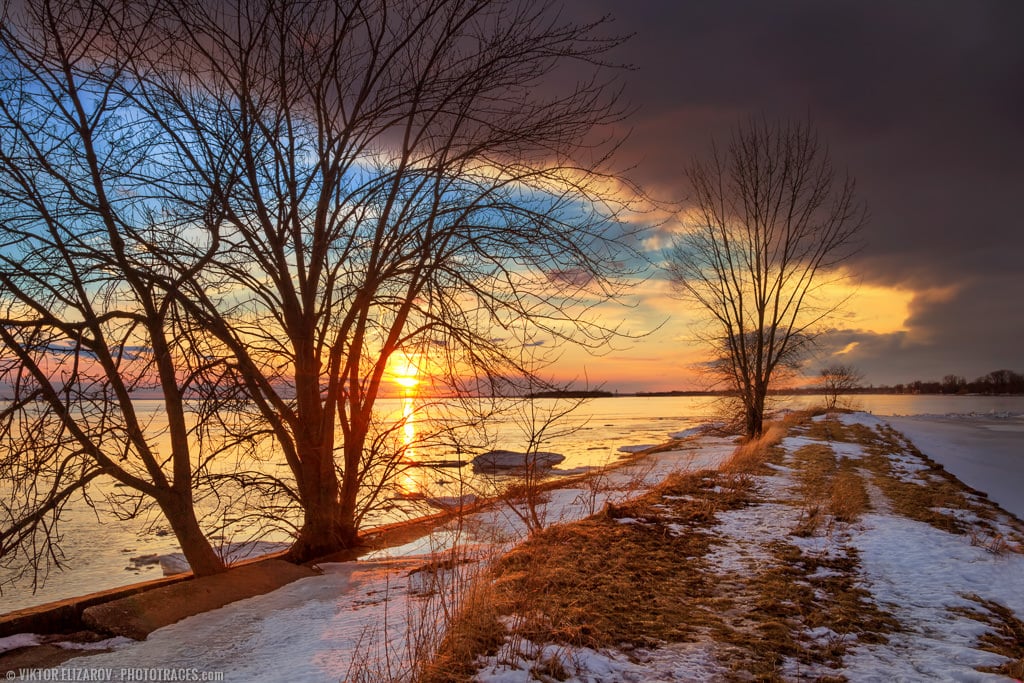
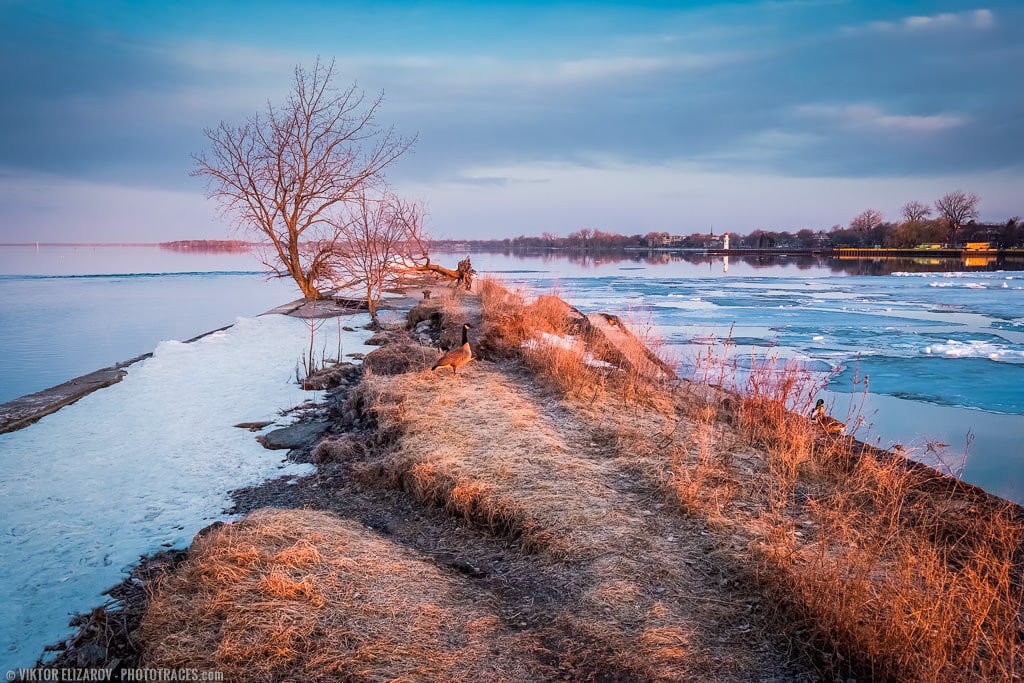
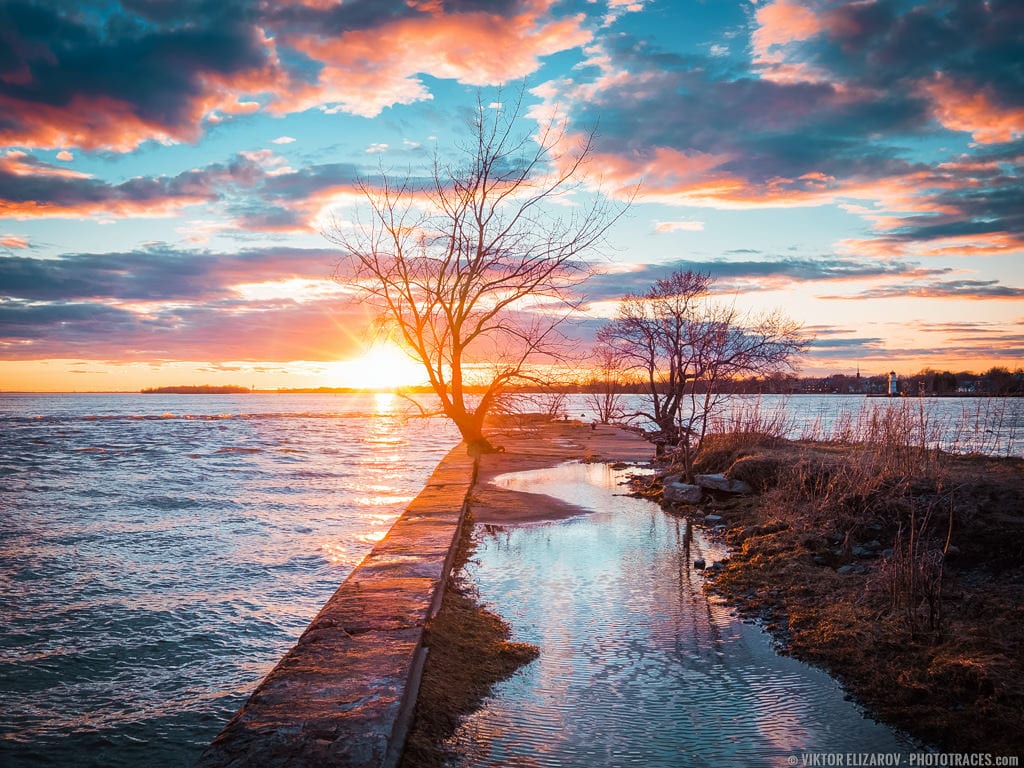
When I struggle to find a subject for my springtime photos, I try to find spots of old grass revealed by melting snow. I wait for sunset because the golden hour fills last year’s vegetation with warm light, which creates the illusion of vivid surroundings.
7. Experiment with Black & White Photography
If you can’t find color in the spring landscape and rainy clouds prevent the sun from bringing the otherwise lifeless landscape to life, do not get discouraged. Switch your brain and, instead of looking for color, start looking for shapes and contrast.
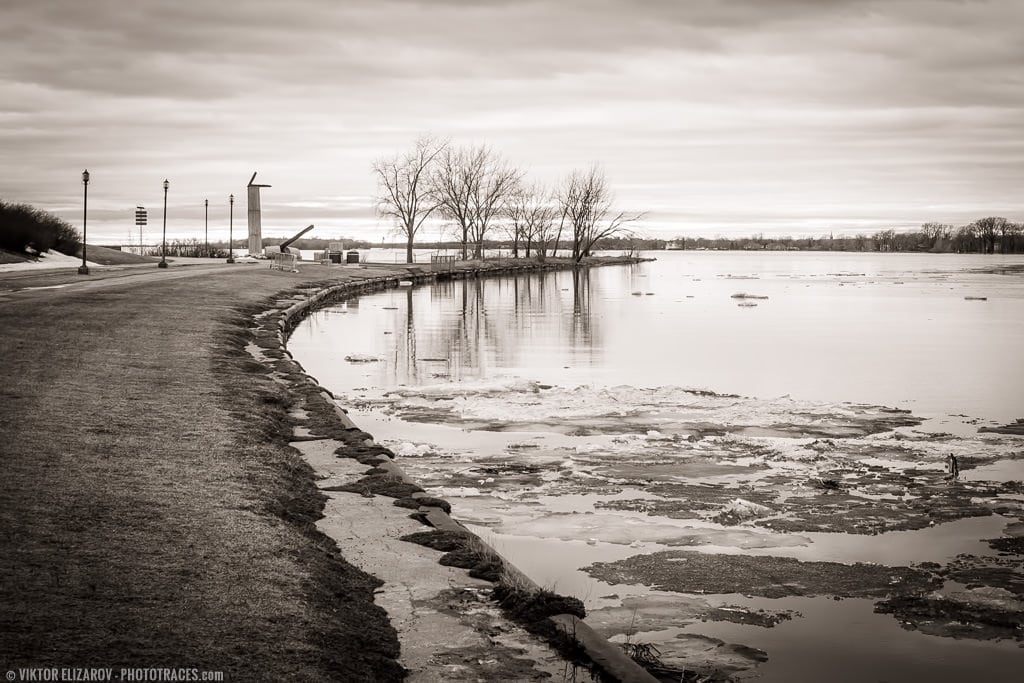
It is not always easy to visualize how a world of color will translate into the greyscale. It takes time and practice to recognize the black and white potential of any scene. But, if you shoot with a mirrorless camera, you can always switch the EVF to “black and white mode.” This gives you the ability to assess and evaluate the scene through the greyscale window.
I find this technique to be the most useful tool to teach yourself the fundamentals of black and white photography.

8. Be Creative with Your Editing
As an artist and photographer, you can take your editing as far as you want. You can experiment with different color treatments and various aspect ratios. You can convert your color capture to a black and white version even if it was not what you originally intended. Don’t worry—everything is fair game.
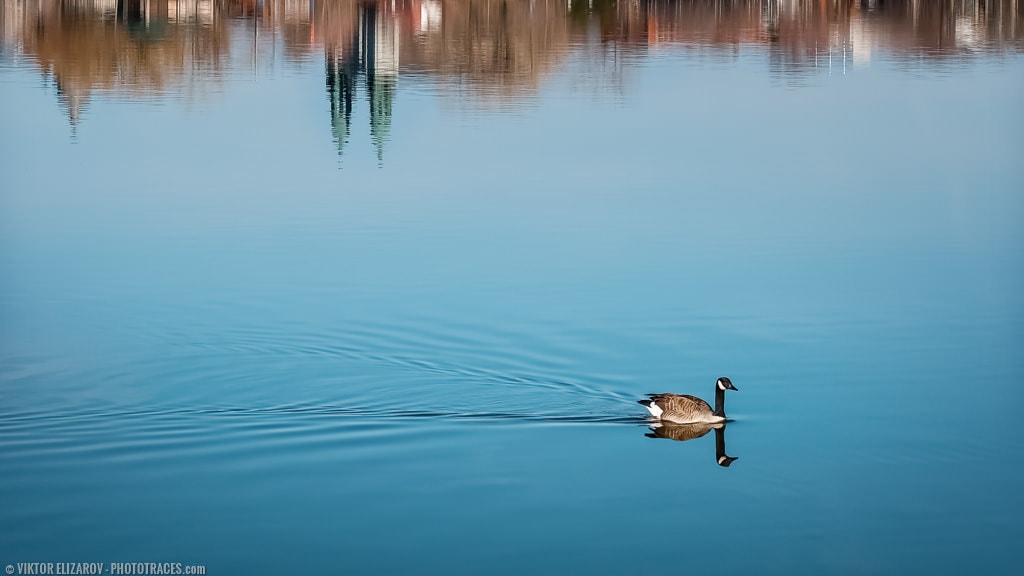
I tend to be more aggressive with my editing when I am processing early spring photographs. I always try to emphasize at least one color in the spring scene. This can be the sunshine, the sky, or last year’s vegetation. I also find that my spring photographs are typically more edgy with more tonal and local contrast.
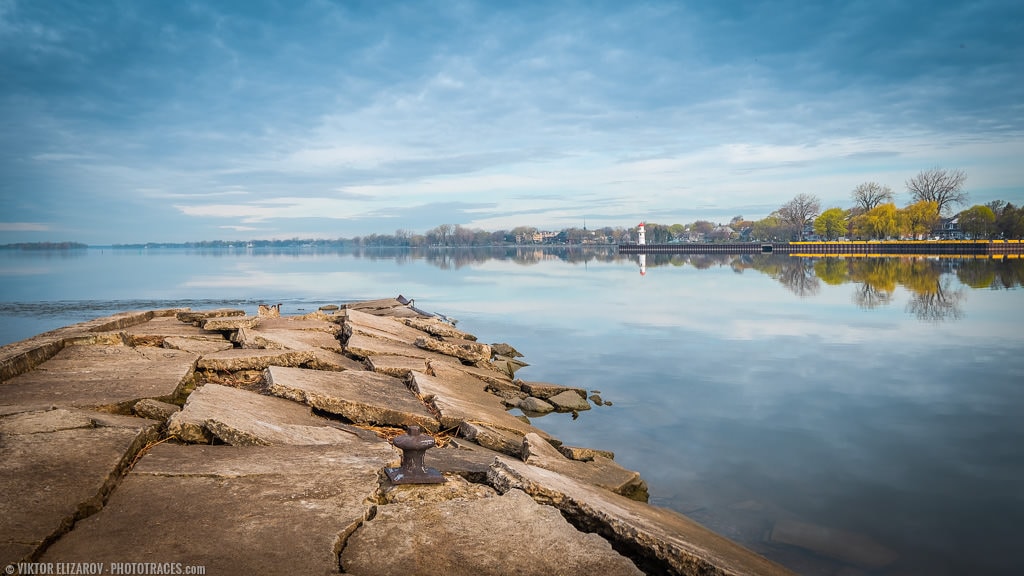
Spring Colors Preset Collection
Over the years, I developed the 4 Seasons Set that contains four Lightroom preset collections—one for each season: Fall Colors, Winter Colors, Spring Colors, and Summer Colors. The goal of each collection is to address the unique challenges photographers experience during different times of the year.
The goal of the Spring Colors Lightroom Preset Collection is to serve as a counterpart to the lack of color and contrast in spring landscapes by emphasizing the existing colors and boosting the contrast.
Here is the demo image I used to illustrate how to use the Spring Colors collection to edit springtime images.

I took the featured photo in the early spring in Montreal. As you can see, the snow already melted to reveal a lifeless ground, the trees are naked without their leaves, and the river is still covered in ice.
When I was composing this shot, I strategically positioned the tripod in front of the evergreen plant to make it a prominent detail of the foreground. The blue sky and clouds served as the perfect backdrop.
During the editing process, I made sure to highlight the colors of the plant and the sky. By the end of the editing process, I had colorless spring elements (the trees, river, sculpture, and church) surrounded by vivid colors to make a much more interesting photograph.

I used the Spring Colors preset collection to edit the photo. You can find a few editing versions below.
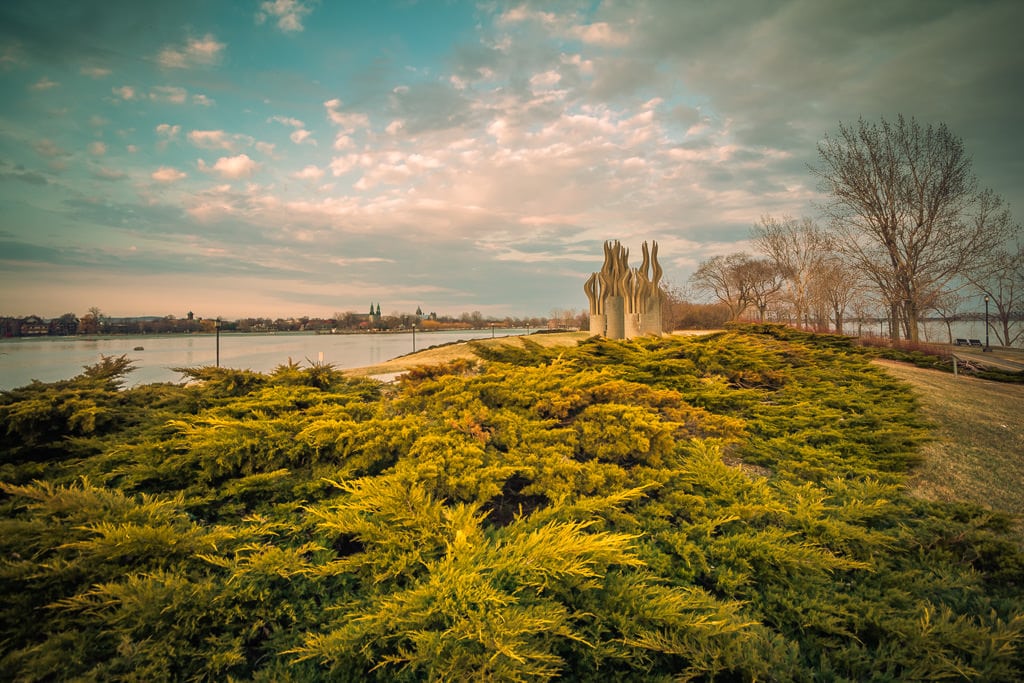

If you decide to grab the Spring Colors Preset Collection, you will have access to the demo image in RAW format. I embedded all the editing steps I used inside the demo image. Just import the demo image into Lightroom and jump to the Develop Module. Inside the Snapshots Panel, you will find all the editing steps recorded.
“Spring Colors”
Lightroom Preset Collection
Lightroom workflow bundle includes Look Presets, Adjustment Presets, Opacity Presets, Reset Presets, Editing Formulas.

