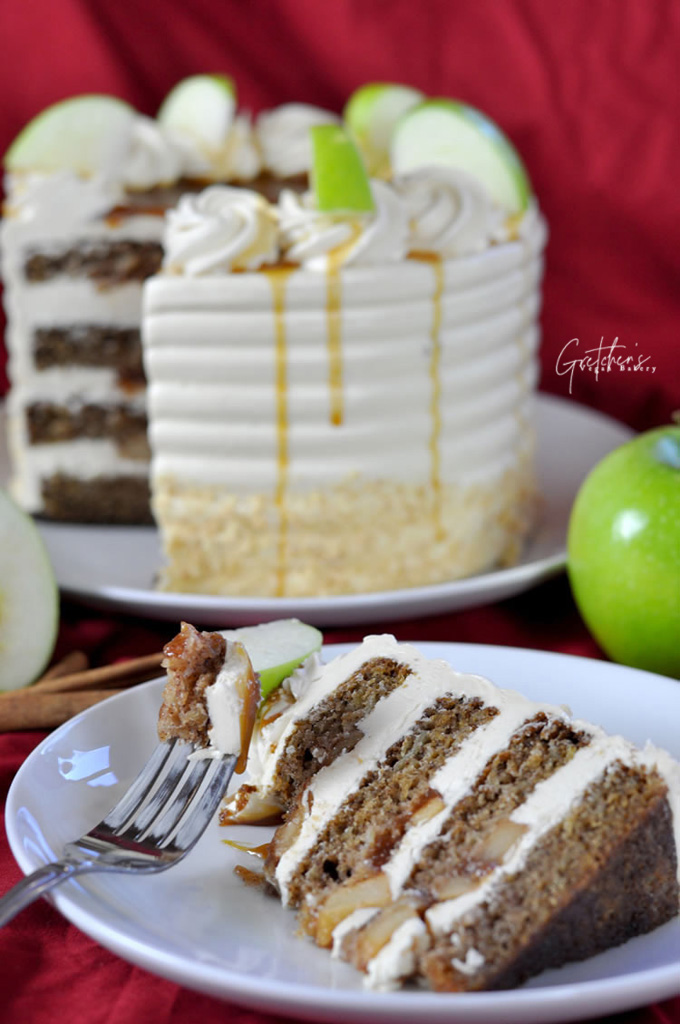
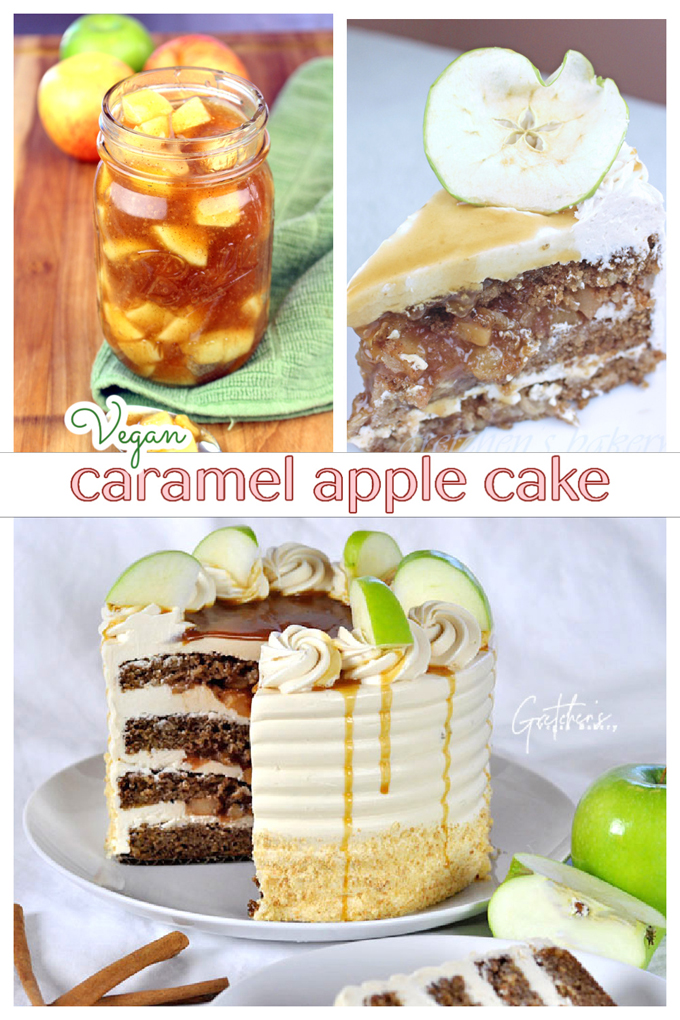
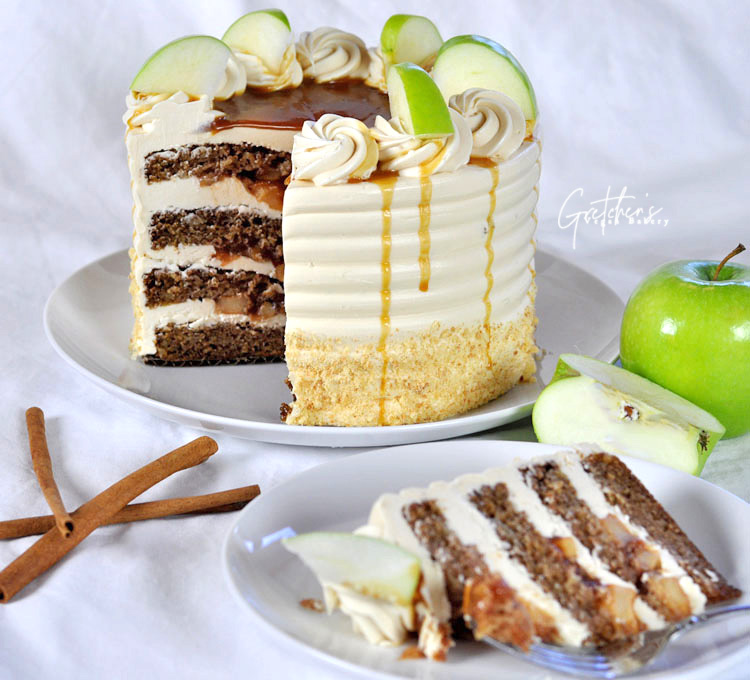
One of the top selling layer cakes from my bakery days!
You won’t want to go through an entire Fall Baking Season without making this Vegan Caramel Apple Cake!
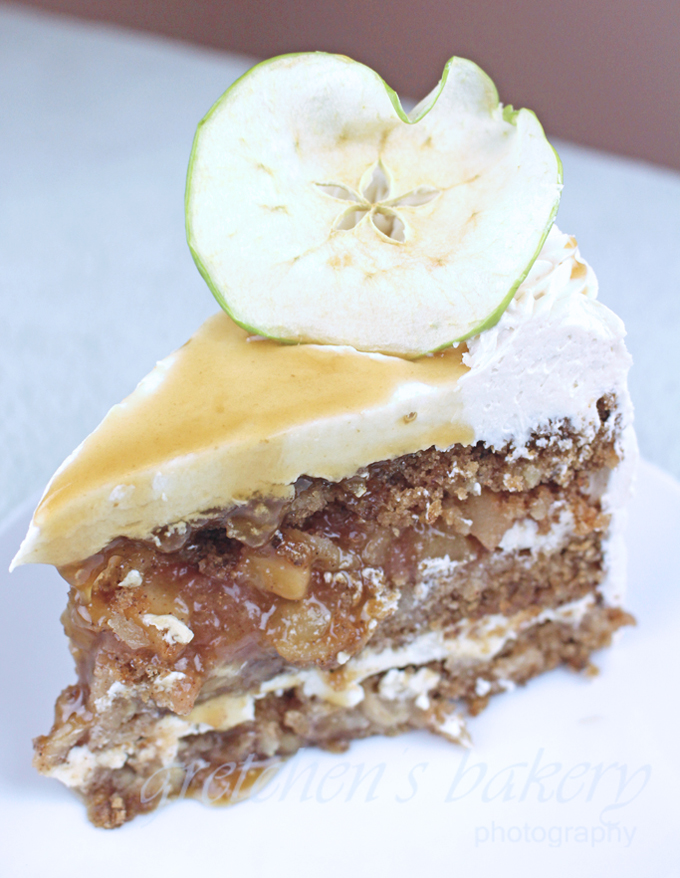
Homemade apple filling combined with vegan caramel just dripping out of each layer
Caramel buttercream wraps it all up for the best tasting cake you will ever try!
This cake has gotten rave reviews by all who have made it!
There’s really no wonder the Caramel Apple Cake was one of my most popular layer cakes of all time!
CLICK HERE FOR THE FULL YOUTUBE VIDEO TUTORIAL FOR HOW TO MAKE THIS CAKE
This website may contain links as part of the Amazon Affiliate program, which means when you click a link and make a purchase through my website I may earn a small commission at no additional cost to you
Notes for Success:
I have several options for vegan caramel to choose from so be sure to pick which one suits you best!
Here I am using the traditional caramel sauce
CLICK HERE FOR VEGAN CARAMEL 3 WAYS
While this is a pretty big building on recipes project don’t be intimidated
Just be sure to organize yourself before you begin and it will be a breeze!
Make the Apple Compote and Buttercream Recipes ahead of time~ up to a week in advance!
Additionally the caramel sauce gets thicker as it sits in the refrigerator so to that one is a great idea to make ahead!
7 ” Cake Pans are my choice for a 3 layer cake but if you only have 8″ pans divide the batter evenly between the 2 pans
Yield: Serves 10 people
Caramel Apple Cake

Prep Time
3 hours
Cook Time
30 minutes
Total Time
3 hours 30 minutes
Ingredients
for the cake
- Vegetable Oil 1 cup (237ml)
- All Purpose Flour 2¼ Cups (280g)
- Baking Powder 1½ teaspoons (7g)
- Baking Soda 1½ teaspoons (7g)
- Salt ¾ teaspoon
- Ground Cinnamon 2 teaspoons (10g)
- Granulated Sugar ¾ cup (150g)
- Light Brown Sugar ¾ cup (158g)
- Ground Flax Seeds 4 Tablespoons (32g)
- Hot Water 10 Tablespoons (150ml)
- Vanilla Extract 2 teaspoons (10ml)
- Apples Shredded from 2 medium apples approx 2 cups (250g)
caramel recipe
Instructions
- For the Cake:
- Prepare your cake pans with pan grease and a parchment paper liner I am using 3-7″ cake pans but you can make 2-8″ layers instead
- Preheat the oven to 350F
- Peel, core, shred the apples
- Combine the ground flax with the hot water and whisk smooth, set aside for 5 minutes to thicken
- In a large mixing bowl combine both sugars with the salt, oil and vanilla & whisk smooth.
- Add the thickened flax paste and whisk smooth
- Sift together the flour, salt, cinnamon and the baking soda and baking powder and add to the liquid mixture in the mixing bowl
- Add the shredded apples and mix well.
- Pour batter into prepared cake pans and bake immediately in preheated 350° F oven.
- Cake layers will take approximately 30-35 minutes or when a toothpick inserted yields moist crumbs, or the best way to check is if it is springy to the touch when you gently press the center
- Prepare the recipe for the caramel sauce as per the instructions on that page, then pour into a heat proof container then refrigerate until thick and cold
- Prepare the Buttercream of your choice by following the instructions for that recipe, at the last stage of mixing add ¼ cup of the cold caramel to the buttercream and mix well.
- Prepare the apple filling as per the instructions on that recipe post
- Once the cakes are baked and cooled, the caramel sauce is thick and the buttercream & apple fillings are also ready, you can proceed to build the cake.
- Watch the full YouTube video tutorial to see how I assembled the cake.
Notes
The apple cake layers can be frozen wrapped well for up to 1 month
The entire assembled cake can stay at room temperature for up to 1 day, but will most likely need refrigeration for longer storage (up to 10 days) so it doesn’t get too soft.


