

Slow cookers and pressure cookers are both handy appliances that can save a lot of time in the kitchen. However, while a slow cooker can take eight hours or longer to cook your meal, pressure cookers will yield a similar result in a fraction of that duration.
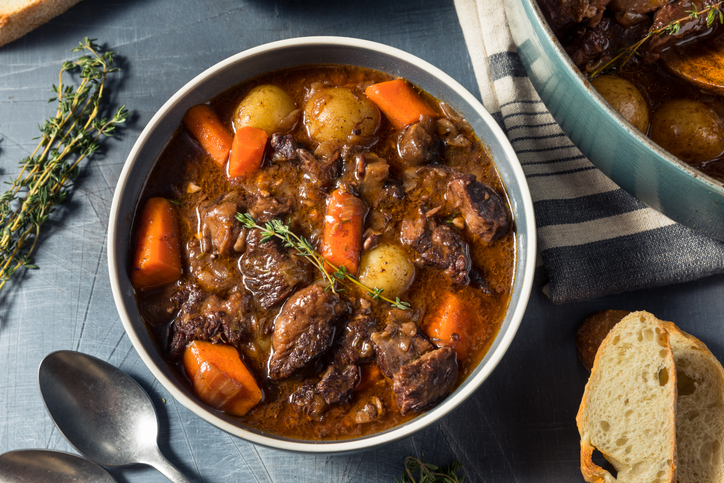
We’re talking beans going from dry to al dente in about an hour, a succulent roast at fork-tenderness in about 45 minutes, and artichokes in less than 10.
So, if you’re looking to minimize your cooking time and maximize flavor, let’s examine the differences between pressure cookers and slow cookers and what type of pressure cooker may be right for you.
What Is a Pressure Cooker and What Does It Do?
A pressure cooker is an airtight pot that uses steam pressure to achieve an internal temperature that’s much higher than other cooking methods, which allows you to cook food very quickly. The steam comes from the liquids in the pot and keeps your food moist and tender.
Pressure cookers have lids that seal shut and a valve that regulates pressure, as well as an indicator that tells you when it is pressurized. The valve can be used to depressurize it — but more on that later.
There are two types of pressure cookers: countertop and stovetop.
Countertop pressure cookers
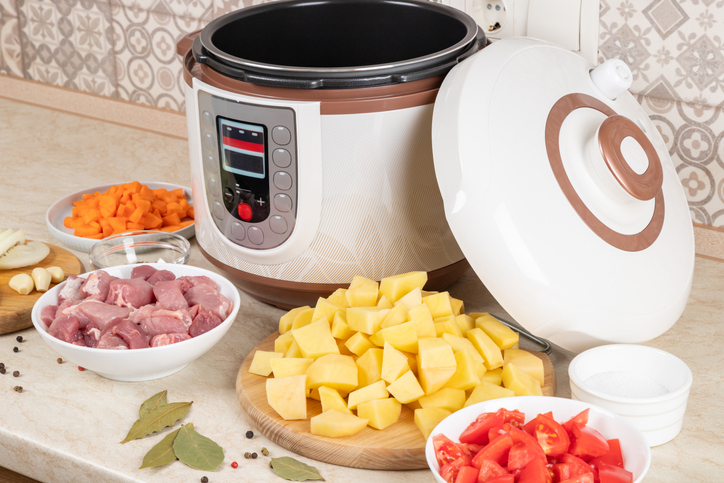
Countertop pressure cookers are all-in-one machines (think Instant Pots) that are better for beginners or those who don’t have the time or inclination to get too involved in the cooking process. You can simply sauté your ingredients (if desired), add liquid, put the lid on, set the cooking timer, and walk away.
The timer won’t start until the pot is pressurized, which typically takes about 10 to 15 minutes.
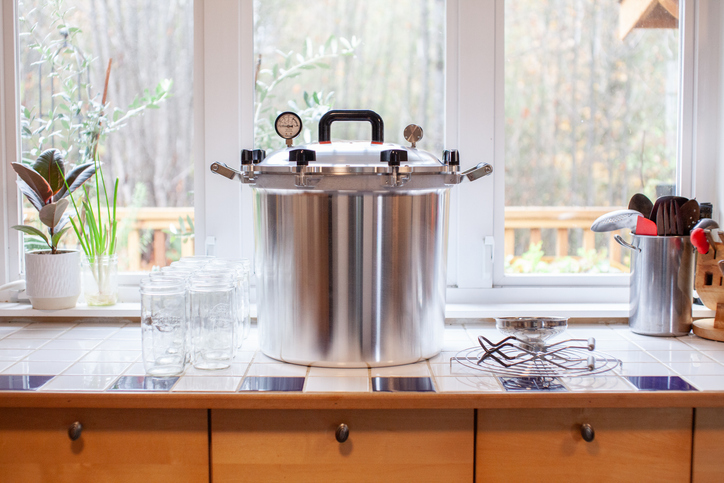
Stovetop pressure cookers
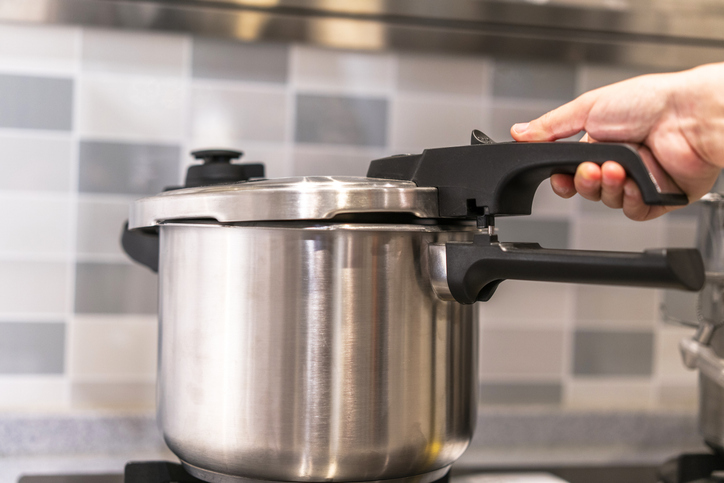
Specifications between models of stovetop pressure cookers differ, but generally, they’re standard pots with sealing lids that increase the pressure inside the pot once you put it on a burner. It might take some practice to seal the lid properly, so make sure to practice before cooking while everything is still cool.
To use a stovetop cooker, put the pot over medium-high heat and brown your ingredients, then add your liquids and seal. From there, it can get a little tricky: The heat needs to be high enough to pressurize the pot, quickly after which you’ll have to turn the heat down.
How high or low to leave the heat while pressurized takes some experimenting: too low and it’ll depressurize; too high and it will begin spitting out steam.
As such, stovetop cookers are ideal for experienced cooks, chefs, and others who like having precise control over as many aspects of their meals as possible.
Pressure Cooker vs Slow Cooker
Slow cookers simmer foods slowly at low temperatures (as opposed to the roaring hot boil of pressure cookers) and have heavy lids that help seal in the heat and moisture, which results in very tender food.
Slow cookers typically come with a ceramic or porcelain inner “pot” and two heat settings — low and high. Depending on the model, however, some may also include different temperature settings and a timer so you can set a specific cooking time.
Slow cookers are popular for making dishes like chili, soups, and stews, and they’re known for making tough cuts of meat more tender.
How to Depressurize a Pressure Cooker
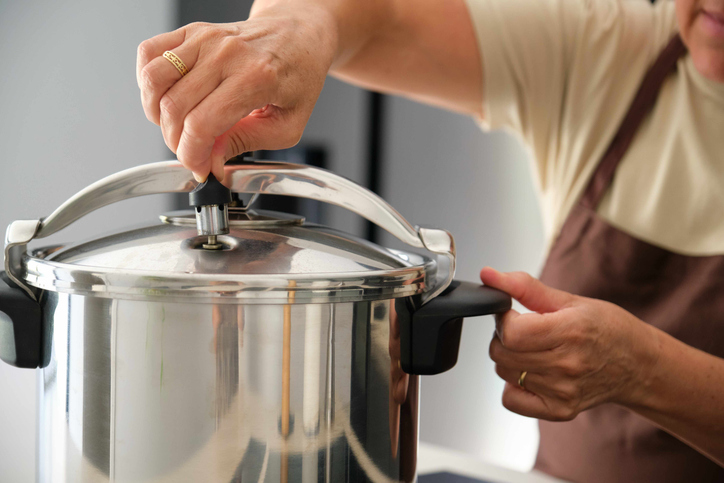
When your food is done cooking, you’ll need to remove it from the pressure cooker, which requires depressurization. There are generally two ways to depressurize your pressure cooker, but what you’re cooking will influence which method you use.
Let it depressurize on its own
This requires some patience — once the pressure cooker is off, it takes about 10 to 15 minutes to cool down, during which your food will continue to cook. This method is usually recommended for foods like beans, meats, and soups and stews.
Note: The food will still be boiling hot, so be careful when you take the lid off!
Manually depressurize it
You can do this by venting the pot, but be prepared for the steam that will come out for anywhere from five to 10 minutes. This method is NOT one you want to use if you’re cooking something that will foam up or increase in volume, such as beans or soups.
Tips for Pressure Cooking
Follow these suggestions to get the most out of your pressure cooker.
1. Use flavorful liquids
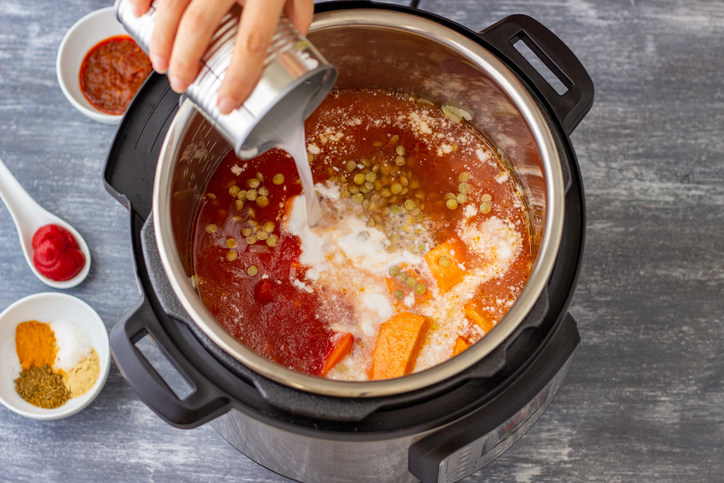
In addition to water, you can add in flavorful liquids like soy sauce, vinegar, tomato puree, wine, liquid aminos, or freshly squeezed juices from citrus fruits like lemon or lime.
Anywhere from a teaspoon to a few tablespoons is appropriate depending on what and how much food you’re making.
Note: Acidic liquids can speed up cooking, so reduce cooking time by several minutes if using.
2. Batch cook
You can batch cook multiple breakfasts or meats to save you time when you’re meal prepping for the week.
3. Go big on spices
Because most pressure cooker recipes involve water, don’t be afraid to add extra spices. This is a great opportunity to use whole spices, as the intense steam will draw more flavor out of them.
4. Use dried instead of fresh herbs
Fresh herbs such as parsley and dill will get obliterated in a pressure cooker. If you want the flavor of herbs in your meal and want to add everything at the start, used dried herbs and save the fresh herbs for garnishing.
5. Think beyond dinner
You can make everything from poached pears to pudding in a pressure cooker, so keep it in mind when you’re planning your meals for the week.
6. Keep the bones in
Cooking with bone-in poultry and meats will yield richer, thicker sauce than proteins off the bone. Bonus? Bone-in meats are usually cheaper than their boneless counterparts.
7. Pick the right size
Pressure cookers are sold in quart sizes: The smallest is four quarts, which is perfect for solo cooks.
Six- or eight-quart cookers are big enough for a family meal, with the potential for leftovers. If you’re cooking for a huge crowd or using recipes that require a lot of room, like bone broth, then the 10-quart cooker is for you.
The Bottom Line
If hearing the phrase “pressure cooking” fills your mind with images of exploding appliances and stew all over your kitchen walls, banish those thoughts.
Cooking with a pressure cooker is an easy way to create healthy, flavorful meals in a short amount of time, whether you’re a newbie or a pro in the kitchen.